


VidRemake · Remake
Powered exclusively by: Sora 2 (OpenAI)
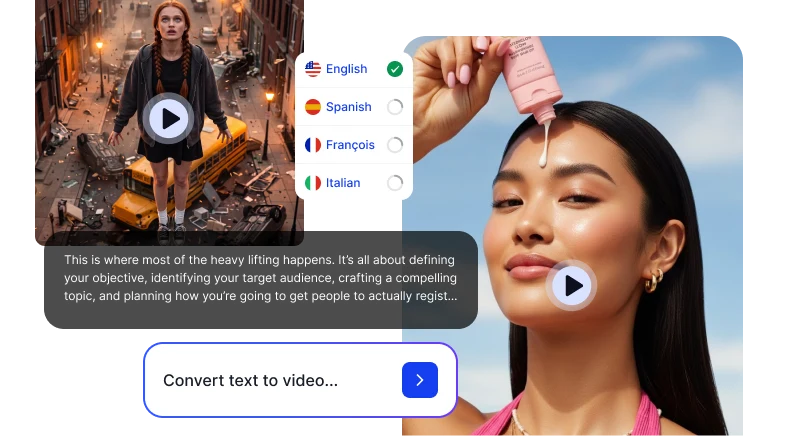
Upload a Viral Video. Make It Yours.
Upload a high-performing TikTok or Reel and Sora 2 analyzes its structure, including hook timing, pacing, caption placement, and retention patterns, then rebuilds it with your product and message. Enables precise structural replication without manual editing. Deliverables are optimized across 9:16, 1:1, 4:5, and 16:9 formats ready for immediate distribution with fast scalable results.
Remake a Viral Video