Pixlr AI Photo Editor Troubleshooting Guide, Fixes, And Fast Workflows
Pixlr is an AI photo editor that helps you move fast with edits. Small glitches slow you down. This guide shows the most common issues, how to fix them, and simple workflows to ship work on time.
Common Issues And Fixes
Outline Effect Does Not Appear
If in your video generation, you notice there are no outline effects,
- Confirm the layer is raster. Convert text or shapes to raster.
- Unlock the layer.
- Reset Outline settings. Start with radius 2 to 4, opacity 100, solid color.
- Try Stroke as a backup if Outline fails.
- Test in a fresh file. Corrupt files hide issues until you isolate them.
Editor Flashes Or Turns Black
- Hard refresh the page.
- Turn off hardware acceleration in your browser. Test again.
- Disable extensions. Test in a clean profile.
- Save frequent PXD versions to avoid loss during crashes.
Layers Seem To Disappear
- Check each eye icon. Hidden layers look like missing layers.
- Create a new document. Copy and paste the canvas video content to rebuild the stack.
- Export a safety PNG, then reopen the PXD and relink assets.
Paste Problems From Other Apps Or Browsers
- Use Paste as new layer instead of Paste in place.
- If the clipboard fails, save the source as PNG first, then import.
- Try a different browser profile. Some privacy settings block clipboard data.
Draw Tool Feels Off After An Update
- Reset video tool settings. Brush size 10 to 20 is a good baseline.
- Recalibrate smoothing. Start at 10 to 20 for handwriting.
- Test on a small canvas first. Big canvases magnify lag.
Saving And Storage Limits
- Export PXD to local storage at key milestones.
- Avoid long sessions in incognito. Projects store in the browser.
- Keep a rolling set of versions, for example v1, v2, v3, so you roll back fast.
Quick Workflows You Can Ship Today
In your video generation, ensure to try these workflows for smooth generation.
Make A Clean Thermal Outline Look
- Duplicate the subject layer.
- Apply Stroke on the lower copy for structure.
- Add Outer Glow on the upper copy for color bloom.
- Test blend modes. Screen for bright looks, Multiply for darker scenes.
Place An Object Behind A Finger
- Use Cutout to remove the finger area on the object’s layer mask.
- Add a soft shadow under the finger with a small brush at low opacity.
- Nudge the object 1 to 2 pixels to match parallax.
Arc A Row Of Photos For A Banner
- Place each photo on its own layer.
- Turn on guides. Set a center guide.
- Rotate each photo a few degrees along the arc. Keep equal spacing.
- Add a light drop shadow for depth. Group the set.
Daily Editing Checklist
Before You Start
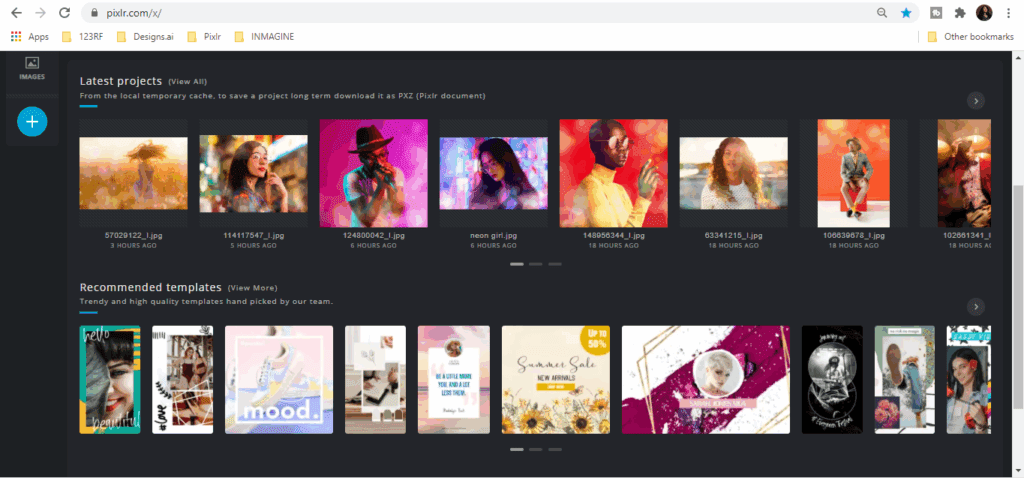
- Open Pixlr E from the AI tools hub so you use the latest UI.
- Create a new document, test one brush stroke, test one text layer, test one export.
While You Work
- Save a PXD after each major step.
- Name layers. Group by section.
- Keep effects on separate layers so you swap looks fast.
When Trouble Shows Up
- Reproduce the issue once in a clean browser profile.
- Record a 20 second screen capture with exact steps.
- Log browser version, OS, canvas size, file size, and time.
- Restore your last stable PXD and continue work.
Settings That Prevent Slowdowns
- Canvas. Start with the smallest size that fits the output, then scale up if needed.
- History. Keep history length moderate to reduce memory pressure.
- Images. Use PNG for cutouts and assets that need transparency. Use JPG for backgrounds.
Starter Resources To Keep Handy
- Pixlr E editor entry page
- Tools overview page
- Shortcuts sheet for Move, Transform, Cutout, and Stroke
Template For Issue Reports
Use these video templates for the video generation.
- Title. Short problem name for quick search
- Steps. 1 to N
- Expected result. One line
- Actual result. One line
- Files. Link to sample PXD and exported PNG
- System. Browser, OS, canvas size, file size, time
You move faster when your setup is stable, your versions are safe, and your fixes are repeatable. Start with the checklist, keep rolling PXD versions, and ship.
Conclusion
An AI photo editor like Pixlr becomes far more powerful when you pair it with clear troubleshooting habits and streamlined workflows. By keeping rolling versions, logging issues clearly, and applying quick fixes, you avoid downtime and keep projects on track. The same disciplined approach applies when exploring advanced features. Using an AI image generator no restrictions to ideate freely, trying AI generative fill to repair or extend images, and testing AI generative expand to reframe scenes without losing context.
Frequently Asked Questions
1. How can I fix outline effects not showing in Pixlr AI Photo Editor?
Make sure the layer is rasterized, the outline settings are reset, and try Stroke as a fallback. If the issue persists, test in a new file to rule out corruption.
2. Can I use an AI image generator no restrictions with Pixlr?
Yes. You can generate images without restrictions in an external AI image generator no restrictions tool, then import them into Pixlr for advanced editing and layering.
3. What is AI generative fill and does Pixlr support it?
AI generative fill is the ability to intelligently replace or repair areas of an image using AI. While Pixlr doesn’t yet label the feature as generative fill, you can achieve similar results with its cutout, heal, and clone tools.
4. How does AI generative expand help in editing?
AI generative expand lets you extend an image’s canvas while automatically generating matching background or content. This helps when reframing visuals or adapting images for banners and social formats.
5. Why does my Pixlr editor flash or turn black while working?
This can be caused by hardware acceleration in your browser or certain extensions. Disable hardware acceleration, test in a clean browser profile, and save PXD versions often.
6. What’s the best way to avoid losing layers or edits?
Always keep rolling PXD files (v1, v2, v3), name layers clearly, and export safety PNGs so you can restore work quickly if layers seem to disappear.

