


01
Pick Your Agent
Choose a specialist or deploy your entire AI marketing team.


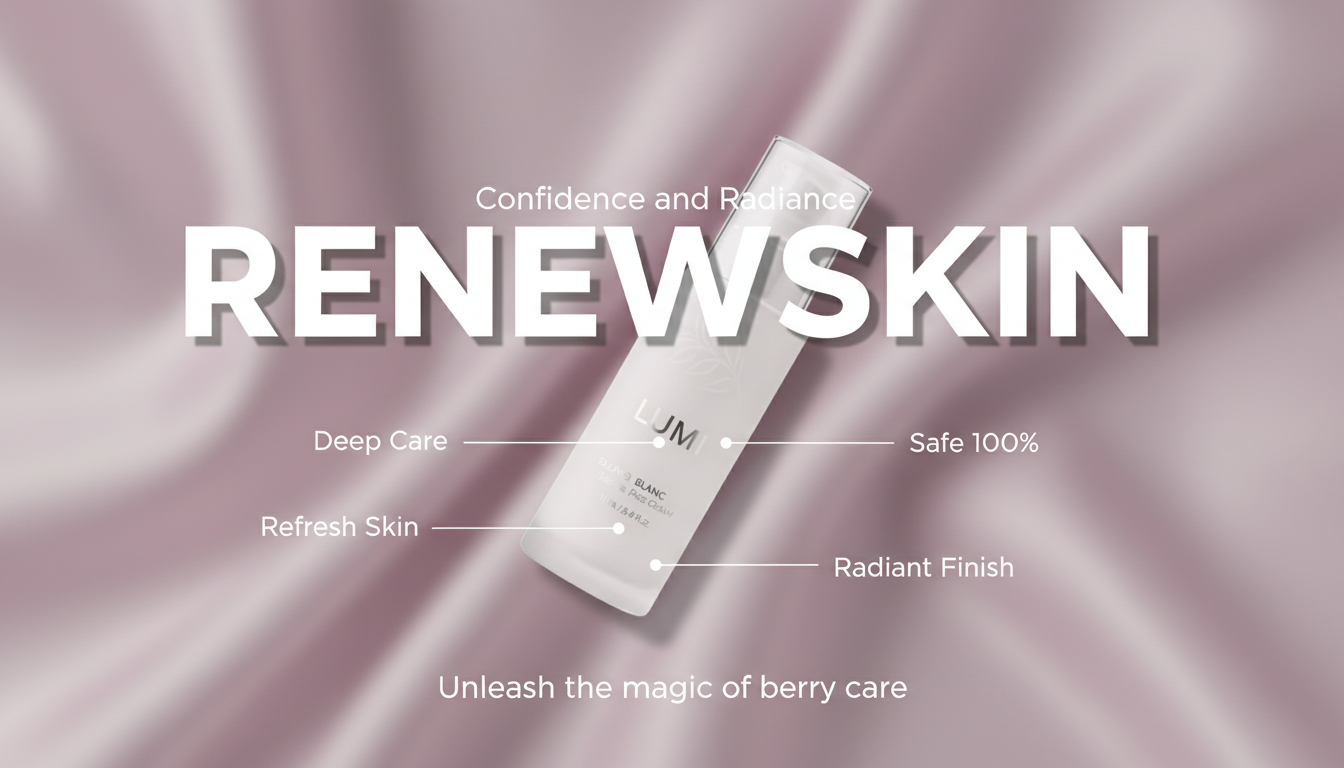
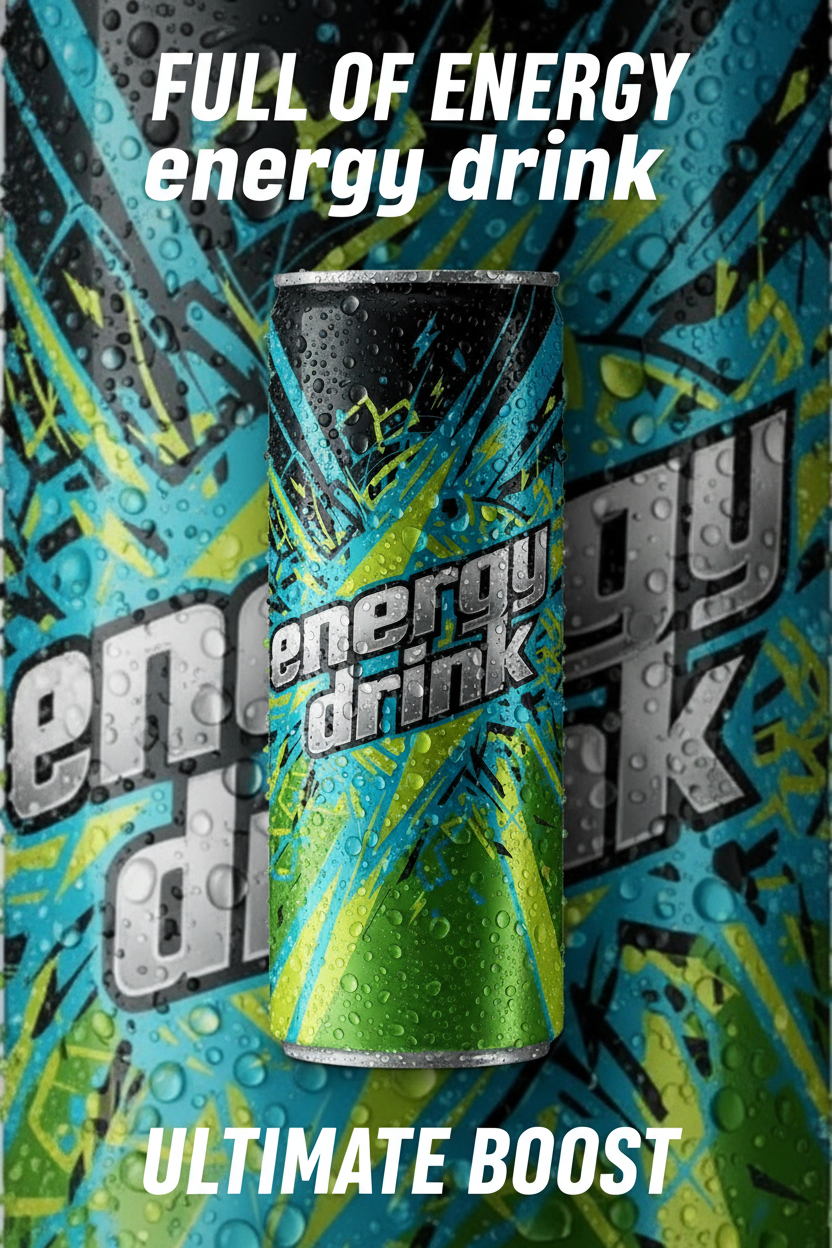
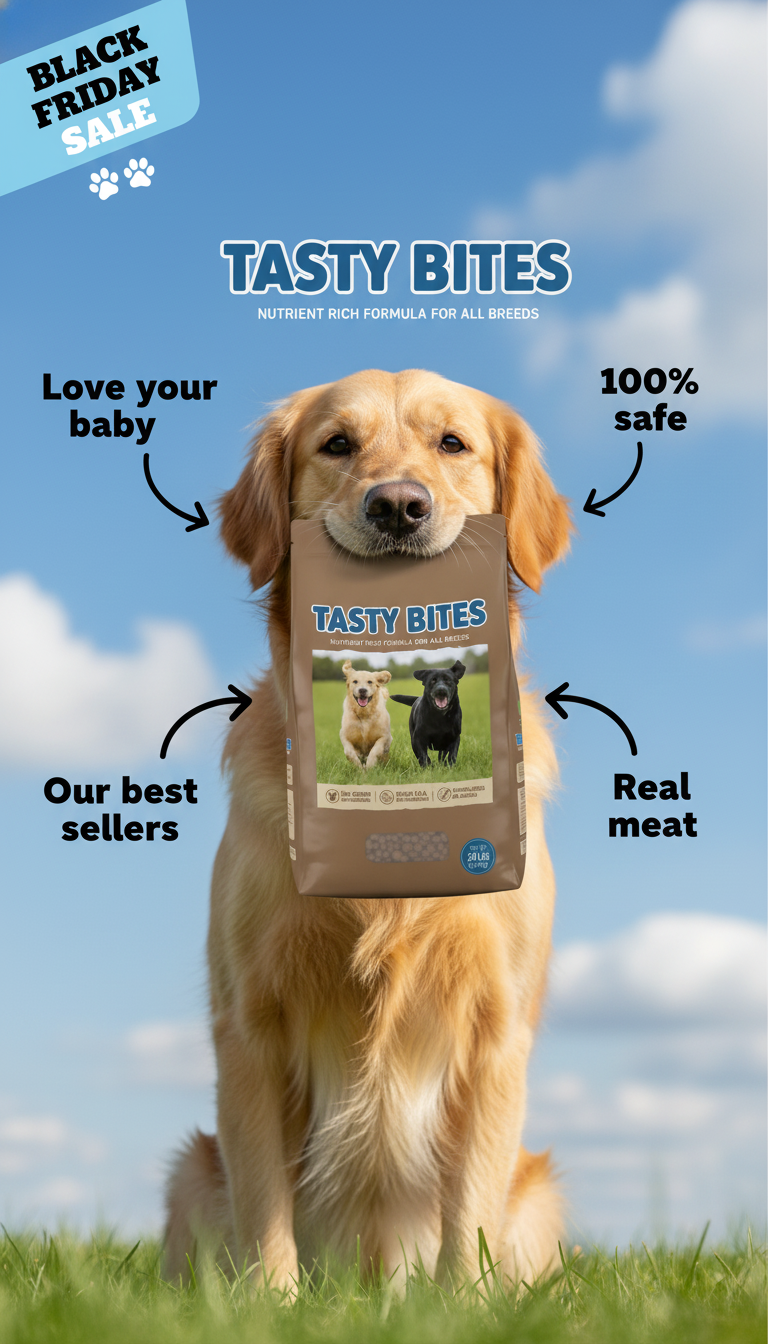
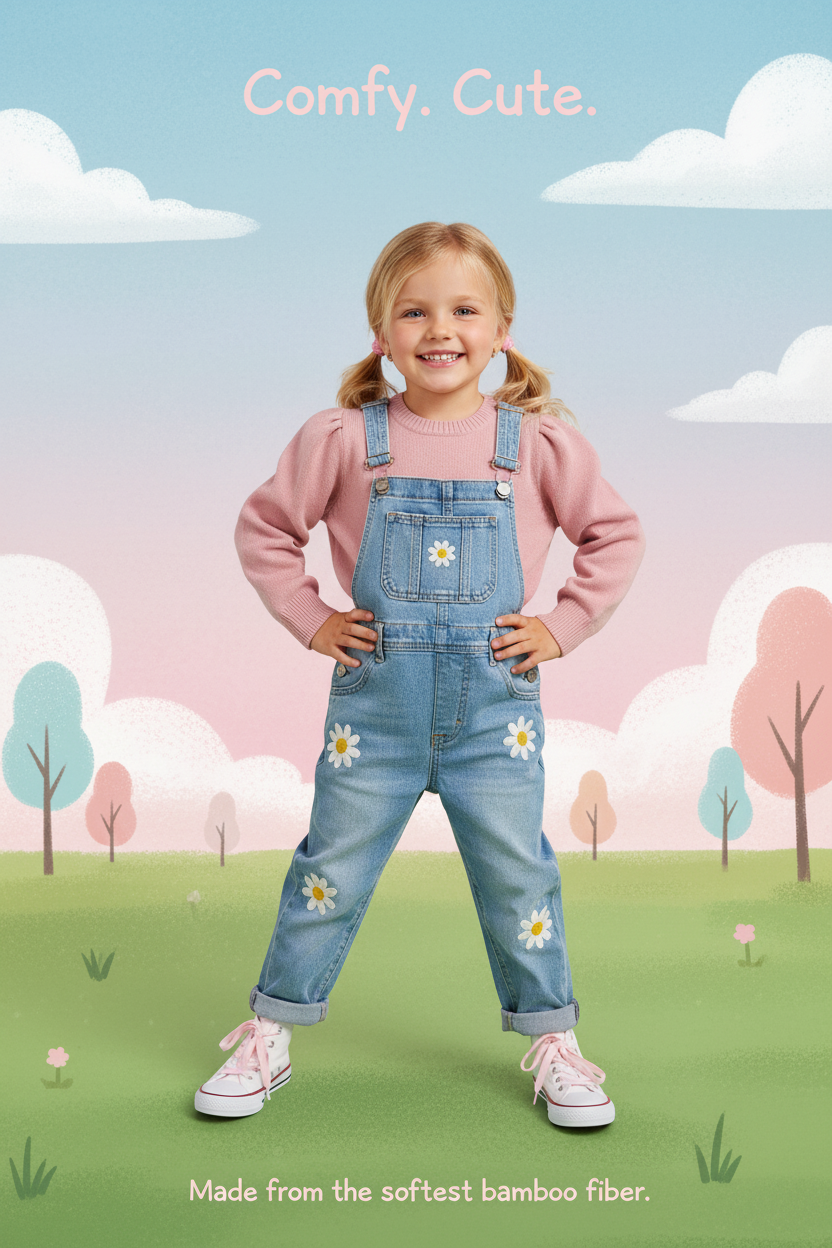
Describe the product, the offer, or the vibe. VidAU writes, storyboards, and renders ad creative ready to run on TikTok, Meta and YouTube.
one place that turns ideas into assets before the brief goes cold.
Explore all models
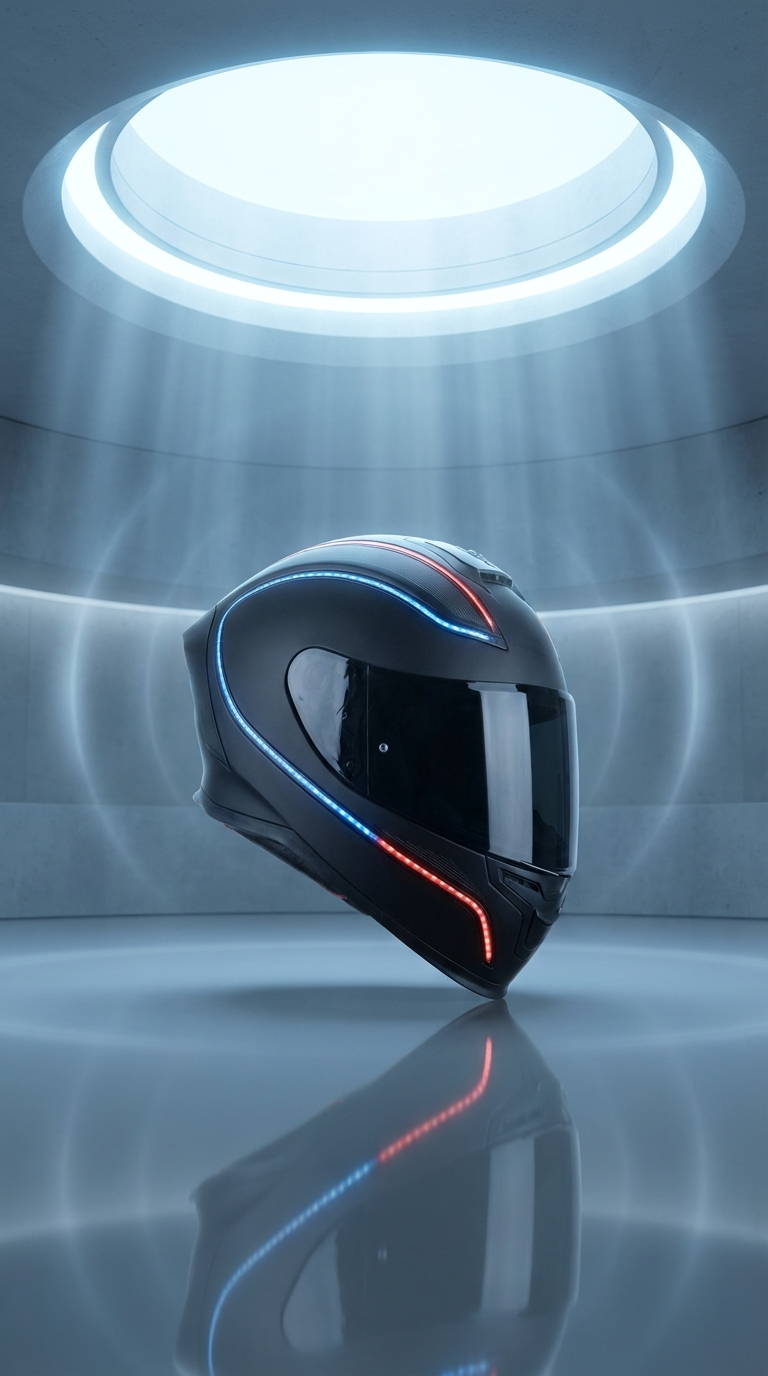
Cinematic, high-quality videos in seconds.
State-of-the-art video with native audio.
Realistic physics. Limitless imagination.
Exceptional character consistency & editing.
Create beautiful, detailed images with ease.
Photorealistic images from natural language.

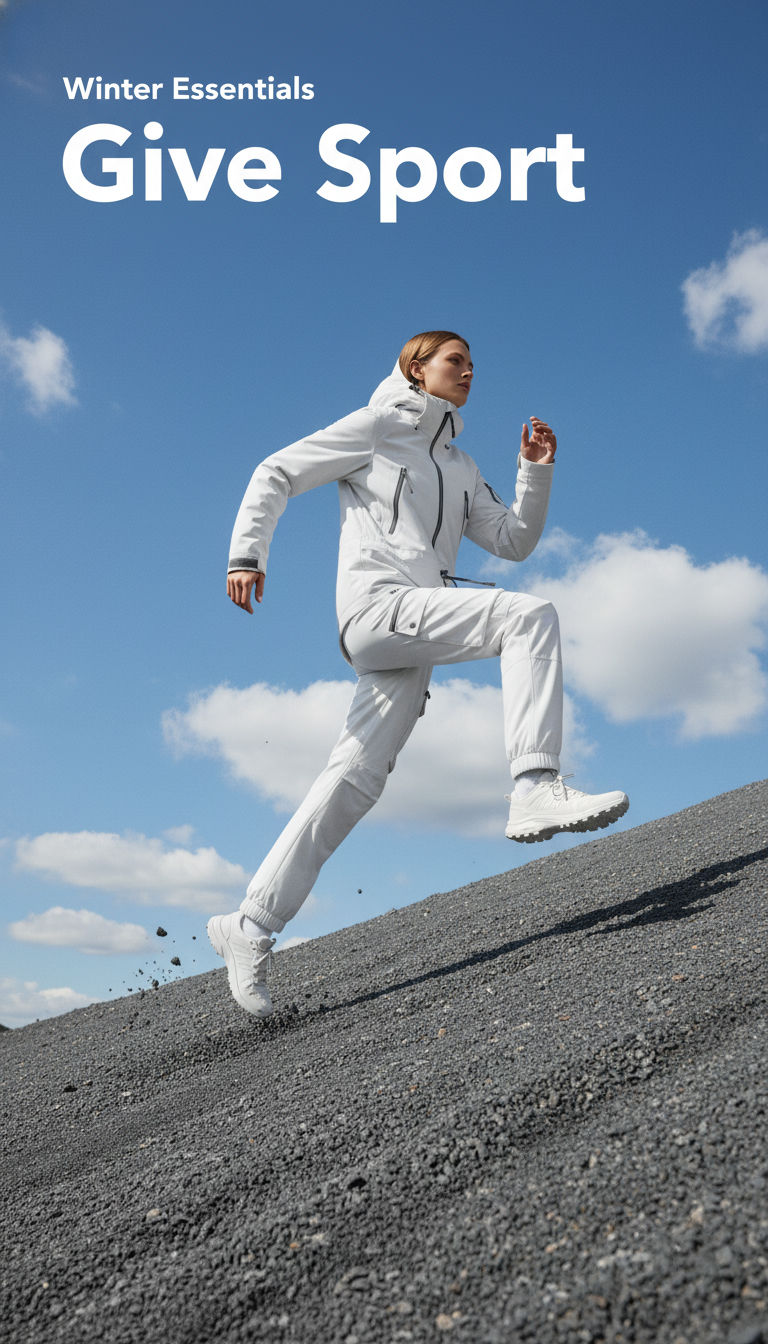
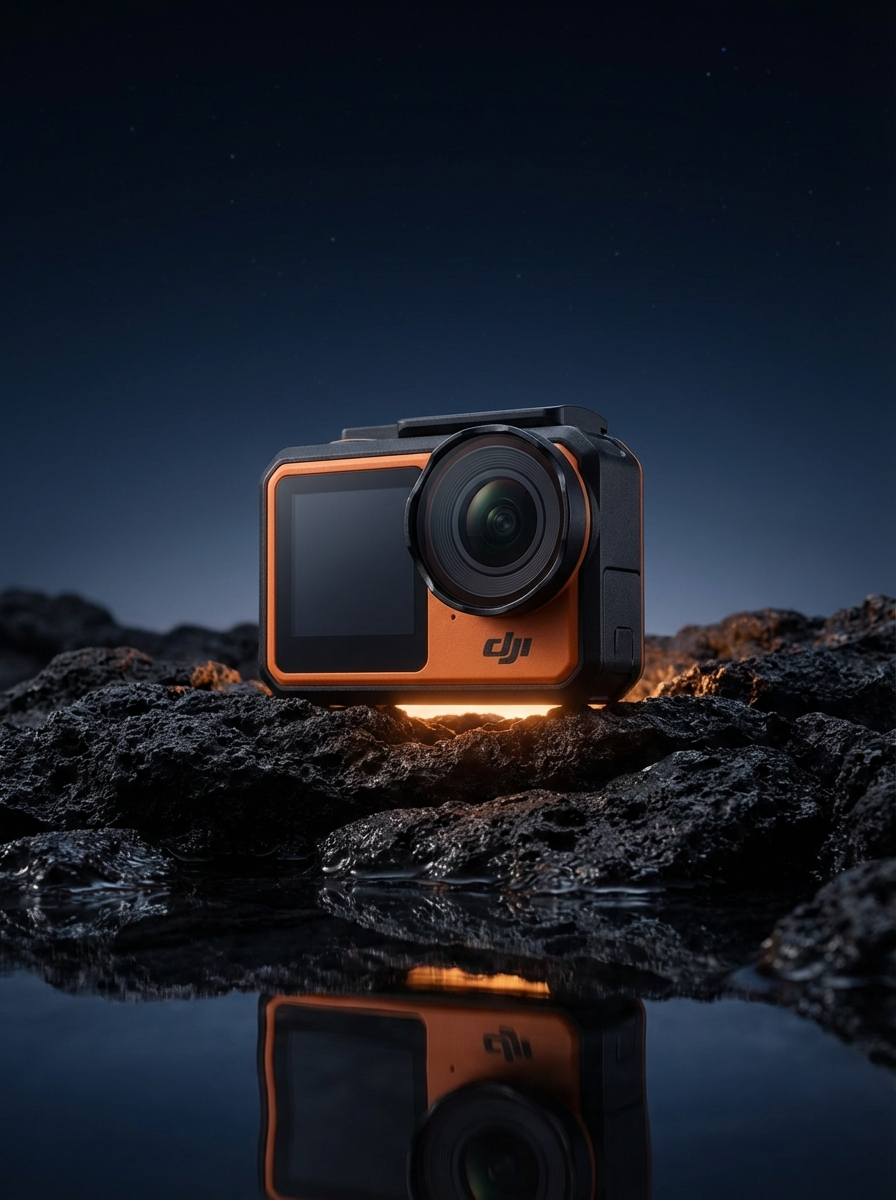
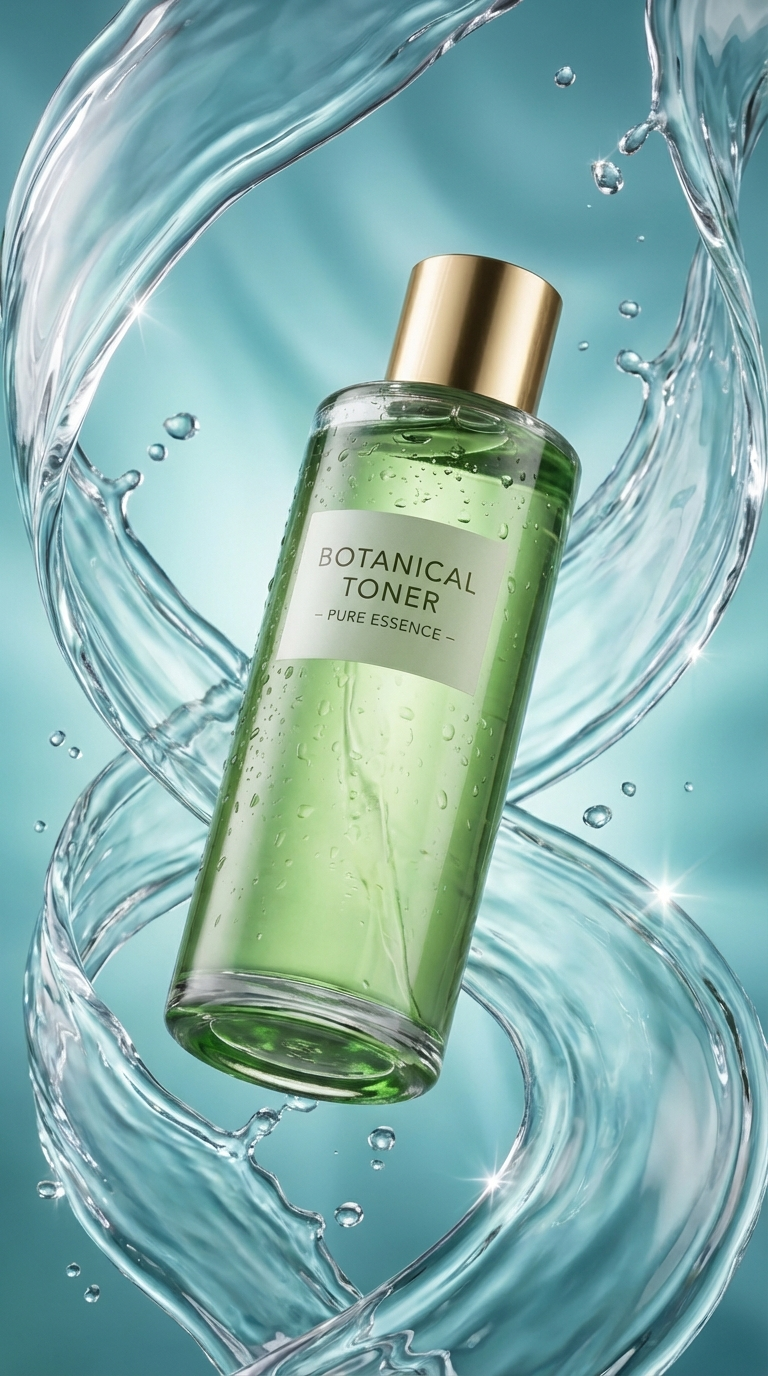
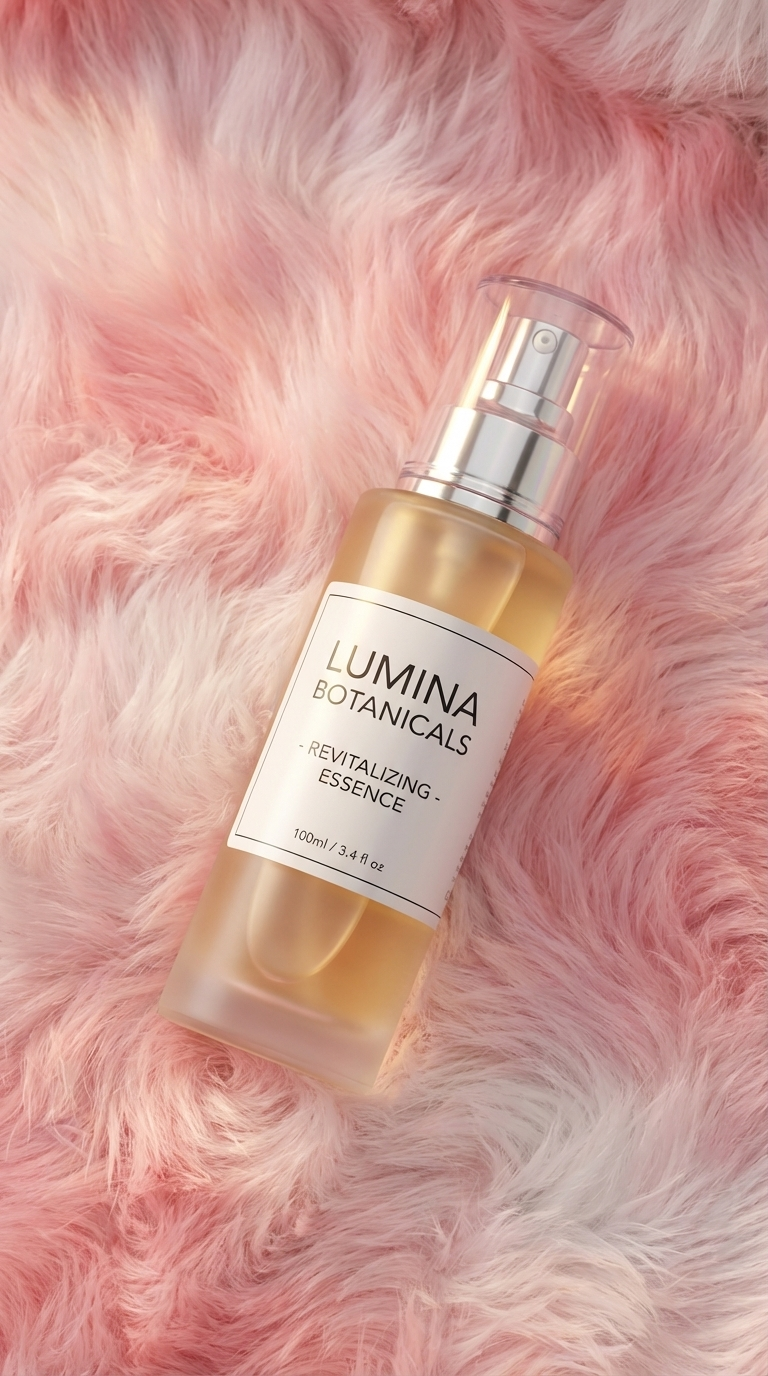
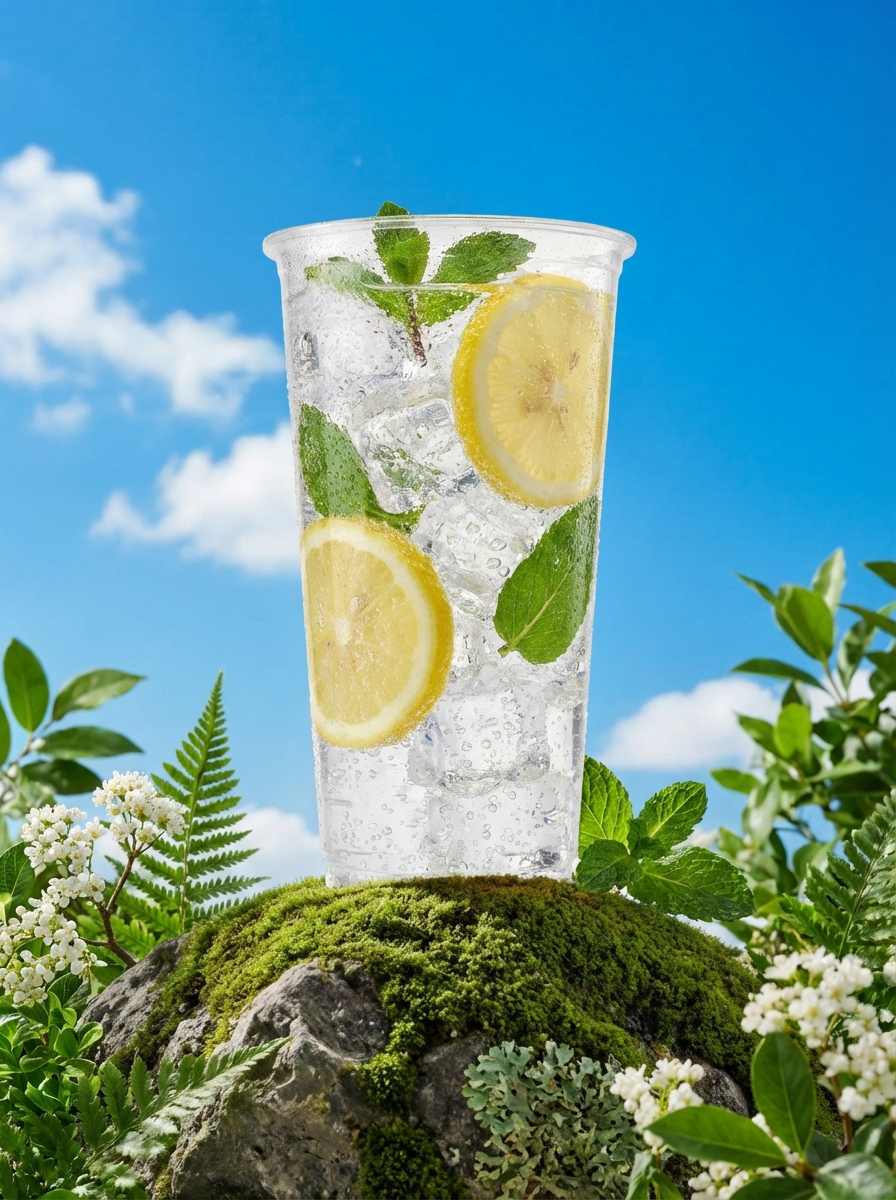
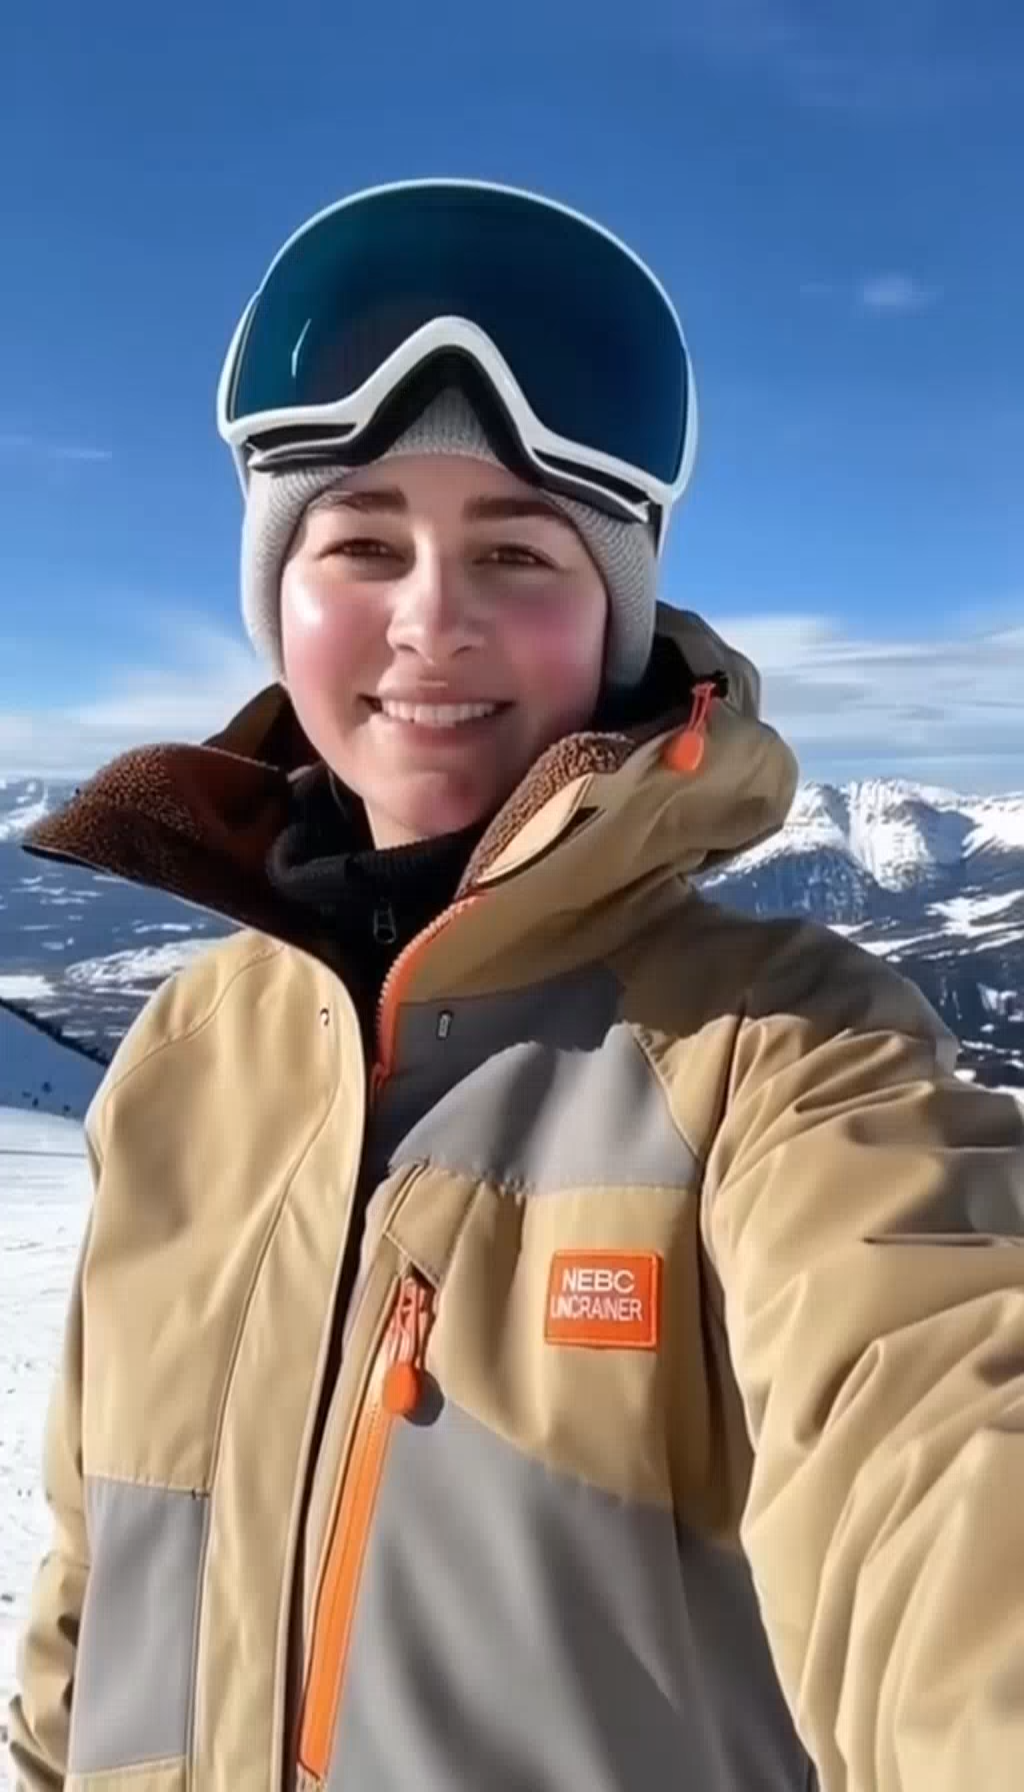
From cinematic brand stories to performance ads, generate videos that stop the scroll and drive results.
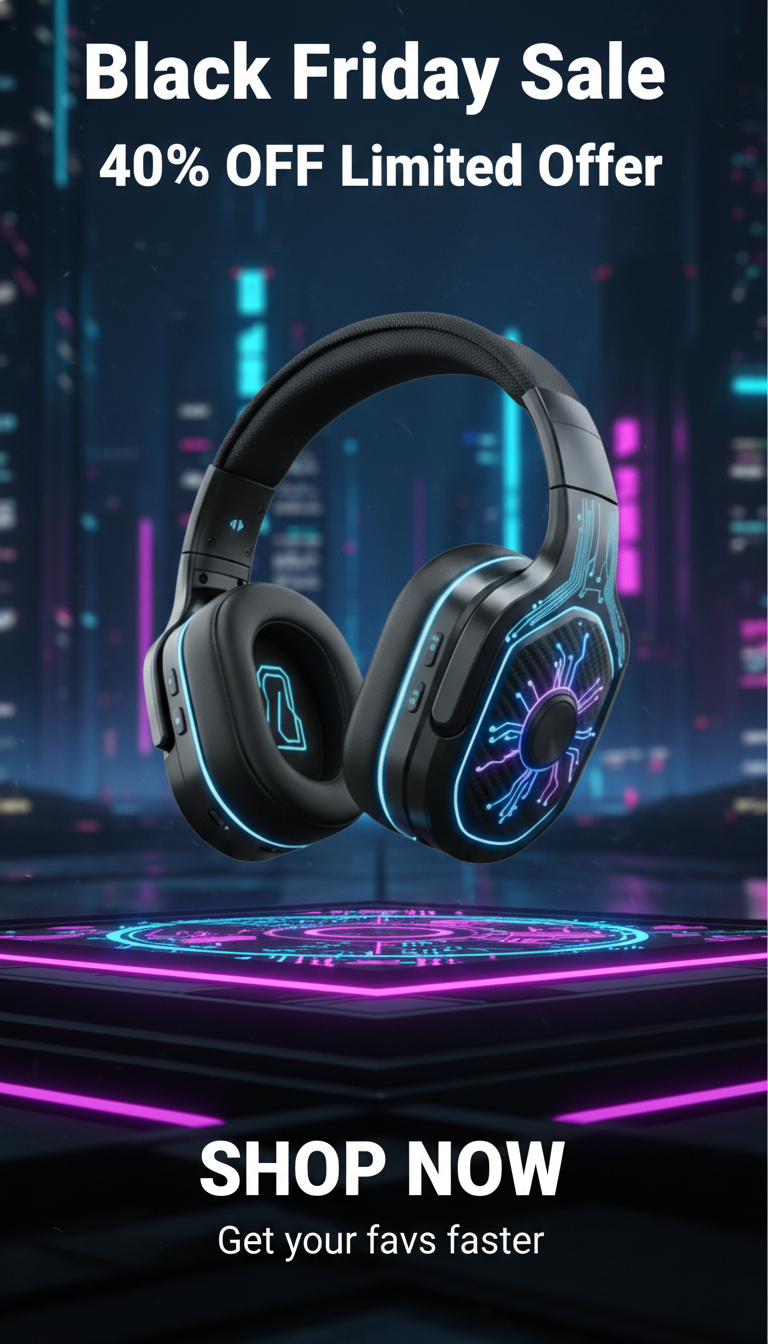
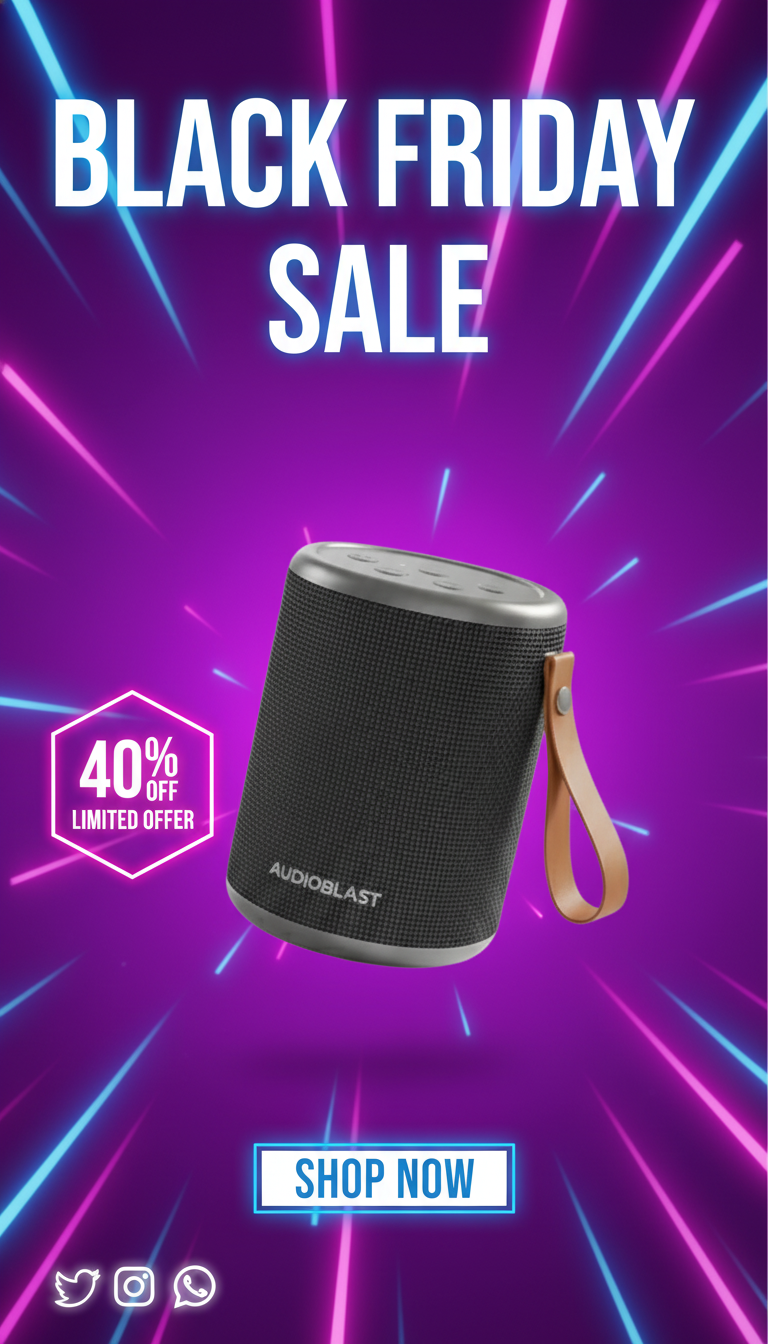
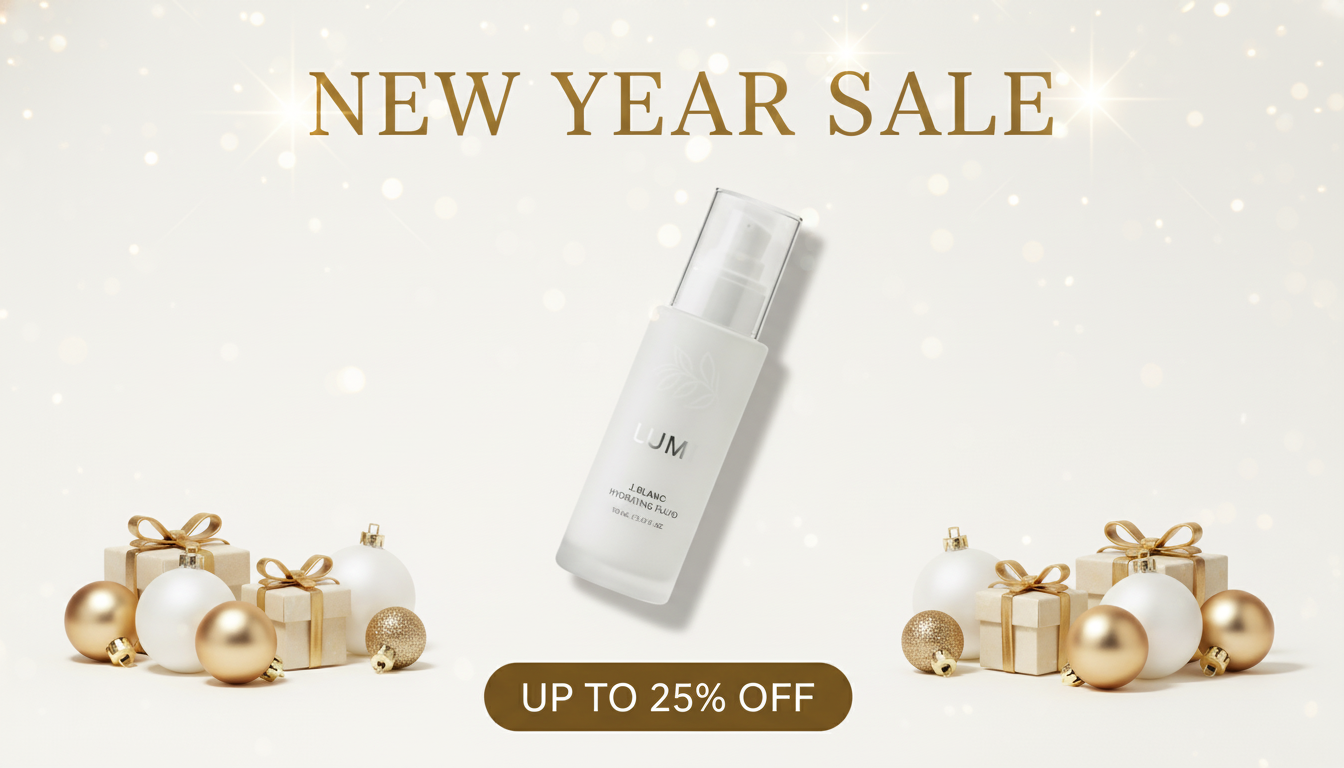
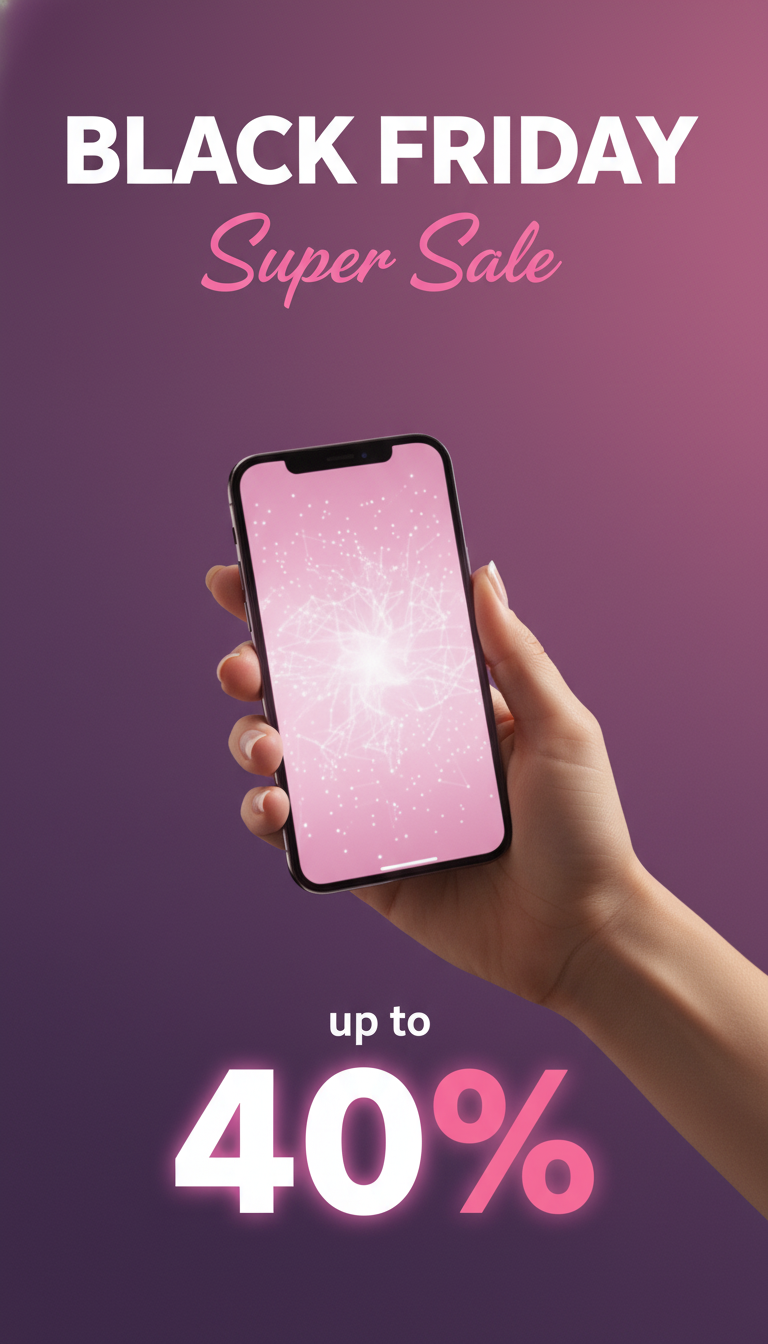
Generate videos →From product photography to campaign visuals, generate stunning images built to capture attention and drive results.
Generate images →
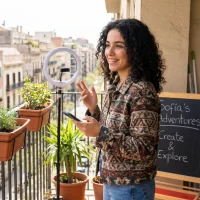
Explore real campaigns, viral ads, UGC, product videos, and brand stories created with VidAU.
Browse inspiration →
Your AI marketing team handles everything.
Choose a specialist or deploy your entire AI marketing team.
Describe your product, audience and campaign goals.

Generate videos, images, ads and landing pages together.

Review performance and let your agents improve every campaign.

See how businesses like yours scale content, launch faster, and grow with the world's most advanced AI marketing platform.
Trusted by brands and creators worldwide
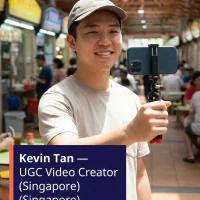
“VidAU honestly saved me hours every week. I can turn a product idea into a clean video ad without filming myself or learning editing tools. It feels like having a mini creative team on demand.”
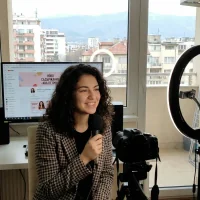
“As a small online store owner, VidAU helped me create professional-looking ads that actually convert. The AI avatars and templates make my brand look bigger than it is.”

“This is perfect for affiliates. I can test multiple ad angles fast without waiting on designers. It's simple, fast, and surprisingly powerful.”
“VidAU is hands down the best AI video platform we've used. We now reach every global market faster. The avatar maker and video translator cut our localisation time by half, and our content output doubled across regions.”

“Background remover, auto subtitles, multilingual support in one place. We went from spending days on content prep to hours, and our weekly video output tripled without adding headcount.”
“VidAU transformed our video workflow from end to end. Repurposing time dropped by 70%, global content delivery became seamless, and our team now ships twice the volume in half the time.”

“As a multilingual brand, we needed one tool to translate, subtitle, and customize at scale. VidAU delivered faceless video content that now runs across 12 markets with no extra production cost.”

“I've tested dozens of platforms. VidAU replaced four separate tools, reducing my monthly software spend by 60%. The AI video generator, smart subtitles, avatar maker, and watermark removal, all in one place.”
No editing skills needed. Commercial-ready output from day one.
Start now ↗