PixVerse AI Tutorial 2025, Version 5: How to Make a Professional Video in Seconds
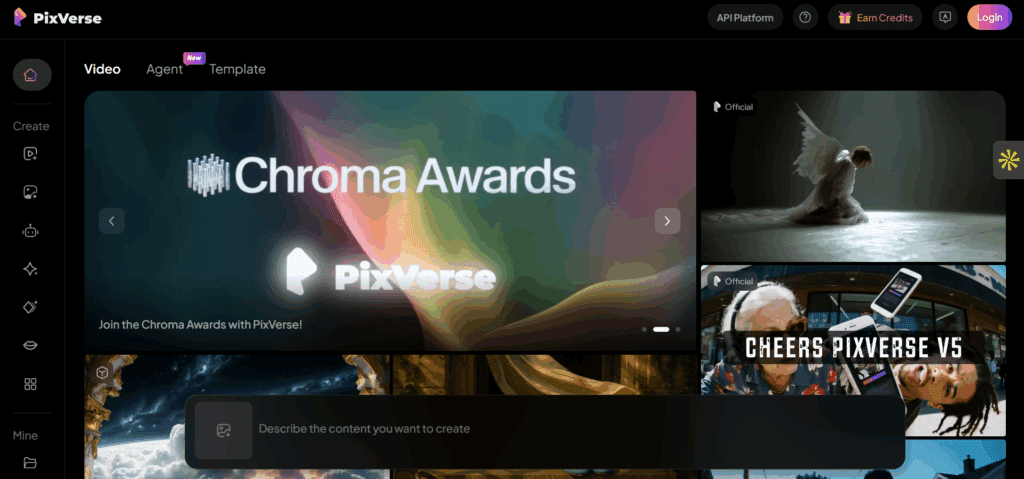
Creating cinematic videos no longer takes hours of editing. PixVerse AI now lets anyone turn short prompts or reference images into smooth, professional-looking videos within seconds.
Version 5 focuses on speed, stability, and style consistency, so you spend less time adjusting and more time creating.
This tutorial explains how to use PixVerse Version 5 effectively. You’ll learn every generation mode, explore workflows, and compare updates from Version 4. Plus, we’ll look at creative examples like X-Men: Best Badass Characters and Street Fighter teasers to inspire your projects.
What PixVerse V5 Offers
PixVerse V5 combines ease of use with professional-grade control. You simply set your intent, choose an input mode, adjust motion and style, and render in your preferred aspect ratio.
Compared with the 4.x series, renders in Version 5 arrive faster, show fewer flickers, and preserve color consistency. The new interface keeps all key settings in one panel for a smoother workflow.
Supported Generation Modes
1. Text to Video
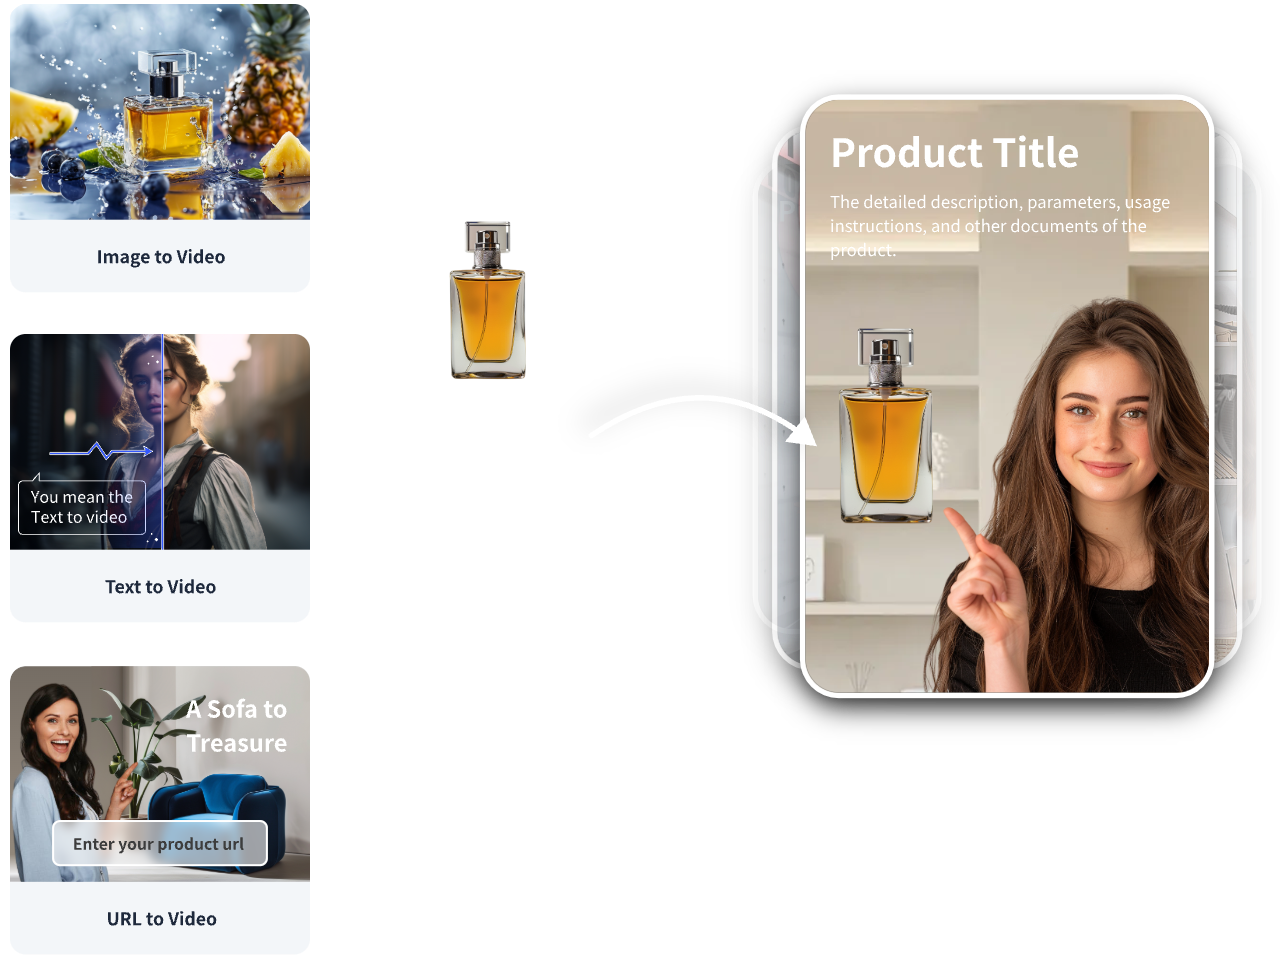
Describe your scene, and PixVerse AI builds it. The platform adds camera movement, color, and lighting that fit your prompt. It works best for new scenes, abstract motion, and cinematic intros.
2. Image to Video
Start with a still image. PixVerse animates the frame with light movement, smoke, rain, or camera motion. Use this when identity control is important, such as faces, logos, or costumes.
3. AI Video (Hybrid Inputs)
Combine text prompts and one or more images. This mode keeps the image’s identity stable while adding creative motion from your prompt.
4. Animation Video Generator
Switch to a stylized look. This mode supports anime, toon shading, and bold color palettes. It’s perfect for intros, teasers, and explainers.
Version 5 Highlights Over 4.0
PixVerse Version 5 delivers sharper frames, smoother motion, faster renders, and more reliable seeds for consistent characters. Camera moves are cleaner, and style shifts are minimal, so every scene feels polished.
Project Setup
Define the Goal
Decide your video’s purpose and format first:
- 16:9 for YouTube
- 9:16 for Shorts and Reels
- 1:1 for feed posts
Then define the action in one short sentence and set a target length (usually 4–8 seconds).
Collect Inputs
- Text to video, craft a compact prompt.
- Image to video, use a clear portrait or key art.
- For a hybrid AI video, attach 1–2 images to lock identity.
Set a Naming Scheme
Use clear, consistent names, such as XMEN_rooftop_01 or StreetFighter_alley_02. Add version numbers for iterations.
Core Settings to Use
- Aspect ratio: 16:9, 9:16, 1:1
- Resolution: Preview at 540p or 720p; final at 1080p
- Duration: 4–10 seconds
- Motion level: Subtle, Normal, Fast
- Seed: Lock to keep identity; unlock to explore
- Negative prompt: Remove text, extra limbs, logos, or artifacts
Prompt Structure That Works
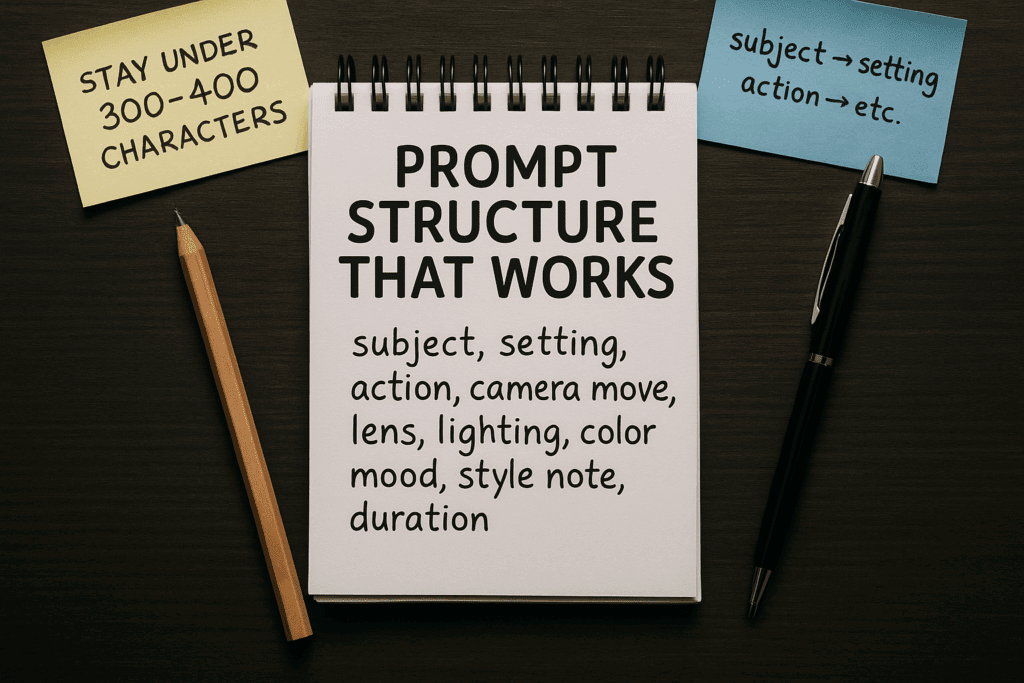
Keep a clear order: subject → setting → action → camera → lens → lighting → mood → style → duration.
Stay under 300–400 characters to avoid drift.
Example Prompt:
A lone hero on a stormy rooftop at night. Cape flickers in the wind. Camera push-in, 35 mm lens, hard rim light, blue-gray palette, cinematic tone, 8 seconds.
Workflow 1 – Text to Video
- Open PixVerse, choose Text to Video, and select Version 5.
- Paste your prompt.
- Set aspect ratio and duration.
- Choose motion level (Normal works best for first pass).
- Add negative prompts to remove unwanted artifacts.
- Render a preview at 540p or 720p.
- Lock seed if the look fits, then upscale to 1080p.
- If needed, tweak lighting or color mood and re-render.
Workflow 2 – Image to Video
- Open Image to Video and select Version 5.
- Upload a clean reference image.
- Describe motion and environment only; don’t alter identity.
- Keep motion simple (push-in or micro-orbit).
- Render a short preview and check hair and edge stability.
- Lock seed and test a few motion variants for the cleanest result.
Workflow 3 – AI Video (Hybrid Inputs)
- Choose AI Video (hybrid mode).
- Attach a main image (and one supporting image if needed).
- Add a short prompt for action and mood.
- Keep the duration short for the first tests.
- Render previews, lock seed, and upscale the best clip.
Workflow 4 – Animation Video Generator
- Switch the style setting to Animation.
- Use simple lighting and bold colors.
- Repeat unique descriptors for consistency (“cel lines,” “teal jacket”).
- Render tight beats with punchy motion.
Professional Quality Checklist
- Lock seeds to keep identities consistent.
- Repeat character descriptors across prompts.
- Keep one main action per clip.
- Use image to video for faces and text to video for wide shots.
- Apply negative prompts to clean frames.
- Test motion intensity and choose the cleanest pass.
- Add sound and titles in an editor for final polish.
Use Case 1, X-Men, Best Badass Characters Montage
Goal: Create a fast hero montage with dramatic lighting and weather effects.
Format: 16:9, 8-second beats, 3–5 shots.
Shot plan
1, rooftop hero reveal, slow push-in, lightning flashes on the horizon.
2, close face shot, eyes glow, micro camera sway, wind across hair.
3, power pose, debris lifts from the ground, sparks, and dust drift.
4, wide heroic lineup, backlight, rain, smoke plumes.
Prompts
Text to video example for Shot 1
A heroic mutant on a stormy rooftop at night, cape flickers, lightning in the distance. Camera push-in, 35mm lens, hard rim light, blue-gray palette, cinematic grade, 8 seconds.
Image to video example for Shot 2
Upload a clean portrait of the hero. Prompt, gentle push-in, micro head sway, soft wind through hair, faint eye glow, light rain, 8 seconds.
Tips: Repeat one identity phrase per hero, same color scheme, and costume note per shot. Lock the seed after the first clean pass. For the lineup shot, lower motion intensity to keep faces stable.
Use Case 2, Street Fighters Teaser Loop
Goal: Make a neon-lit duel for Shorts or Reels.
Format: 9:16, 6–7 seconds per clip.
Shot plan
Clip 1, the fighter readies a spinning kick, camera orbits slightly, neon reflections in puddles.
Clip 2, fists meet mid-air, freeze frame on impact with anime motion lines, then a quick logo slate.
Prompts
Image to video example for Clip 1
Upload a dynamic pose render. Prompt, slight handheld orbit, rain streaks, glossy puddles, neon reflections, micro camera shake, saturated palette, 6 seconds.
Animation video generator example for Clip 2
A stylized duel, punch impact, cel lines, and bold rim light, freeze-frame on impact for two beats, logo card for two seconds, 9:16, 7 seconds.
Tips: Keep environments simple. Neon, rain, and steam create depth without clutter. Use negative prompts to block stray signage or random text.
Editing And Delivery
Export 1080p from PixVerse for finals. In your editor, trim heads and tails to tighten the rhythm. Use sound hits on cuts. Add a two-second logo slate. Create platform versions. 1920×1080, 1080×1920, and 1080×1080. Measure watch time at three seconds and at ten seconds. Replace weak openers based on retention.
Troubleshooting Guide
| Issue | Solution |
| Faces drift | Use image to video, lock seed, lower motion intensity. |
| Cluttered frames | Shorten prompt; add negative prompt. |
| Jittery motion | Simplify camera move (push-in or orbit). |
| Color shifts | Set consistent palette and lighting words. |
PixVerse 4.0 vs Version 5 Comparison
| Feature | PixVerse 4.0 | PixVerse 5.0 |
| Inputs | Text to video, image to video basics | Text, image, hybrid with stronger control |
| Render speed | Good, variable on complex scenes | Faster previews and quicker finals |
| Motion quality | Occasional stiffness, some wobble | Smoother motion, better physics cues |
| Frame sharpness | Mixed sharpness on edges | Crisper edges, cleaner hair and hands |
| Style stability | Color and costume shifts in busy scenes | Stable palette and wardrobe across shots |
| Prompt adherence | Weaker with long prompts | Strong with short, specific prompts |
| Camera moves | Basic push and pan | Cleaner push, pull, tilt, micro orbit |
| Seed reliability | Inconsistent repeats | Seeds hold look and identity across reruns |
| Animation mode | Limited presets and coherence | Stronger toon style, better line stability |
| Resolution | HD with minor artifacts | 1080p with reduced artifacts |
| Best use | Social loops and tests | Social loops plus short professional spots |
Complete End-to-End Example
- Plan: Write one sentence per shot; pick a blue-gray palette and lighting theme.
- First Passes: Use image to video for faces and text to video for wides.
- Refine: Lock seeds, adjust motion, shorten duration if needed.
- Upscale: Export each clip at 1080p and check edges.
- Edit and Sound: Cut on motion, add hits, and simple music.
Street Fighters Mini Project: Use an image to video for pose and animation style for impact; add sound and publish.
Ethics and IP Notes
Use images you own or have rights to. Avoid trademarked logos or exact likenesses. Keep content original and clearly named.
Practical Prompt Library
Cinematic rooftop hero, cape edges ripple, lightning beyond skyline. Camera push-in, 35mm, blue-gray grade, hard rim light, 8 seconds.
Neon alley fighter readies a spinning kick, glossy puddles, rain streaks, and steam vents. Micro orbit, handheld sway, saturated palette, 6 seconds.
Stoic anime protagonist, close face, cel lines, soft rim, eyes flare for one beat, gentle push-in, 7 seconds.
Wide heroic lineup in rain, smoke plumes, backlight silhouettes, slow dolly-in, 8 seconds.
Key Takeaways
Plan shots in short beats. Pick the right input mode per scene. Keep prompts brief and consistent. Lock seeds after clean renders. Use the animation generator for stylized impact. Version 5 improves speed and quality without complexity.
Conclusion
PixVerse Version 5 turns clear instructions into clean footage fast. By using its four-generation modes with intent, text to video, image to video, AI hybrids, and animation generator, you can create stable, stylish clips for any theme. Version 5 delivers speed, consistency, and control that keep your workflow moving from idea to upload in minutes.
FAQs
1. Is the PixVerse AI app free?
PixVerse AI offers a free plan with limited daily credits. You can create short test videos without paying. However, for HD exports, longer clips, or commercial rights, you’ll need a paid subscription or credit pack.
2. Is PixVerse AI free or paid?
PixVerse AI is both free and paid. The free tier lets new users explore basic features, while paid plans unlock higher resolutions, faster rendering, and watermark-free results. Many creators start free, then upgrade once they need more output.
3. How much does PixVerse cost?
PixVerse pricing depends on how often you use it. Free users get daily credits, while paid plans start around $10 per month. Professional tiers and API plans range from $100 to over $1,500 monthly for heavy or team use.
4. Is Pix AI free?
If you mean PixVerse AI, yes, it has a free version. But remember that free use comes with restrictions like limited video length and watermarking.
5. Which AI is totally free?
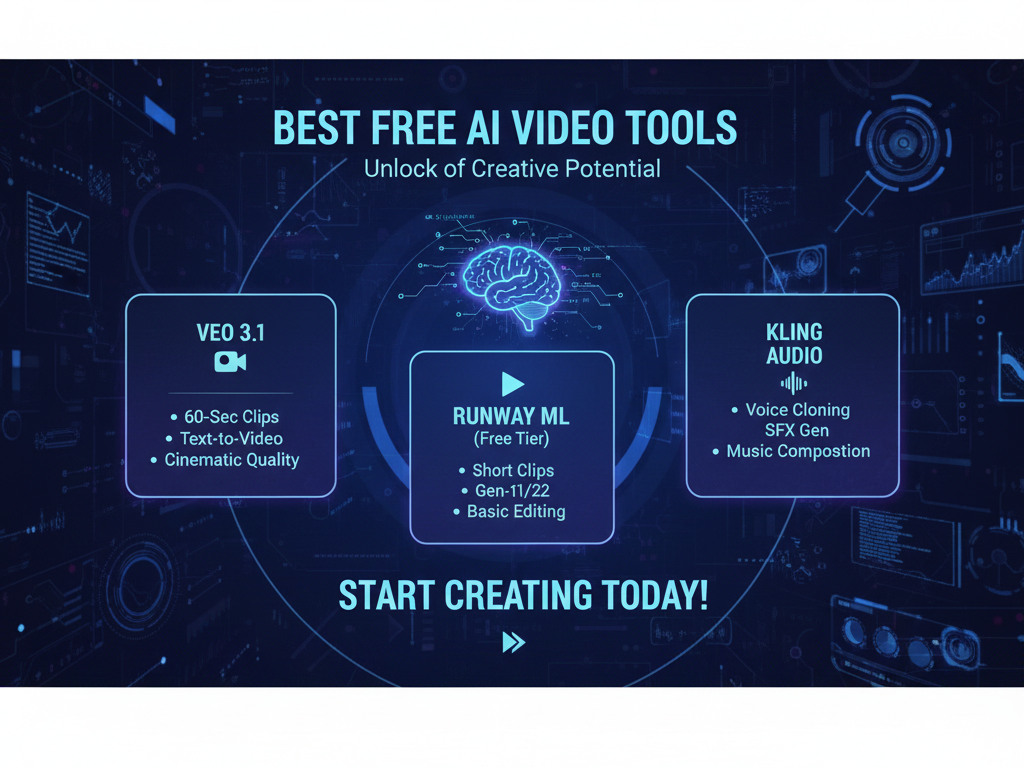
Few advanced AI tools are completely free. PixVerse offers a limited free tier, while platforms like Runway, Pika, or Luma have free trials. For ongoing free use, you’ll face basic resolution or export limits.
6. How to get PixVerse for free?
Simply sign up on the PixVerse website or mobile app. New users get instant free credits. You can also earn bonus credits through daily logins or by watching short ads in the mobile version.
7. How accurate is PixVerse AI?
PixVerse AI is accurate for most creative tasks, but results vary by prompt detail and style. It performs best with short, clear prompts and structured guidance. Version 5 significantly improved realism, motion, and color stability.
8. How to use PixVerse for free?
Download the app or access the website, create an account, and start with the free credits. Try Text to Video or Image to Video modes, and preview in 540p or 720p before upgrading for HD exports.
9. Is PixVerse AI completely free?
No, PixVerse AI isn’t completely free. It offers generous trials and limited free use, but premium plans are required for high-definition, watermark-free, or commercial projects.
10. Can I use AI-generated text for free?
Yes, you can. Most text AIs (like ChatGPT or Copy AI) have free versions, but some limit words or usage per month. You can pair them with PixVerse AI to create scripts or prompts at no cost.
