How to Turn Any Image to 3D Model Using Uni3C and SAM 3D
You can turn any image to 3D model fast with Uni3C and SAM 3D. Both tools work well together and give you clean 3D output in a few steps. This guide shows you how the workflow works and how you get strong results with simple inputs.
What Is an Image to 3D Model?
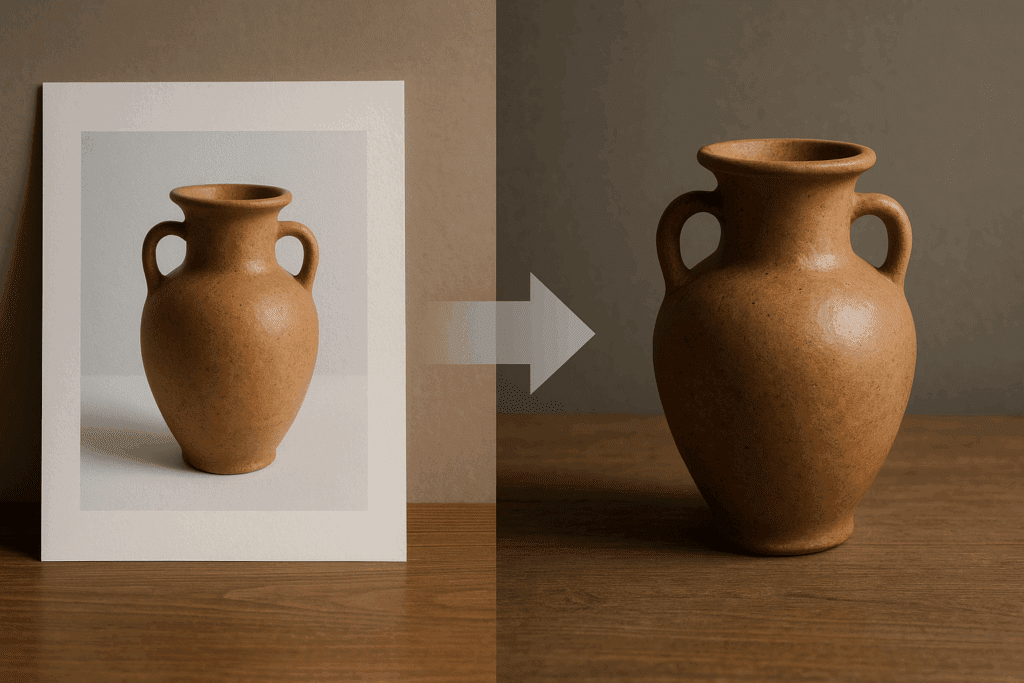
Image to 3D model means turning a single photo or a set of images into a 3D mesh you can edit, render, or animate.
The process is simple.
You upload a photo.
AI predicts depth and shape.
Then the system builds geometry and adds texture.
You export the result to tools like Blender, Unity, Unreal, or any 3D viewer.
This works with many formats. OBJ, FBX, GLB, and USDZ are common formats that most tools support.
You get a fast way to turn flat photos into real 3D objects without deep modeling skills.
Why Use Uni3C and SAM 3D Together?
Uni3C and SAM 3D work well together because each tool handles a different part of the job.
Uni3C builds the 3D structure.
SAM 3D isolates the object so the final model comes out clean and sharp.
Both tools keep the workflow simple and accurate.
What Uni3C Does
Uni3C turns your images into 3D shapes.
It predicts depth, geometry, and rough textures from a single image or a set of images.
This makes it useful for real objects, product photos, and simple props.
Uni3C works well with clear images. The cleaner your input, the better the shape of your 3D model.
What SAM 3D Does
SAM 3D masks your object with one click.
It removes the background and noise.
It keeps the edges clean so Uni3C can build better geometry.
You draw a box around the object.
SAM 3D handles the rest.
This helps you isolate shapes with strong accuracy.
Step-by-Step: How to Turn Any Image to 3D Model
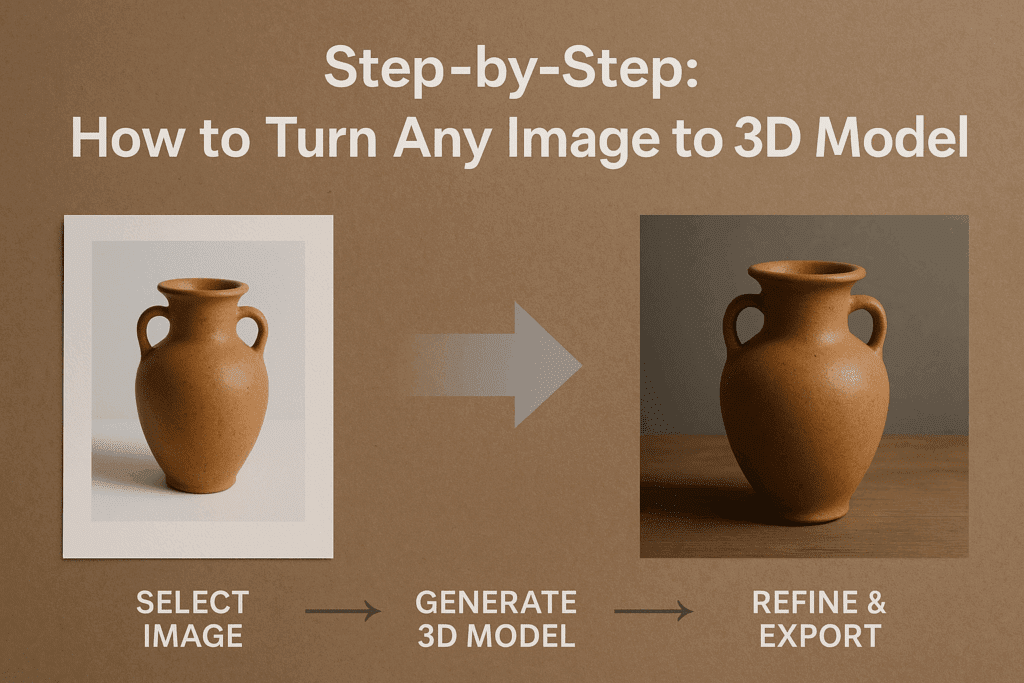
You follow five steps: prepare the image, mask it, run Uni3C, export the mesh, and clean it up.
Step 1: Choose a Good Image
Pick a clear image.
Use good lighting.
Keep the background simple.
Make sure the object is fully visible.
Avoid reflections or heavy shadows when possible.
Step 2: Mask the Object With SAM 3D
Upload your image to SAM 3D.
Draw a box around the object.
SAM 3D auto-segments the shape.
Check the edges.
Fix any part that looks rough or cut off.
The cleaner the mask, the better the 3D output.
Step 3: Send the Mask Into Uni3C
Upload the masked image to Uni3C.
The system predicts shape and depth.
It builds the base 3D model in a few seconds or minutes.
Check the geometry.
Look for gaps or uneven shapes.
Uni3C handles both single-view and multi-view inputs. Multi-view gives stronger depth.
Step 4: Export the 3D Model
Choose your export format.
OBJ, FBX, and GLB work well for most engines and tools.
Check your scale settings.
Give your file a clear name.
Save the mesh and textures.
You now have a working 3D model.
Step 5: Clean Up in Blender or Your Engine
Open the file in Blender or your 3D tool.
Fix topology if needed.
Check UV maps.
Fix any stretched textures.
Add basic materials.
Prepare the model for rendering or animation.
This step improves the final look and helps you get a polished result.
Best Use Cases for Image to 3D Model
Image to 3D model workflows fit many creative and technical tasks.
- Game props
- Product models for e-commerce
- XR training objects
- Industrial and design prototypes
- Digital twins
- Quick concept builds for art or testing
You can turn simple photos into assets without hiring a full 3D team.
Common Problems and Quick Fixes
Most issues come from weak images, bad edges, and rough geometry.
Here are simple fixes.
- Blurry photos → take a sharper shot
- Messy edges → refine the SAM 3D mask
- Flat geometry → try multi-view input
- Bad textures → repaint or unwrap UVs
- Wrong scale → fix scale during export
These small steps improve results fast.
How to Improve Your 3D Results
You get better results with better inputs.
Follow these tips.
Use bright, even lighting
Shoot front, side, and 45° angles when possible
Keep backgrounds clean
Avoid reflections
Always review the SAM 3D mask
Use multiple images for complex objects
Good preparation reduces clean-up time later.
Exporting Your 3D Model for Video and Ads
Once your 3D model is ready, you can turn it into videos for ads and content.
Render a turntable in Blender.
Export an MP4 or image sequence.
Upload to VidAU to add captions, music, transitions, or effects.
Export formats for TikTok, Reels, and YouTube.
This gives you fast marketing content from a single image.
Conclusion
The image to 3D model is simple with Uni3C and SAM 3D. SAM 3D cleans the object. Uni3C builds the shape. You create solid 3D assets from simple photos with a short workflow. Start with a clear image, mask it, process it, export it, and clean it. Your model becomes ready for games, e-commerce, XR, or video content.
FAQs
1. Can one photo create a full 3D model?
Yes. AI can build a full 3D mesh from one image, but multi-view gives better geometry.
2. Do I need Blender for final edits?
Yes, if you want clean topology and polished textures. Basic models still work without heavy edits.
3. Why does my model look flat?
Flat models come from weak depth prediction. Use better images or more views.
4. What format should I export?
Use OBJ, FBX, or GLB for most workflows.
5. How long does Uni3C take?
A few seconds to a few minutes, depending on image size and settings.

