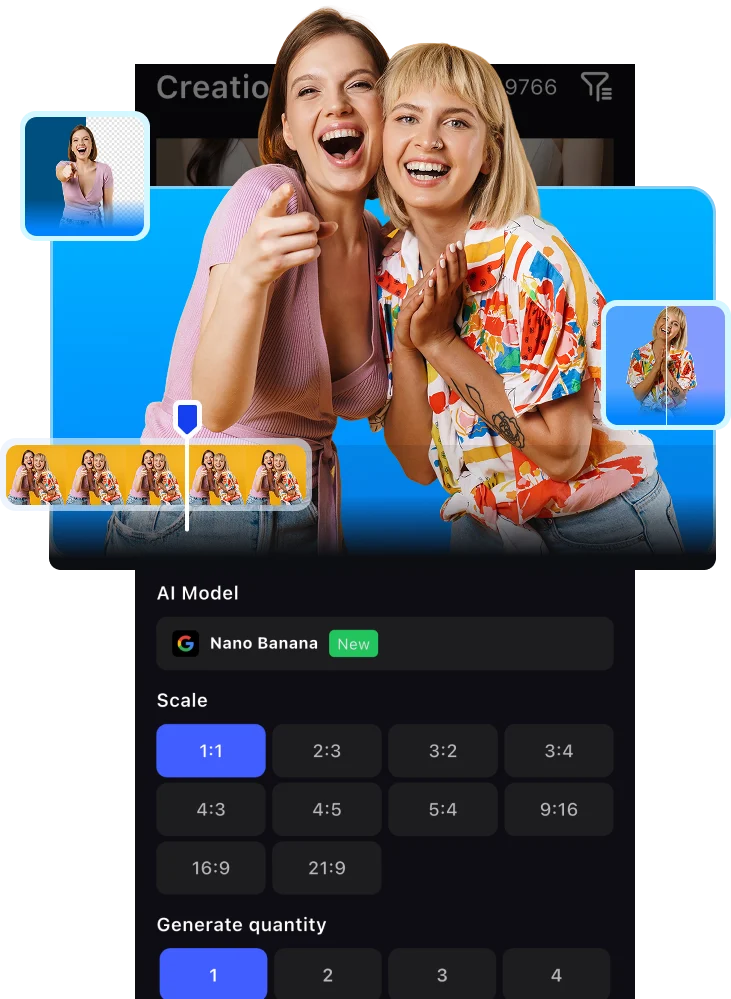
AI Video Ad Agent
Your Next Winning Ads Starts Here.


Access the World’s Top AI Generative Models with One Subscription


Your Perfect Visual Starts Here


VidAU — Where AI Meets High Performance Advertising
VidAU honestly saved me hours every week. I can turn a product idea into a clean video ad without filming myself or learning editing tools. It feels like having a mini creative team on demand.

As a small online store owner, VidAU helped me create professional looking ads that actually convert. The avatars and templates make my brand look bigger than it is.

This is perfect for affiliates. I can test multiple ad angles fast without waiting on designers. It’s simple, fast, and surprisingly powerful.

We use VidAU for rapid ad prototyping for clients. It speeds up our workflow and helps us validate creatives before scaling. Very practical tool for agencies.

I love how natural the AI avatars look. It’s one of the few tools where the output doesn’t feel ‘too AI.’ Great for UGC style ads and short-form content.

VidAU honestly saved me hours every week. I can turn a product idea into a clean video ad without filming myself or learning editing tools. It feels like having a mini creative team on demand.

As a small online store owner, VidAU helped me create professional looking ads that actually convert. The avatars and templates make my brand look bigger than it is.

This is perfect for affiliates. I can test multiple ad angles fast without waiting on designers. It’s simple, fast, and surprisingly powerful.

We use VidAU for rapid ad prototyping for clients. It speeds up our workflow and helps us validate creatives before scaling. Very practical tool for agencies.

I love how natural the AI avatars look. It’s one of the few tools where the output doesn’t feel ‘too AI.’ Great for UGC style ads and short-form content.

VidAU honestly saved me hours every week. I can turn a product idea into a clean video ad without filming myself or learning editing tools. It feels like having a mini creative team on demand.

As a small online store owner, VidAU helped me create professional looking ads that actually convert. The avatars and templates make my brand look bigger than it is.

This is perfect for affiliates. I can test multiple ad angles fast without waiting on designers. It’s simple, fast, and surprisingly powerful.

We use VidAU for rapid ad prototyping for clients. It speeds up our workflow and helps us validate creatives before scaling. Very practical tool for agencies.

I love how natural the AI avatars look. It’s one of the few tools where the output doesn’t feel ‘too AI.’ Great for UGC style ads and short-form content.

VidAU makes ad creation much easier, especially for testing products quickly. There’s still room for more templates, but overall it’s a solid tool I use weekly.

Great for speed and experimentation. I wouldn’t replace high-end custom creatives with it, but for scaling and testing, it’s very effective.

VidAU helped us launch ads without hiring a full creative team. The interface is simple and beginner-friendly. Some advanced controls would make it even better.

It’s a reliable tool for quick client deliverables. Not perfect, but it saves time and reduces costs. Definitely worth having in the stack.

VidAU is easy to use and the results are decent, but it took me some time to learn how to get the best outputs. Once I figured it out, it became more useful.

VidAU makes ad creation much easier, especially for testing products quickly. There’s still room for more templates, but overall it’s a solid tool I use weekly.

Great for speed and experimentation. I wouldn’t replace high-end custom creatives with it, but for scaling and testing, it’s very effective.

VidAU helped us launch ads without hiring a full creative team. The interface is simple and beginner-friendly. Some advanced controls would make it even better.

It’s a reliable tool for quick client deliverables. Not perfect, but it saves time and reduces costs. Definitely worth having in the stack.

VidAU is easy to use and the results are decent, but it took me some time to learn how to get the best outputs. Once I figured it out, it became more useful.

VidAU makes ad creation much easier, especially for testing products quickly. There’s still room for more templates, but overall it’s a solid tool I use weekly.

Great for speed and experimentation. I wouldn’t replace high-end custom creatives with it, but for scaling and testing, it’s very effective.

VidAU helped us launch ads without hiring a full creative team. The interface is simple and beginner-friendly. Some advanced controls would make it even better.

It’s a reliable tool for quick client deliverables. Not perfect, but it saves time and reduces costs. Definitely worth having in the stack.

VidAU is easy to use and the results are decent, but it took me some time to learn how to get the best outputs. Once I figured it out, it became more useful.

Want high converting marketing content?


