Everything You Need to Know About CapCut Features, Logo, Online, and Pro
What is CapCut
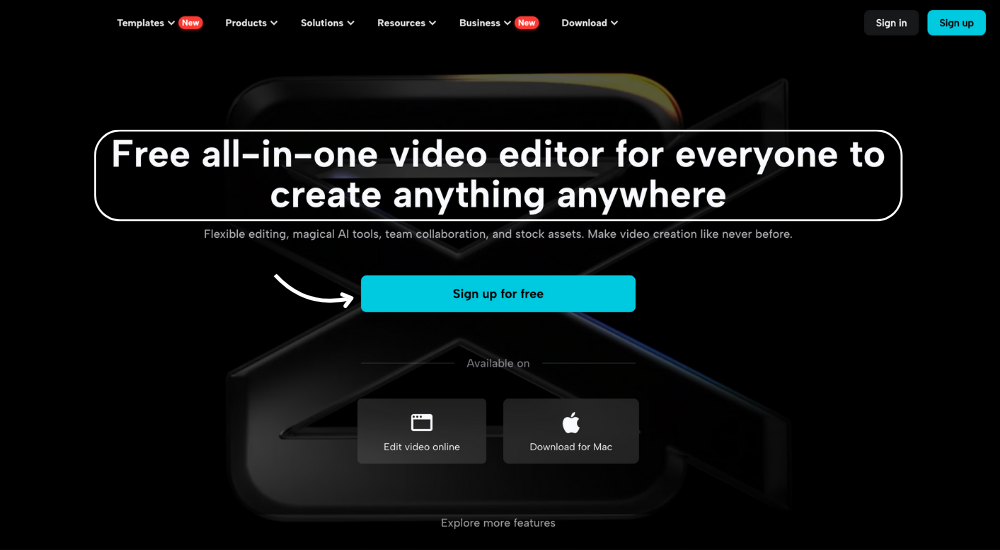
CapCut is a video editor for web, desktop, and mobile. It uses AI to speed up everyday editing. Because the tool is easy to learn, beginners can start within minutes, while advanced users still get power features. As a result, CapCut fits both casual edits and serious productions.
Because many people search for CapCut logo guidance, this guide includes a simple method that works on desktop and CapCut online. It also explains when CapCut pro helps and when the free plan is enough.
CapCut features index
Below you will find a plain list of popular CapCut features. If you often work with brand marks or overlays, note that several tools also speed up CapCut logo workflows. Each item explains what it does and where to find it, so you can move from reading to doing without delay.
- Auto Captions: Turn speech into subtitles. Open your timeline, select Text, then choose Auto Captions. After that, edit words, timing, and styles in one panel.
- Text to Speech: Convert written lines into voice. Create a text box, choose Text to Speech, then pick a voice. Moreover, adjust speed and emotion for a natural result.
- Chroma Key: Remove green screen backgrounds. First, place the clip above your main video. Next, use Chroma Key to sample the color. Finally, refine with Spill and Strength sliders.
- Stabilization: Reduce shaky footage. Select the clip, open Video options, then apply Stabilize. In addition, review the crop for framing.
- Motion Tracking: Track an object, then link text or stickers to it. Consequently, your graphics follow the subject as it moves.
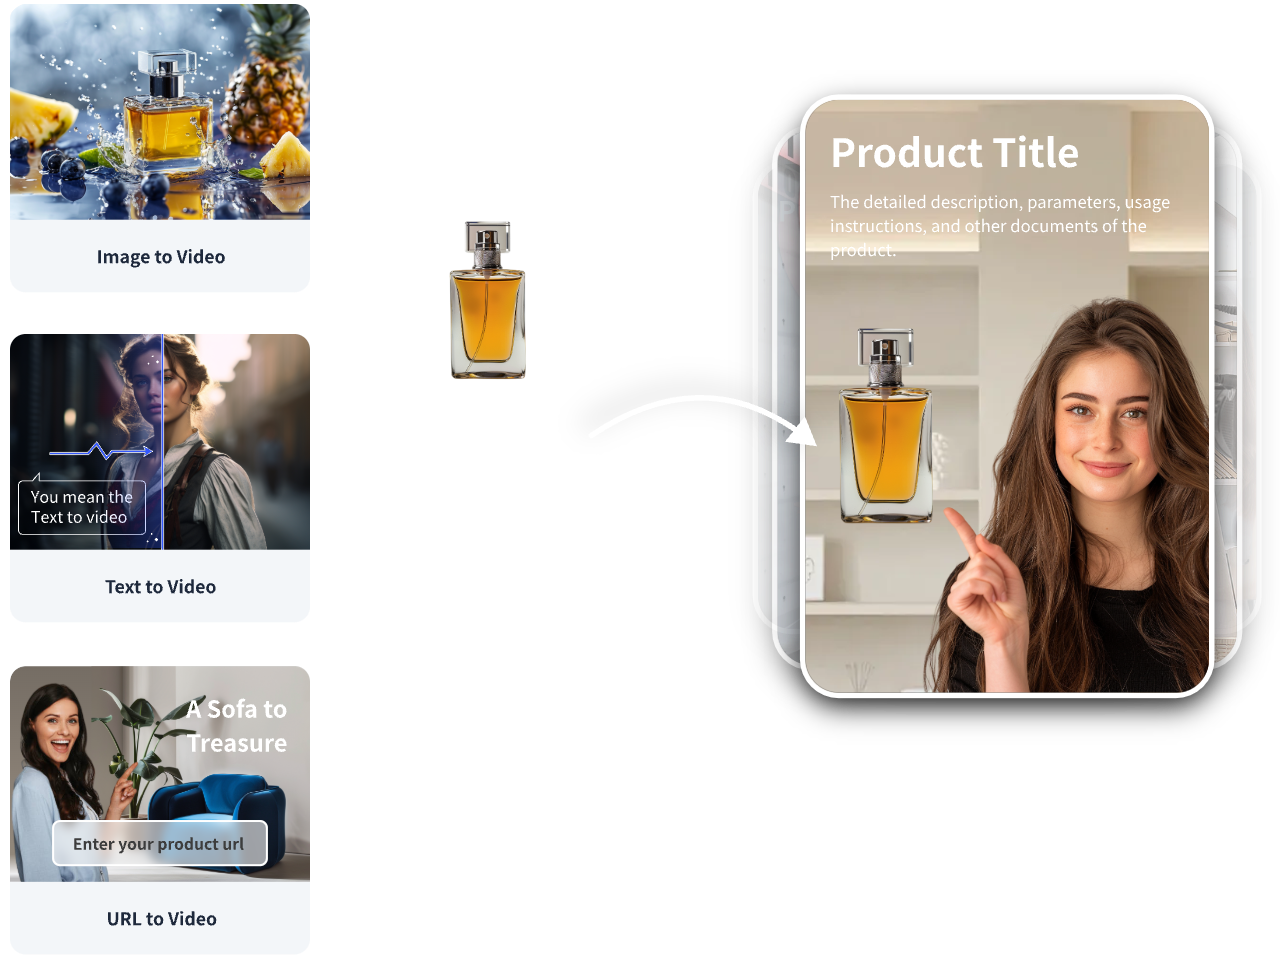
- Background Remover: If you need a fast web tool, try VidAU’s Background Remover for clean PNGs and product shots. Then import the cutout into CapCut and position it as your brand mark. If your clip needs a clean backdrop, VidAU also offers background removal for videos inside its editor. Finally, use the watermark remover if you are cleaning your own branded assets before re-editing.
- Vocal Isolation: Lower music or noise while keeping speech clear. Therefore conversations in noisy scenes stay understandable.
- Templates: Start with animated presets. Search by theme, replace media, and export. This route is quick, especially for Shorts.
Because this list covers must have tools, it gives you a fast map of CapCut features you will use most often.
CapCut Free vs CapCut Pro
Creators who wonder about pricing usually compare capcut pro and the free plan side by side. Many editors ask if they need the paid plan. The quick answer is that Free is enough for basic edits, while capcut pro unlocks higher limits and more assets. The table compares the essentials so that the choice becomes clear.
| Capability | Free | Pro |
|---|---|---|
| Export quality | Up to high resolution, may vary by platform | Consistent high and very high resolution |
| Assets and templates | Standard library | Larger stock, premium templates, and extra effects |
| Cloud and device sync | Basic | Expanded cloud space and team sharing |
| Advanced tools | Limited | More advanced CapCut features and priority updates |
| Watermark | None on standard exports | None |
| Support | Community help | Priority support |
If you only cut clips and add simple titles, Free is fine. If you need more stock assets, smoother cloud sync, or you want the newest CapCut features first, CapCut pro is worth it.
CapCut Online vs Desktop
When you switch devices, CapCut online keeps your projects within reach. Both versions are reliable, yet they are not the same. CapCut online runs in the browser and helps when you switch devices. The desktop app handles heavy timelines with fewer slowdowns. Therefore, pick the version that matches your workflow today, then switch when your project grows.
| Aspect | CapCut Online | Desktop App |
|---|---|---|
| Access | Works in any modern browser | Install on Windows or macOS |
| Speed on long timelines | Good for short or mid length edits | Better for long, layered edits |
| Collaboration | Easy to share links | Share project files or cloud folders |
| Templates | Strong for quick starts | Strong, with more local control |
| Shortcuts and extensions | Basic | Full keyboard shortcuts and deeper settings |
Because many editors own both options, a smooth flow is simple. Draft in CapCut online when you are traveling. Later, finish on desktop for complex color, audio, or motion work.
How to add your brand logo in CapCut
If you want a quick answer to the query CapCut logo, start here. The process works in the desktop app and in CapCut online. This short tutorial shows the fastest way to add a logo or watermark. If your CapCut logo looks soft or misplaced, these steps will help. As you practice, you will naturally go faster.
- Prepare a PNG logo with a transparent background. Also, save a white version for dark footage.
- Open your project. Then import the logo as media.
- Drag the logo onto a track above your video. After that, trim the logo clip so it matches the needed duration.
- Resize the logo in the preview. Next, place it in a safe corner, usually top right or bottom right.
- Reduce opacity slightly if the logo feels too strong. Consequently, your brand stays visible without stealing attention.
- For recurring projects, right click the logo and save it as an asset or template. Therefore you can reuse it with one click.
- Export your video. Finally, check the logo on phones and laptops to ensure clarity.
Because the steps are short and repeatable, you can add a clean brand mark to any video in under a minute. Editors who work for brands can also store a brand kit, which speeds up every export. If your logo has a white box, remove it with VidAU so you get a clean transparent PNG before you import.
Conclusion
To wrap up, CapCut features help you edit faster with less friction. Choose Free or CapCut pro based on the assets you need, and use CapCut online when a quick browser edit makes sense. Add a clean CapCut logo using the steps above; if the background is not transparent, remove it with VidAU first. Finally, practice one new tool per project and keep publishing.


