Start Making AI Videos in Under 20 Minutes: A 2026 Beginner’s Technical Guide

You’re not behind. Here’s how to start making AI videos today.
If you feel overwhelmed by AI videos tools, you’re not alone. In 2026, the problem is no longer access* to AI video-it’s *choice overload. Runway, Sora, Kling, Pika, ComfyUI, and dozens of forks all promise cinematic results, but beginners freeze because they don’t know where to start.
This guide solves that with a simple 3-step roadmap that every professional AI video creator follows, whether they admit it or not. You’ll understand how AI video actually works*, *how to pick the right model tier without wasting money*, and *how to structure prompts that reliably produce clean, usable footage.
No hype. No vague inspiration. Just the minimum technical knowledge required to go from zero to near‑professional results, fast.
The 3-Step Roadmap: From Zero to Near‑Professional AI Video
Every AI video workflow, no matter the tool, reduces to three decisions:
1. Which creation method are you using? (Generation vs. Transformation)
2. Which model tier fits your budget and goal? (Base, Pro, or Cinematic)
3. How well is your prompt structured? (This controls consistency and realism)
If you lock these three things in, tools become interchangeable. That’s how professionals move between Runway, Sora, Kling, and ComfyUI without starting over each time.
Let’s break each pillar down.
Pillar 1: The Two Core Creation Methods Every AI Video Tool Uses
All AI video tools, yes, all of them, are built on two fundamental creation methods.
Method 1: Text-to-Video (Pure Generation)
This is what most beginners start with.
You describe a scene. The model generates motion from latent noise using diffusion or transformer-based video prediction.
Examples:
- Sora: text-to-video world simulation
- Kling: cinematic text-to-video with camera motion
- Runway Gen-3: prompt-driven video synthesis
What’s happening under the hood:
- The model samples frames from latent space
- Motion coherence is controlled by latent consistency and temporal attention
- Schedulers (often Euler A or DPM++) determine how noise collapses into motion
Pros:
- Fast
- No assets required
- Perfect for ideation
Cons:
- Harder to control characters
- Faces and objects may drift without seed parity
Beginner rule: Use text-to-video to learn motion and prompting, not final production.
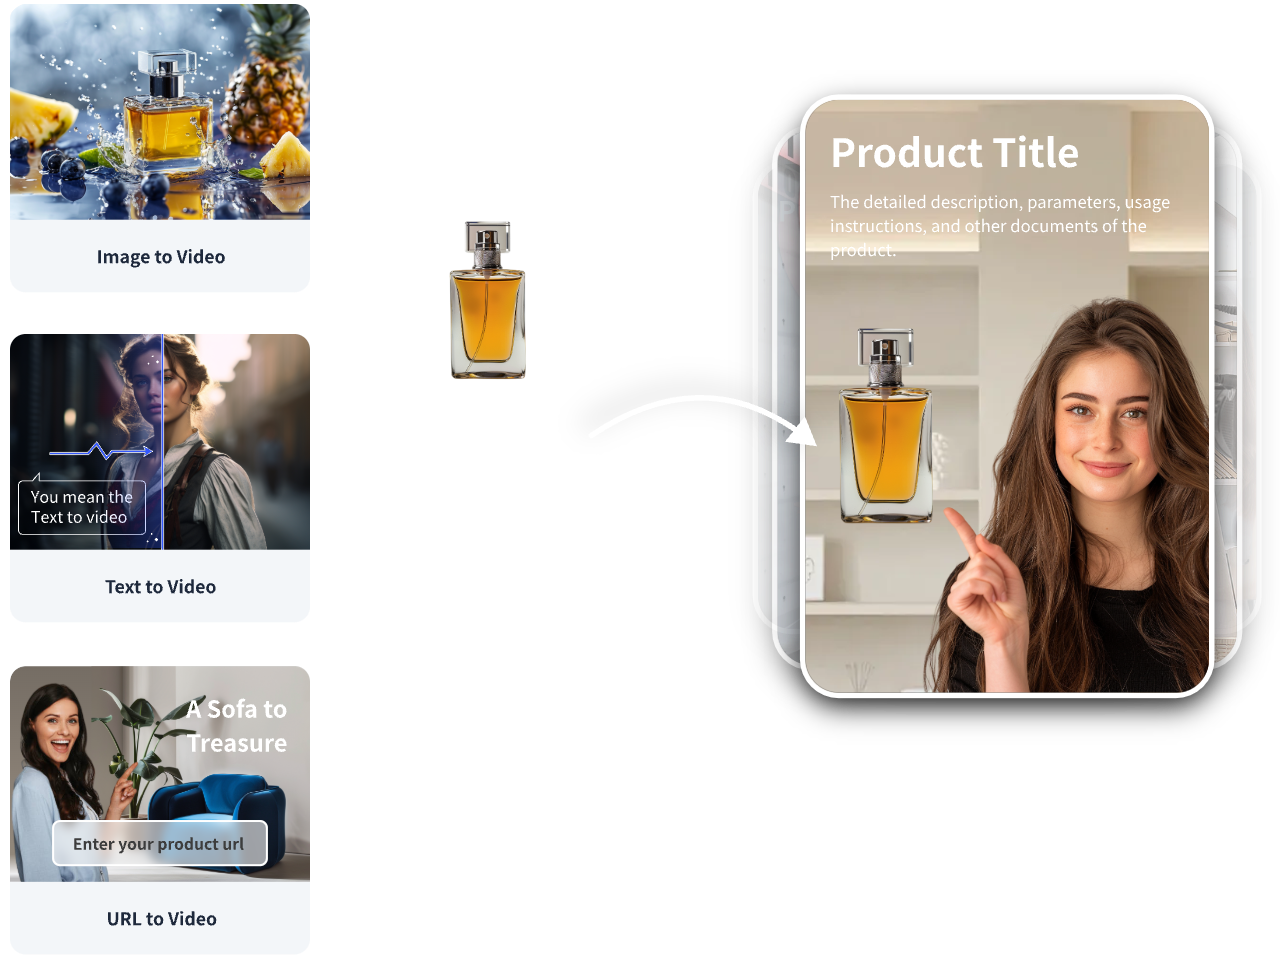
Method 2: Image-to-Video (Transformation)
This is where professional-looking results begin.
Instead of starting from noise, you give the model an anchor frame.
Examples:
- Runway: image-to-video with motion brushes
- Kling: reference image animation
- ComfyUI: Stable Video Diffusion pipelines
Why this works better:
- The image locks composition
- Identity remains stable across frames
- Motion is layered on top of an existing structure
Technically, this reduces entropy in the latent space, allowing better temporal consistency.
Pro tip:* If a tool supports *seed parity, reuse the same seed across variations to keep character identity intact.
Which Method Should Beginners Use?
If your goal is usable video in under 20 minutes:
✅ Image-to-video first
✅ Text-to-video for experimentation
This single choice eliminates 70% of beginner frustration.
Pillar 2: How to Pick the Right Model Tier for Your Budget
Most AI video tools now offer tiers. Picking the wrong one wastes money and time.
Let’s decode them.
Tier 1: Base Models (Cheap, Fast, Limited)
Who they’re for: Absolute beginners
Characteristics:
- Lower frame coherence
- Shorter clips (2–4 seconds)
- Aggressive compression
Examples:
- Runway basic generations
- Entry-level Kling plans
Use these to:
- Learn prompt structure
- Test visual styles
- Understand motion language
Don’t expect cinematic results.
Tier 2: Pro Models (Best Value)
Who they’re for: Creators serious about output quality
Upgrades you get:
- Better temporal attention
- Improved latent consistency
- Higher motion fidelity
This is where tools start respecting:
- Camera direction
- Lighting continuity
- Subject persistence
Most YouTube AI videos you see in 2026 are made here.
Tier 3: Cinematic / World Models (Expensive, Powerful)
Who they’re for: Studios, agencies, serious storytellers
Examples:
- Sora cinematic tiers
- Advanced Kling world-simulation modes
These models simulate environments over time instead of predicting frames independently.
Warning: Beginners often upgrade too early and get confused by too many parameters.
Rule: Master prompts on Pro before touching cinematic tiers.
Pillar 3: Exact Prompt Structure for Better Video Outputs
Prompts are not descriptions. They are control scripts.
Here’s a structure that works across Runway, Sora, Kling, and ComfyUI.
The 5-Part Video Prompt Framework
[Subject]
[Environment]
[Motion Instruction]
[Camera Behavior]
[Style + Constraints]
Let’s break it down.
1. Subject (Be Specific)
❌ “A woman walking”
✅ “A 30-year-old woman with short black hair wearing a red jacket”
Specificity anchors identity in latent space.
2. Environment (Static First)
Lock the world before adding motion.
✅ “Empty city street at dusk with wet pavement reflecting neon lights”
This prevents background morphing.
3. Motion Instruction (One Action Only)
Beginners stack too much motion.
✅ “She walks slowly forward”
❌ “She walks, turns, smiles, and looks around”
Each extra action increases temporal instability.
4. Camera Behavior (This Is Critical)
Most people forget this.
✅ “Static camera, eye-level framing”
✅ “Slow dolly forward, shallow depth of field”
Without this, the model invents camera chaos.
5. Style + Constraints
Add realism controls:
✅ “Photorealistic, natural lighting, no motion blur, consistent facial features”
In ComfyUI, pair this with:
- Euler A scheduler
- Fixed seed
- Moderate CFG (6–8)
This combination stabilizes output dramatically.
Putting It Together: Your First 20-Minute AI Video Workflow
Here’s a beginner-proof workflow using Runway or Kling.
Minute 0–5:
- Generate or import a high-quality reference image
Minute 5–10:
- Switch to image-to-video
- Lock seed parity
- Apply a single motion instruction
Minute 10–15:
- Add camera behavior
- Adjust motion strength conservatively
Minute 15–20:
- Export
- Review for temporal artifacts
You now have a clip that looks intentionally created instead of randomly generated.
Final Thought: Tools Change. Fundamentals Don’t.
The creators who win in AI video aren’t chasing tools. They understand:
- Creation methods
- Model tiers
- Prompt structure
Once you do, starting a new AI video tool feels like opening a familiar interface, not learning a new language.
And that’s how you go from overwhelmed beginner to confident creator, fast.
Frequently Asked Questions
Q: Which AI video tool is best for complete beginners in 2026?
A: Runway and Kling are the most beginner-friendly due to their image-to-video workflows and simplified motion controls. ComfyUI is powerful but better once you understand fundamentals like schedulers and seeds.
Q: Do I need cinematic-tier models to make good AI videos?
A: No. Most high-quality AI videos online are created using Pro-tier models with good prompt structure and reference images.
Q: What is seed parity and why does it matter?
A: Seed parity means reusing the same random seed across generations to maintain character and scene consistency. It’s essential for identity stability.
Q: Why does my AI video look unstable or jittery?
A: Common causes include too many motion instructions, lack of camera constraints, or changing seeds between generations.


