Translate Voice to Text (Free & Paid): 10 Ways on Phone & Computer [2025]
From taking lecture notes to translating an interview on the fly, getting spoken words into another language shouldn’t be complicated. In the article I will show you exactly how to translate voice to text in 2025. I’ll cover the simple, free tools built right into your iPhone, Android, or computer, plus go over options for live meetings and more advanced projects. Consider this your go-to manual for turning speech into text, accurately and easily.
Voice‑to‑Text vs Voice Translation: What’s the Difference?
Firstly, Understanding the two key processes is essential:
- Voice-to-Text (Transcription): This is the process of converting spoken words into written text in the same language. Think of it as a digital stenographer. Examples include your phone’s live captions or voice dictation.
- Translation: This is the process of converting written text from a source language (like English) to a target language (like Spanish).
Typically, this is a two-step process: you transcribe the audio into text first, then translate that text. For live calls, some apps combine these steps in real-time.
The 10 Most Reliable Ways (Step‑by‑Step)
Each method lists who it’s for, steps, and pros/cons so you can pick fast.
1) Google Translate app (iPhone/Android) — fastest for short phrases
Best for: Quick phrases or back‑and‑forth conversation on the go.
- How to Use:
- Open the Translate app.
- Tap Voice (or Conversation for two‑way mode).
- Speak; copy the translated text when it appears.
Pros: Instant; supports many languages; works offline for select packs.
Cons: Not ideal for long recordings; limited editing.
2) Google Docs Voice Typing → Translate — free on the web
Best for: Dictating longer passages at a computer.
- How to Use:
- In Google Docs, go to Tools → Voice typing.
- Choose input language, click the mic, and dictate.
- Paste the text into your preferred translator or use your browser’s translation features.
Pros: Free; good for long dictation; easy to edit.
Cons: Microphone‑only by default (use a loopback/stereo mix to capture system audio legally and with consent).
3) Android Live Transcribe → Translate — great for continuous speech
Best for: Accessibility and long, live speech on Android.
- How to Use:
- Enable Live Transcribe in Accessibility settings.
- Start Live Transcribe to capture speech as text.
- Copy the transcript and translate it in your preferred translator.
Pros: Handles long speech; timestamps; works well in noisy environments.
Cons: Translation is a separate step; depends on mic quality.
4) iPhone: Translate app for voice; Live Captions for raw text
Best for: iOS users who want built-in options.
Option A — Translate app (fast translation)
- Open Translate.
- Use Conversation or Voice and speak.
- Copy the translated text.
Option B — Live Captions (transcribe first)
- Go to Settings → Accessibility → Live Captions and turn it on.
- Capture speech as text, then copy/paste into your translator of choice.
Pros: Native, simple, privacy‑friendly options.
Cons: Live Captions provides transcription only; translation is a second step.
5) Windows 11 Live Captions (some devices support translation)
Best for: Capturing desktop audio and mic speech on Windows.
- How to Use:
- Press Win + Ctrl + L to toggle Live captions.
- Select the audio source and caption language.
- Copy text from the captions window, then translate it (or enable translation if your device/build supports it).
Pros: System‑level; works for browser videos, calls, and local media.
Cons: Translation availability can depend on device/build; check your Windows version.
6) macOS Live Captions → Translate
Best for: Mac users who want a native captioning workflow.
- How to Use:
- Open System Settings → Accessibility → Live Captions and enable.
- Capture spoken audio as text.
- Copy the transcript and translate it.
Pros: Simple, system‑wide captions.
Cons: Translation requires a second tool; performance varies by audio path.
7) Google Meet — translated captions for live meetings
Best for: Classes, webinars, and international meetings in Google Meet.
- How to Use:
- In a Meet call, open Settings → Captions → Translated captions.
- Choose the target language.
- View captions during the meeting; save transcripts if your plan/admin allows.
Pros: Real‑time help for cross‑language meetings.
Cons: Some features require specific Workspace plans; accuracy varies with audio quality.
8) Zoom — translated captions (license dependent)
Best for: Teams that run on Zoom with translation add‑ons.
- How to Use:
- Host/admin enables Translated captions in Zoom settings.
- Participants select their caption language.
- Save transcript if the host allows.
Pros: Integrated; helpful for webinars and events.
Cons: May require paid add‑ons; quality depends on audio and speakers.
9) Pixel Recorder (Android) — on‑device transcription → Translate
Best for: Capturing interviews/lectures on a Pixel phone.
- How to Use:
- Open Recorder, start recording.
- Use the Transcript tab to view/edit text.
- Share or copy the transcript and translate it.
Pros: On‑device; editable transcript; searchable.
Cons: Pixel‑only; translation is separate.
10) Advanced: APIs & Open Source (power users)
Best for: Highest control/accuracy on files; developer workflows.
Workflow
- Transcribe using an ASR model or API (e.g., open‑source Whisper, or cloud ASR from major providers).
- Review and correct the transcript (names, acronyms, domain terms).
- Translate the text using your chosen MT service.
- Export to TXT/SRT/VTT for documents or subtitles.
Pros: Best quality and flexibility; automatable at scale.
Cons: Setup time; may incur compute/API costs.
Decision Matrix: Pick the Right Path
| Scenario | Best method(s) | Why | Output |
| A quick phrase on phone | Translate app (iOS/Android) | Instant voice translation | Translated text |
| A long meeting (live) | Meet/Zoom translated captions | Real‑time multi‑language captions | Live captions + transcript |
| Taking offline notes on Android | Live Transcribe or Pixel Recorder | Continuous capture; editable | Transcript → then translate |
| Desktop webinar | Windows/macOS Live Captions → Translate | Easy to capture spoken media | Transcript → then translate |
| Highest quality batch | Advanced (ASR → MT) | Accuracy + control, SRT export | TXT/SRT/VTT |
Accuracy & Privacy: How to Get Better Results

To get the most accurate transcriptions and protect everyone’s privacy, follow these best practices.
1. Start with High-Quality Audio
The better the sound, the better the transcript.
- Use an external microphone whenever possible for clearer input.
- Record in a quiet room to reduce background noise and echo.
- Avoid crosstalk by ensuring only one person speaks at a time.
- For recordings with multiple people, use a tool that supports speaker labels (diarization).
2. Choose the Right Languages
Help the AI understand what it’s hearing.
- Manually set the source language if the automatic detection is uncertain.
- For “code-switching” (mixing languages in one conversation), you may get better results by transcribing each language segment separately.
3. Respect Consent and Local Laws
- Always notify participants and get clear consent before you record any call or meeting.
- Be aware of and comply with the specific laws regarding audio recording in your state or country.
4. Handle Data Securely
- For sensitive conversations, prefer on-device transcription tools that don’t send your audio to the cloud.
- Review the data retention policies for any cloud service you use.
- Regularly delete temporary files and revoke app permissions that are no longer needed.
Mini Buyer’s Guide: Popular Services (Optional)
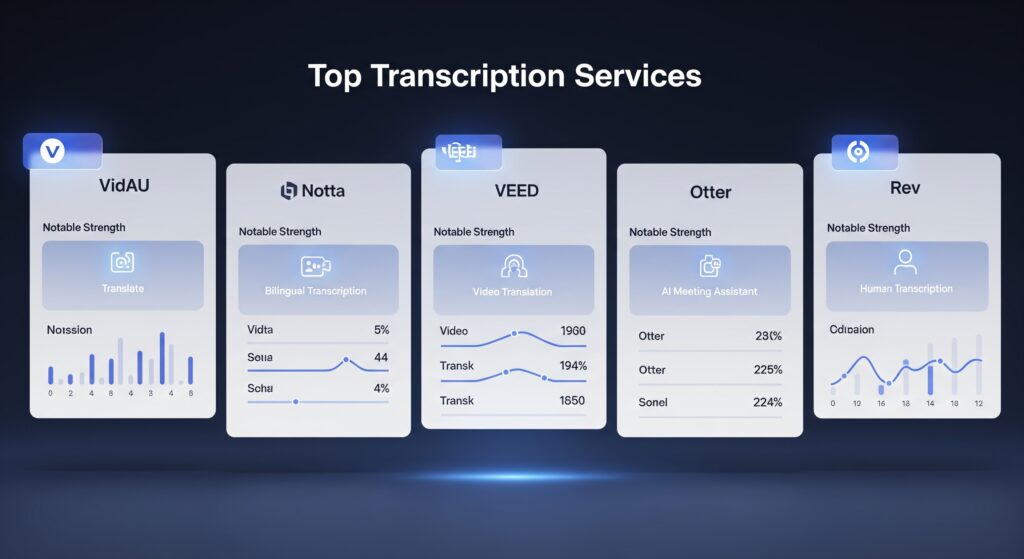
If you need more power than the built-in options, here’s a quick look at some popular third-party transcription services.
| Service | Platform | Free tier (basics) | Exports | Notable strengths |
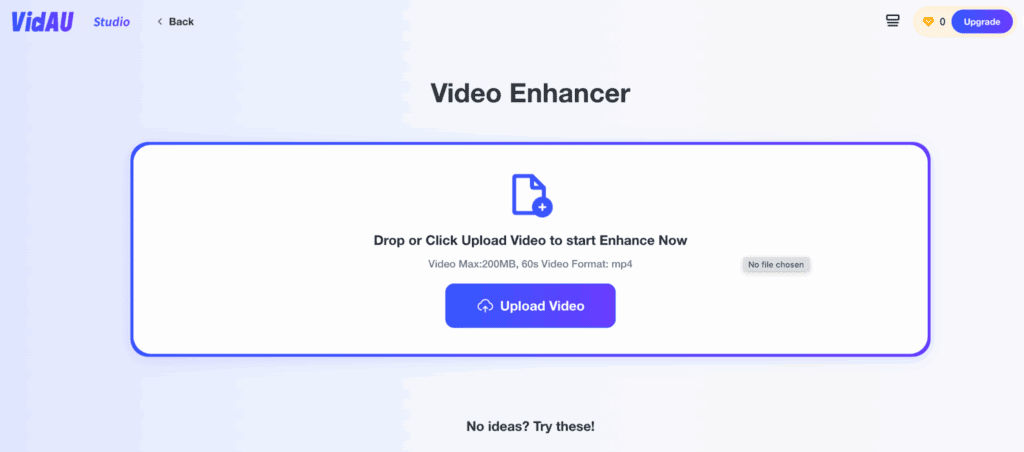
| VidAU | Web | Free tier available | TXT/SRT | Transcribe → translate in one workflow |
| Notta | Web, iOS, Android | Limited minutes | TXT/SRT | Clean editor; translation after transcription |
| VEED | Web | Limited exports | TXT/SRT/VTT | Format‑specific tools; video workflows |
| Otter | Web, iOS, Android | Monthly minutes | TXT | Meeting‑focused features |
| Rev | Web | None (human paid) | TXT/SRT | Human transcription option |
The best choice depends on your mix of languages, accuracy needs, and whether you prefer live captions or file uploads.
Troubleshooting: Common Problems & Quick Fixes

Encountering an issue? Here are some common problems and their solutions.
- Problem: Voice typing doesn’t hear any audio.
- Solution: Check your browser or app’s microphone permissions in your device settings. To capture your computer’s own audio (like a video), you need a special “loopback” input (always ensure you have consent).
- Problem: Translated captions are missing in Meet or Zoom.
- Solution: This feature is often tied to specific subscription plans. Check your plan’s features and your organization’s admin settings.
- Problem: Windows or macOS Live Captions won’t appear.
- Solution: First, ensure your operating system is up to date. Second, double-check that Live Captions are enabled in your Accessibility settings and that the correct audio source is selected.
- Problem: My exported text file (SRT/VTT) has strange formatting.
- Solution: Open the file in a plain-text editor (like Notepad on Windows or TextEdit on Mac). Ensure the file is saved with UTF-8 encoding, which is the standard for subtitle files.
Frequently Asked Questions (FAQ)
Is there a free way to translate audio to text?
Yes. On mobile, use the Translate app for quick voice translation. For longer speech, capture text with Live Transcribe (Android) or Live Captions (iOS/macOS) and then translate it. On desktop, Google Docs Voice Typing lets you dictate for free before translating.
Can I live‑translate captions on desktop?
Yes, major meeting apps like Google Meet and Zoom offer translated captions on certain plans. Windows and other platforms also provide system captions you can copy and translate afterward.
Do Windows or Mac do this natively?
Yes. Windows 11 and macOS both offer Live Captions for transcription. Some newer Windows devices also support live translation; otherwise, translate the copied transcript in a second step.
What’s the most accurate method?
For pre‑recorded files, a two‑step pipeline (high‑quality ASR → human review → machine translation) tends to deliver the best results, especially for names, acronyms, and technical terms.
Will it work for meetings and lectures?
Yes. Use Meet or Zoom translated captions for live events, or record (with consent) and process the file afterward for highest quality.
