Mastering LoRA AI Generator Offline Models in Stable Diffusion: A Simple Guide
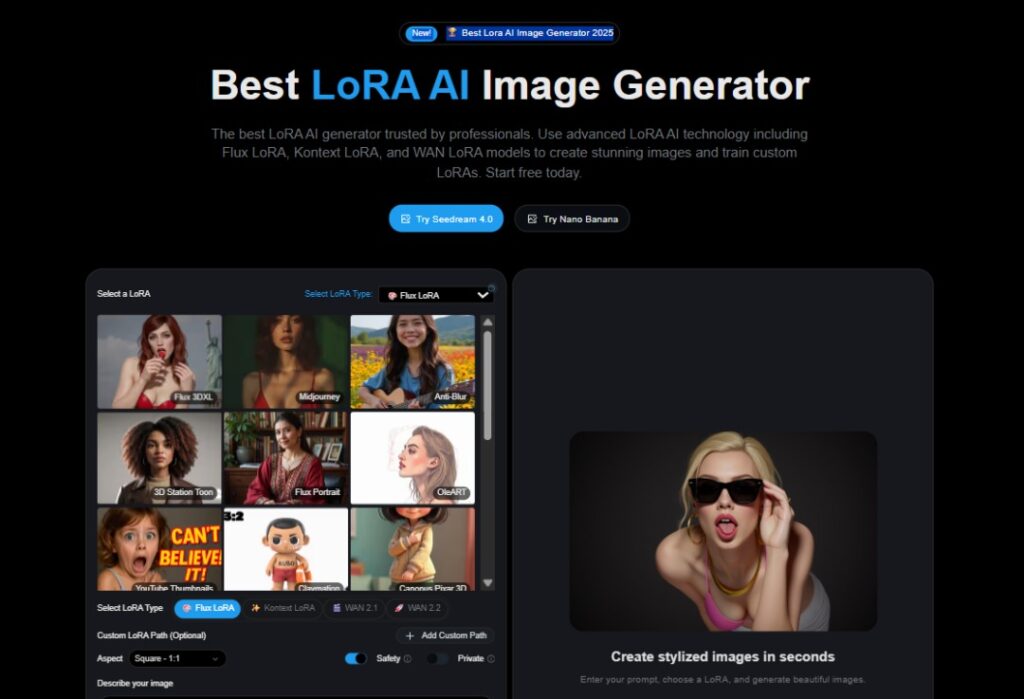
LoRA AI generator offline are changing how creators make digital art. They let you fine-tune Stable Diffusion models directly on your device, without relying on cloud tools or large files. With these models, you can produce anime portraits, cinematic photos, or detailed character art that reflect your unique style. They’re lightweight, fast, and ideal for artists who want full creative control while working offline.
This guide will walk you through the exciting world of LoRA models for Stable Diffusion. We’ll cover what LoRAs are, how they work, where to find them, and most importantly, how to install and use them to generate stunning images with specific styles and themes. Get ready to boost your creative output!
Key Takeaways
- LoRA stands for Low-Rank Adaptation, a technology that allows quick fine-tuning of diffusion models.
- LoRAs help train Stable Diffusion on specific concepts like characters or styles while keeping file sizes small.
- Civit AI is the primary platform for discovering and downloading LoRA models.
- LoRA weight controls how much influence the LoRA has on the final image.
- Some LoRAs have activation or trigger words that should be included in your prompt
What Are LoRA Models?
LoRA, which stands for Low-Rank Adaptation, is a real game-changer for Stable Diffusion. LoRA AI generator offline make it even more practical by letting you fine-tune diffusion models locally without relying on cloud computing. This technology helps you train Stable Diffusion on specific concepts, like a unique art style or custom character, while keeping file sizes small. In short, LoRA makes it simple to produce images that match precise themes or aesthetics without heavy hardware or complex setups.
Finding the Right LoRA AI Generator Offline Model

The easiest place to find LoRA AI Generator Offline models is on Civit AI. Think of it as the go-to spot for open-source generative AI. You can explore tons of high-quality Stable Diffusion models, share your AI art, and connect with other creators.
Here’s how to find them:
- Go to the Civit AI website.
- Click on “Models” in the top left corner.
- Look for the filter icon, usually in the top right, and click it.
- Select “LoRA” from the filter options.
- The page will refresh to show only LoRA models.
Take your time browsing, as each LoRA model gives a different output. We’ll show off some favorites later on.
Installing Your LoRA Model
Once you’ve found a LoRA you like, downloading and installing it is straightforward.
- Right-click the download button for the LoRA model.
- Select “Save link as…”
- Navigate to your LoRA folder. This is usually found inside your main Stable Diffusion “models” folder.
- Click “Save” to put the file there.
Using LoRA Models in Stable Diffusion
Now for the fun part: using the LoRA you just downloaded to create amazing images!
- Start Stable Diffusion: Open your Stable Diffusion interface.
- Select a Checkpoint: Choose a base checkpoint model that fits the style you’re going for. Some LoRAs work best with specific checkpoints, so check the LoRA’s description on Civit AI if you’re unsure.
- Write Your Prompts: Enter your text prompt and negative prompt as you normally would.
- Activate the LoRA: Look for a “LoRA” button or section. Click it and then select the LoRA file you downloaded.
- See the Magic: You’ll notice some text appear in your prompt section. This tells Stable Diffusion that you’ve selected a LoRA.
- Adjust Settings: Tweak your generation settings as needed.
- Generate: Hit the generate button!
You’ve now successfully used a LoRA model.
Adding Image Previews and Trigger Words
Some LoRAs come with image previews, which is super helpful for quickly identifying them. To add a preview to your own downloaded LoRA:
- Hover over the LoRA in your interface.
- Click the “hammer” icon that appears in the top right.
- In the popup menu, click “Replace preview.”
- Select the image you want to use as the preview.
- Click “Save” to apply it.
Many LoRAs also have activation text, also known as trigger words. It’s a good idea to paste these into the prompt section. When you use the LoRA next time, these trigger words will be automatically added, making it easier to get the desired effect.
Understanding LoRA AI Generator Offline Weight
LoRA weight determines how much influence the LoRA has on your final image. You’ll see this indicated by a number after a colon (e.g., 1).
- Default: The default weight is usually 1.
- Zero Weight: Setting the weight to 0 effectively disables the LoRA.
- Negative Values: Some LoRAs, like the “Detail Tweaker,” can use negative values. This means they can actually reduce detail in the image. Always read the LoRA’s description on Civit AI for the best results and recommended weights.Refine and merge your final scenes with the AI Video Editor for polished cinematic results.”
Favorite LoRA Models and Examples
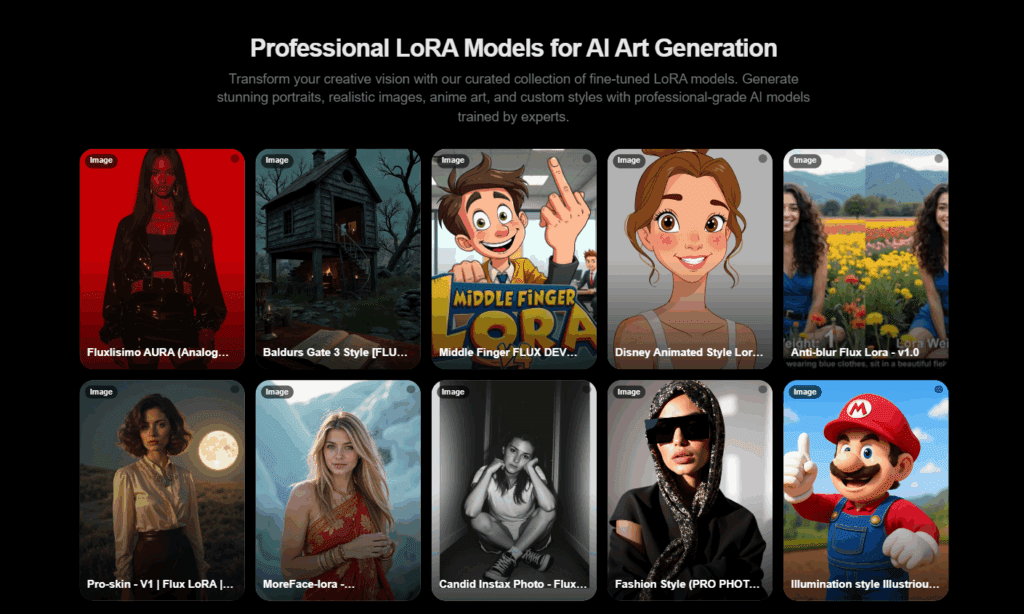
Here are a few LoRAs that are really useful:
- Detail Tweaker LoRA: This is a must-have. It’s great for either adding more detail or reducing it while keeping the overall style or character intact.
It works well with various base models, including anime and realistic styles. Comparing an image with and without this LoRA, especially at weights of 1 or 2, shows a noticeable increase in detail, like in the skin texture. - Thicker Lines Anime Style LoRA: As the name suggests, this LoRA adds thicker outlines to your anime-style images. The recommended weight is 1, and it produces some fantastic examples.
- Steampunk AI: This LoRA is an extraction from the Steampunk AI checkpoint. It’s a perfect example of how you can customize your AI art without needing to download a full-size checkpoint file. It allows for great steampunk-themed creations.
LoRA Workflow Summary Table
| Step | Task | Tool or Platform | Output | Purpose |
| 1 | Browse and download LoRA | Civit AI | LoRA model file (.safetensors) | Select the right style or character model |
| 2 | Move LoRA file to Stable Diffusion | File Explorer | Installed LoRA in models/LoRA folder | Make the model available in your interface |
| 3 | Load LoRA in UI | Stable Diffusion WebUI (Automatic1111 / ComfyUI) | Active LoRA model | Apply the LoRA to your chosen base model |
| 4 | Add prompt and trigger words | Prompt field | Text input | Activate the LoRA’s visual or style behavior |
| 5 | Adjust LoRA weight | Prompt syntax (e.g., <lora:model:0.8>) | Strength control | Fine-tune how much influence the LoRA has |
| 6 | Generate and preview | Stable Diffusion UI | Final image | Review results and re-adjust weights or prompts |
Best Practices for LoRA AI Generator Offline Use
1. Keep LoRA File Sizes Small
Use lightweight LoRAs under 200 MB for better speed and lower VRAM load.
2. Always Match the Base Checkpoint
Each LoRA is trained on a specific checkpoint. Mixing mismatched ones can distort style or anatomy.
3. Check the Recommended Weight
Start with 0.8 to 1.2. Increase slowly if you want stronger stylization, or reduce for subtle effects.
4. Combine LoRAs Carefully
You can stack multiple LoRAs in one prompt, but balance weights (e.g., 0.7 + 0.6) to prevent model conflict.
5. Save Presets for Reuse
Once you find a good combo of prompt, LoRA, and weight, save it as a preset in your UI.
6. Run Offline for Privacy
Stable Diffusion and LoRAs work locally. You can create without sharing data to cloud servers.
7. Maintain a Preview Library
Store generated examples beside each LoRA file so you remember what each one produces.
Recommended LoRA Models Table
| LoRA Model | Style / Theme | Suggested Weight | Output Example | Where to Get It |
| Detail Tweaker LoRA | Realistic texture enhancement | 1.0 – 2.0 | Adds skin and lighting depth | Civit AI |
| Thicker Lines Anime LoRA | Anime outlines | 1.0 | Clean line art and cel-shaded look | Civit AI |
| Steampunk AI LoRA | Steampunk concept art | 0.8 – 1.2 | Metallic textures, gears, and machinery | Civit AI |
| Cinematic Portrait LoRA | Film-style lighting | 0.9 | Dramatic portraits and shadows | Civit AI |
| Modern Fashion LoRA | Outfit realism | 1.0 | Trendy, editorial-style visuals | Civit AI |
Tip: You can enhance your creative workflow even further with VidAU’s AI Script Generator to produce consistent prompts
Troubleshooting Quick Fixes For LoRA AI Generator Offline
| Problem | Cause | Fix |
| Character changes each render | Wrong checkpoint or low weight | Use same base model, increase weight |
| Over-stylized image | Weight too high | Lower to 0.8–1.0 |
| LoRA not showing up | Wrong folder path | Move file to /models/Lora/ directory |
| Output too dark or flat | Missing trigger words | Add the correct activation text |
Conclusion
LoRA AI generator models make Stable Diffusion faster, lighter, and more customizable.
They’re perfect for offline creators who want to explore styles, characters, and themes without retraining huge models.
Once you understand weights, trigger words, and file structure, you can produce stunning, consistent results.
LoRAs won’t replace your creativity, they’ll extend it, turning your local Stable Diffusion setup into a personal creative studio. Take your AI creations further. Turn your LoRA art into dynamic visuals using VidAU’s Free AI Video Generator.
FAQ Section
1. What is the difference between a LoRA and a Checkpoint?
A Checkpoint is the full Stable Diffusion model, often several GBs. A LoRA is a small fine-tune that modifies a checkpoint’s output for a specific concept or style.
2. Can I use multiple LoRAs at once?
Yes. Combine several LoRAs in one prompt, separating them with commas, and balance their weights for smoother results.
3. Do I need the internet to use LoRA models?
No. Once downloaded, LoRAs run entirely offline through Stable Diffusion. Perfect for privacy and local workflows.
4. What’s the ideal LoRA weight to start with?
Begin with 1.0. Adjust up or down until you reach the desired balance between realism and stylization.
5. Where do I store LoRA files?
Save LoRA files in the folder path:
stable-diffusion-webui/models/Lora/
6. Are LoRAs compatible across all Stable Diffusion versions?
Most LoRAs are designed for SD 1.5 or SDXL 1.0. Check the model page on Civit AI before using.
7. Can I train my own LoRA?
Yes. You can train custom LoRAs using Kohya SS GUI or Dreambooth to create models based on your own images or characters.
