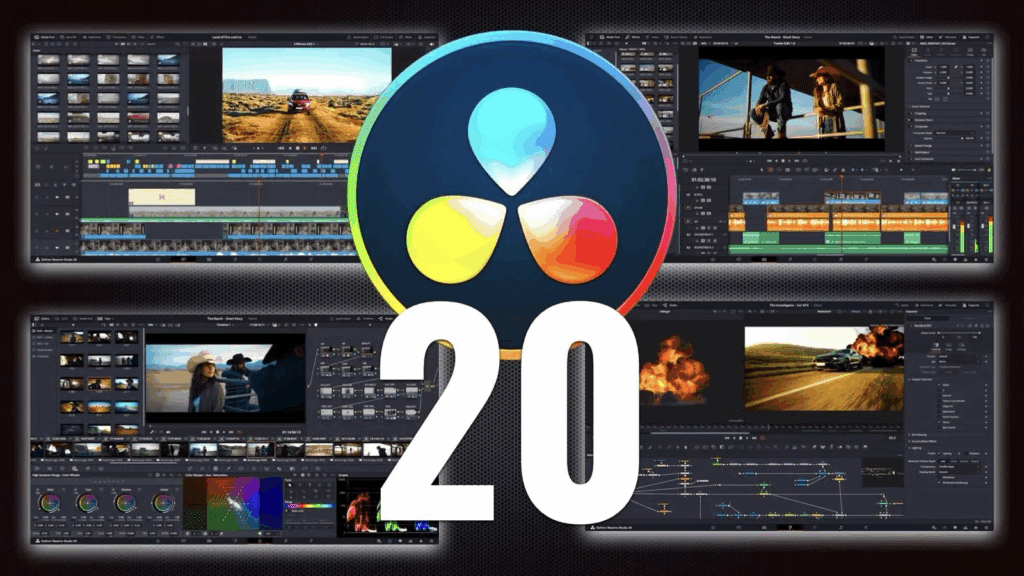
How to Enhance Video with DaVinci Resolve Studio

You want your footage to look sharp, clean, and ready to sell. This guide shows you how to enhance video with DaVinci Resolve Studio in a simple, safe order. And because polished visuals drive ad performance, I’ll also point to VidAU, your All-in-One Video Ads Solution so you can turn great-looking clips into winning creatives fast.
What “Enhancement” Really Means

Video enhancement is not a “look.” It’s a set of fixes that protect detail and remove distractions:
- Scale smartly without stair-steps.
- Clean noise while keeping texture.
- Repair flicker, banding, and dead pixels.
- Add crispness without halos.
- Keep the subject safe with masks.
- Export so your gains survive upload.
The Fast Workflow (Order of Ops)
Follow this path. It saves time and avoids rework.
- SuperScale or resize: Set your target size first.
- Noise Reduction: Remove noise at the new scale.
- Fix artifacts: Deflicker, deband, dead pixel fix.
- Recover detail: Gentle sharpen, midtone detail.
- Target with masks: Depth Map / Magic Mask.
- Stabilize: Only if motion is a problem.
- QA and export: Scopes, edges, bitrate.
Pro tip: Do big moves early (scale, denoise). Do delicate moves late (sharpen, color polish).
Step-By-Step Settings (Simple Starts)
1) SuperScale / Upscale
- Right-click clip → Clip Attributes → SuperScale (2× for HD→4K).
- In the Inspector, keep Sharpness and Noise Reduction modest to avoid halos.
- If it looks too “crispy,” drop Sharpness one step.
2) Noise Reduction (Studio)
- On the Color page → NR.
- Start Temporal with 2 frames.
- Set Spatial Strength around 5–10.
- Toggle often. Preserve skin texture.
3) Fix Common Artifacts
- Deflicker for rolling or LED flicker.
- Deband for sky gradients and walls.
- Dead Pixel Fix for stuck pixels on old cameras.
4) Recover Safe Details
- Sharpen with a small radius (≤ 0.50).
- Nudge Midtone Detail a little.
- Stop when the edges look clean at 200%.
5) Depth-Aware Targeting
- Add Depth Map to treat background and protect faces.
- Use Magic Mask to keep sharpening off skin.
- More NR on background; less on subject.
6) Stabilize Last
- Only if the shake distracts.
- Use the lightest setting that works.
7) Export That Keeps Quality
- Match your timeline scale.
- Avoid double scaling on export.
- Use a bitrate that fits the platform (YouTube, Vimeo, ads)
Quick Settings Cheat Sheet
| Step | Tool | Safe start | Why it helps |
| Scale | SuperScale 2× | Sharpness: Low, NR: Low | Adds detail without heavy ringing |
| Denoise | Temporal + Spatial | Temporal 2 frames; Spatial 5–10 | Cleans noise, keeps texture |
| Artifacts | Deflicker / Deband | Default → adjust | Removes flicker and banding |
| Detail | Sharpen + Midtone Detail | Radius ≤ 0.50; small boosts | Adds crispness, avoids halos |
| Targeting | Depth Map / Magic Mask | Subject protected | Enhances only where needed |
| Export | Match timeline | No extra scaling | Preserves the work you did |
Studio vs Free: When to Upgrade
| Feature | Resolve (Free) | Resolve Studio | Why it matters |
| SuperScale | Limited/none | Full (2×/3×/4×) | Smarter upscaling for sharp video ads |
| Noise Reduction | No Studio NR | Temporal/Spatial NR | Clean low-light or phone clips |
| Restoration FX | Basic | Deflicker, Deband, Dead Pixel | Repairs common capture issues |
| Depth tools | Basic | Depth Map, Magic Mask (advanced) | Target the subject with ease |
| Formats/Performance | Good | More, faster | Smoother finish at higher quality |
If you do a lot of cleanup, Studio pays off fast.
Common Pitfalls (And Easy Fixes)
- Over-sharpening: If you see halos, cut radius first, then amount.
- Plastic skin from NR: Lower Spatial Strength. Mask faces.
- Banding after grade: Add Deband before final sharpening.
- Soft after video upload: You likely double-scaled or used too low a bitrate.
- Flicker returns on export: Deflicker earlier, then lock exposure with gentle curves.
Downloadable Checklist (copy this)
- Set timeline to delivery size.
- SuperScale clips that need it.
- Temporal NR 2 frames; Spatial 5–10.
- Deflicker / Deband if needed.
- Sharpen with radius ≤ 0.50.
- Protect faces with Depth Map/Magic Mask.
- Stabilize only if needed.
- Check at 200% for halos and waxy skin.
- Export without extra scaling.
- Review the upload on the platform.
Conclusion
Now you know how to enhance video with DaVinci Resolve Studio in a clear, safe order. Clean the noise, fix artifacts, add gentle detail, then export right. Do this, and your footage looks stronger and sells harder. When you’re ready to turn these polished clips into high performing creatives, plug them into VidAU – All-in-One Video Ads Solution and scale what works.
Frequently Asked Questions
1. Does the free version include SuperScale?
No. Use Studio for the best SuperScale results.
2. Should I denoise before or after upscaling?
After you set scale. Then denoise. Scaling changes the noise pattern.
3. How do I sharpen without halos?
Use a small radius and small amounts. Stop when edges stay clean at 200%.
4. What fixes sky banding?
Run Deband before final sharpening. Add a tiny bit of grain if needed.
5. Can I enhance only the background?
Yes. Use Depth Map. Push more NR or a touch of blur on the background only.
6. What export tip saves quality?
Match timeline and output size. Avoid extra scaling in the Deliver page.


