How To Screen Record On Windows
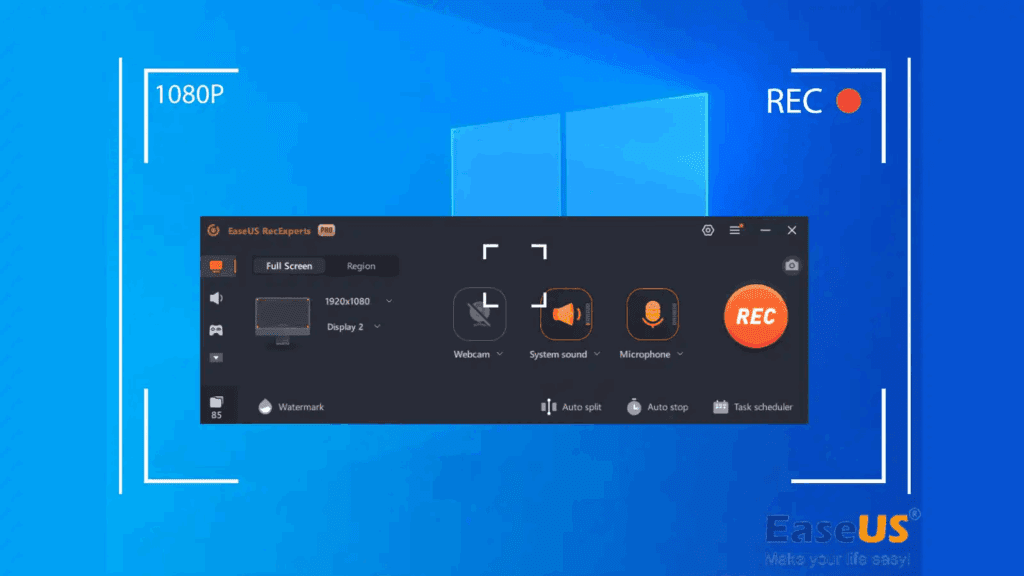
Creators move fast, so this VidAU guide shows how to screen record on windows with zero fluff. First, you’ll learn the quickest paths using Snipping Tool on Windows 11 and Xbox Game Bar on Windows 10. Then, you’ll see when to switch tools, where files save, and how to fix common issues fast. Finally, a six-point list and a capability table help you choose settings with confidence. Let’s get your next clip recorded, organized, and ready for edit.
What Is The Quickest Way To Screen Record On Windows?

Use the built-in tool that matches your version. On Windows 11, open Snipping Tool to record a region and save an MP4 in your Videos folder. On Windows 10, use Xbox Game Bar to record an app and save in Captures. Consequently, you avoid installs, shorten setup, and keep handoffs simple for VidAU editors. Therefore, your workflow stays fast from capture to delivery.
What Tools Come Built In For Screen Recording?
Windows includes Xbox Game Bar on Windows 10 and Windows 11, and Windows 11 also adds recording inside Snipping Tool. As a result, you can start quickly, capture voice or system audio, and export MP4s without plugins. Moreover, PowerPoint offers a full-desktop workaround on Windows 10 when you must capture File Explorer. With these options, teams keep processes consistent across devices.
How Do I Screen Record On Windows 11?
Use Snipping Tool to capture any region and save to Videos\Screen Recordings. First, open Snipping Tool, switch to Record, and click New. Next, drag the area, click Start, finish your action, and click Stop. Then save and rename the MP4 with a clear project slug for VidAU. With this lightweight flow, how to screen record on windows 11 fits neatly into daily production.
How Do I Screen Record On Windows 11?
Use Snipping Tool to capture any region and save to C:\Users<you>\Videos\Screen Recordings.
- Open Snipping Tool.
- Switch to Record, then select New.
- Drag to choose the area.
- Click Start, perform the action.
- Click Stop and the MP4 is saved to Videos\Screen Recordings. Rename with a clear project slug for VidAU.
How Do I Start With Win+Shift+R?
Use Win+Shift+R to open the Snipping Tool recorder instantly. Then choose a region, record the take, and save when finished. Consequently, you reduce prep time and keep your how to screen record on windows 11 demos on schedule.
Why Choose Snipping Tool On Windows 11?
It captures desktop regions cleanly and saves standard MP4 files. Furthermore, it avoids the desktop limitations of Game Bar and cuts friction for annotations. Thus, your steps stay simple for explainers, walkthroughs, and quick approvals.
How Do I Record My Screen On Windows 10?
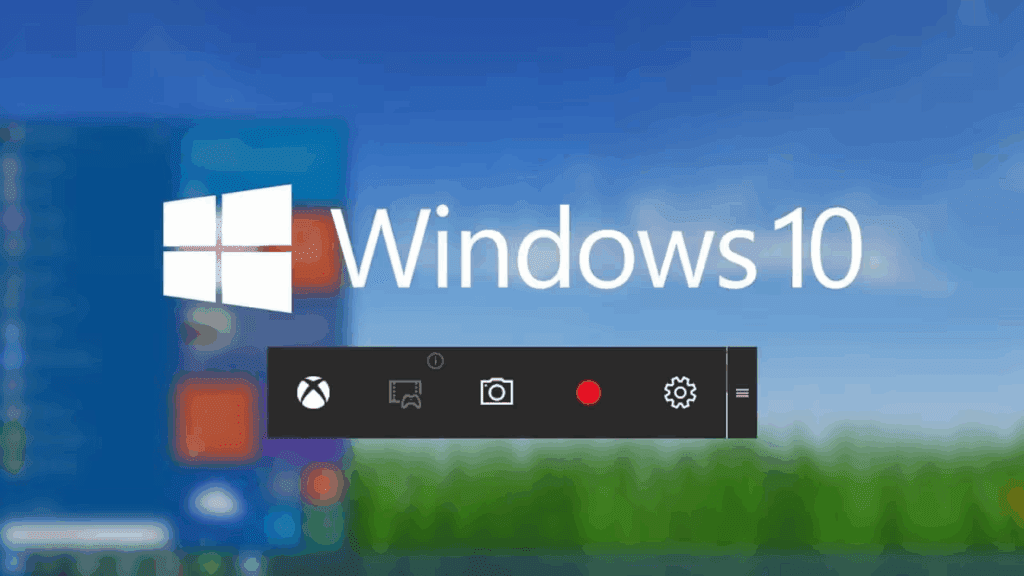
Use Xbox Game Bar to record an app or game and save to Videos\Captures. First, press Win+G to open the overlay and confirm the Capture widget is active. Next, click Record or press Win+Alt+R, then toggle the mic if you need narration. After the take, stop recording and locate the MP4 in Captures. With this streamlined path, how to record screen on windows 10 produces clean assets for VidAU.
How Do I Record My Screen On Windows 10?
Use Xbox Game Bar to record an app or game and save to C:\Users<you>\Videos\Captures.
- Press Win + G to open Game Bar; confirm the Capture widget is visible.
- Click Record or press Win + Alt + R to start/stop.
- Toggle the Mic if you need narration; confirm levels in Audio.
- After the take, find the MP4 in Videos\Captures.
How Do I Use Xbox Game Bar Record Efficiently?
Keep a single app in focus and avoid switching windows mid-take. Then start with Win+Alt+R, monitor levels in the Audio widget, and stop cleanly to finalize the clip. Consequently, your sessions stay smooth, and editors spend less time trimming starts.
What If I Must Capture The Desktop On Windows 10?
Use PowerPoint → Insert → Screen Recording to capture the desktop or File Explorer. Because Game Bar targets app windows, this method fills the gap without extra software. Therefore, how to record screen on windows 10 still works for full-screen demos and system-level tutorials.
Where Do Windows Screen Recordings Save?
Xbox Game Bar saves to This PC → Videos → Captures, while Snipping Tool saves to Videos → Screen Recordings. Consequently, your team can script predictable ingest paths and automate folder moves. Additionally, PowerPoint stores recordings with the presentation unless you export, which keeps assets co-located for reviews.
Where Do Windows Screen Recordings Save?
- Snipping Tool (Windows 11): C:\Users<you>\Videos\Screen Recordings
- Xbox Game Bar (Windows 10/11): C:\Users<you>\Videos\Captures
- PowerPoint: Stored inside the presentation unless you Save Media as… (export MP4)
Predictable paths let your team script ingest and automate folder moves.
Why Won’t Game Bar Record The Desktop?
Game Bar is optimized for app windows and often excludes the desktop or File Explorer. Therefore, Windows 11 users should switch to Snipping Tool for region and desktop captures. Meanwhile, Windows 10 users should use PowerPoint when a full desktop is required. With this adjustment, how to screen record on windows remains reliable regardless of version.
When Should I Use Alternatives?
Choose an alternative when you need editing, webcam picture-in-picture, or multi-track audio.
- PowerPoint: Fast full-desktop demos on Windows 10/11; export MP4.
- Clipchamp: Lightweight recording with built-in editing.
- OBS: Advanced control, long sessions, scene switching.
- TechSmith tools (Snagit, Camtasia): Annotations and full timeline editing.
Standardize one workflow per project so how to screen record on windows steps are consistent and easy to QA.
What Are Six Quick Wins For Cleaner Windows Screen Recordings?
Start with these fixes to improve quality fast.
- Match your display’s native resolution before recording.
- Keep scaling at 100% so interface text stays sharp.
- Close heavy background apps to free CPU and GPU.
- Turn off HDR or hardware acceleration if you see flicker or black windows.
- Record a five-second test clip and review it before the full take.
- Set mic and system audio levels first, then keep them stable for the session.
What Are The Capabilities And Save Locations?
Compare capture types, audio support, save paths, and shortcuts to decide quickly. Consequently, teams pick the right AI tool the first time and reduce retakes in VidAU production.
| Tool | Desktop Capture | Region Capture | System Audio | Mic Audio | Default Save Path | Shortcut |
| Snipping Tool (Windows 11) | Yes | Yes | Varies By Build | Yes | Videos\Screen Recordings | Win+Shift+R |
| Xbox Game Bar (Windows 10/11) | App/Window | App/Window | Yes | Yes | Videos\Captures | Win+Alt+R |
| PowerPoint (Windows 10/11) | Yes | Has it | Yes | Yes | With Presentation / Export | N/A |
Conclusion
Choose the native tool for your version and keep takes short. Then follow the steps above so how to screen record on windows becomes muscle memory across your VidAU team. Moreover, practice how to record screen on windows 10 for app-only captures and how to screen record on windows 11 for desktop-region demos. Finally, standardize filenames at save time to speed reviews and approvals.
Frequently Asked Questions
1. How Do I Start A Screen Recording Quickly?
Use Win+Alt+R for Xbox Game Bar or Win+Shift+R for Snipping Tool. Start the take, then stop to save the MP4.
2. Where Do My Recordings Save In Widows?
Game Bar saves to Videos\Captures, and Snipping Tool saves to Videos\Screen Recordings. Check those folders first.
3. Why Is My Recording Black Or Flickering?
HDR or hardware acceleration can cause issues. Turn them off temporarily and test again.
4. When Should I Choose PowerPoint Instead?
Choose it on Windows 10 when you need to capture the desktop or File Explorer. Export the clip after recording.
5. What Is The Best Way To Record App Audio And Mic Together?
Open your recorder’s audio panel and enable both inputs. Balance levels before you begin.
6. What If I Need Editing And Effects After Recording?
Use Clipchamp, OBS, or TechSmith tools for editing. Keep captures short to simplify the timeline.

