Image to Image AI Generator: A Practical Guide
An image to image AI generator turns one image into a new version while it keeps the layout. It saves time, boosts control, and makes style changes simple.
What Is An Image to Image AI Generator?
It transforms an input image with a prompt while keeping the core structure.
You give the tool a source image and a text prompt. Then it redraws the image step by step. It keeps pose, framing, or shapes. It applies the style or edits you ask for. As a result, you get fast, consistent visuals for ads, thumbnails, and product shots.
How Does it Differ From Text-to-Image?
It starts from an existing image, not a blank canvas.
Text-to-image builds a scene from only words. By contrast, an image to image AI generator uses your photo as a guide. Therefore, it preserves composition, perspective, and subject size. You still steer the look with your prompt, but you avoid random results.
Which Settings Matter Most in an Image to Image AI Generator?
Strength, CFG, and Steps matter most.
These three controls shape quality and consistency. First, Strength (sometimes called denoise) decides how far the output moves from the source. Next, CFG (prompt guidance) sets how strictly the model follows your words. Finally, Steps control how refined the denoising becomes. Start with Strength 0.55, CFG 9–11, and Steps 20. Then nudge one dial at a time.
Settings Quick Table
| Setting | What it controls | When to lower it | When to raise it | Easy starting point |
| Strength | How much the tool redraws the source | Keep layout, match brand | Big restyle, new outfit/lighting | 0.55 |
| CFG | How tightly it follows your prompt | Reduce artifacts, get nuance | Enforce style adjectives | 9–11 |
| Steps | Refinement/clarity | Faster drafts | Final polish, tricky textures | 20 |
How Do You Get Tighter Control With Reference or ControlNet?
You add extra guidance images to lock pose, depth, or lines.
Control images act like rails. You can capture a pose, edges, or depth, then guide the redraw along them. As a result, the model stays on layout while it changes style. Use a reference style image to keep look and color. Use a pose or edge map to lock composition. This works in any modern image to image AI generator.
7 Quick Wins With an Image to Image AI Generator
- Open your image to image AI generator and upload a sharp source.
- Write a tight prompt with style, lens, and lighting.
- Try Strength 0.35 for subtle tweaks; try 0.75 for bold restyles.
- Keep CFG under 12 to avoid overbaking.
- Add a pose or edge map when you need layout lock.
- Reuse seeds for consistent characters.
- Upscale the best result for crisp delivery.
What About License, Ethics, and Safe Use?
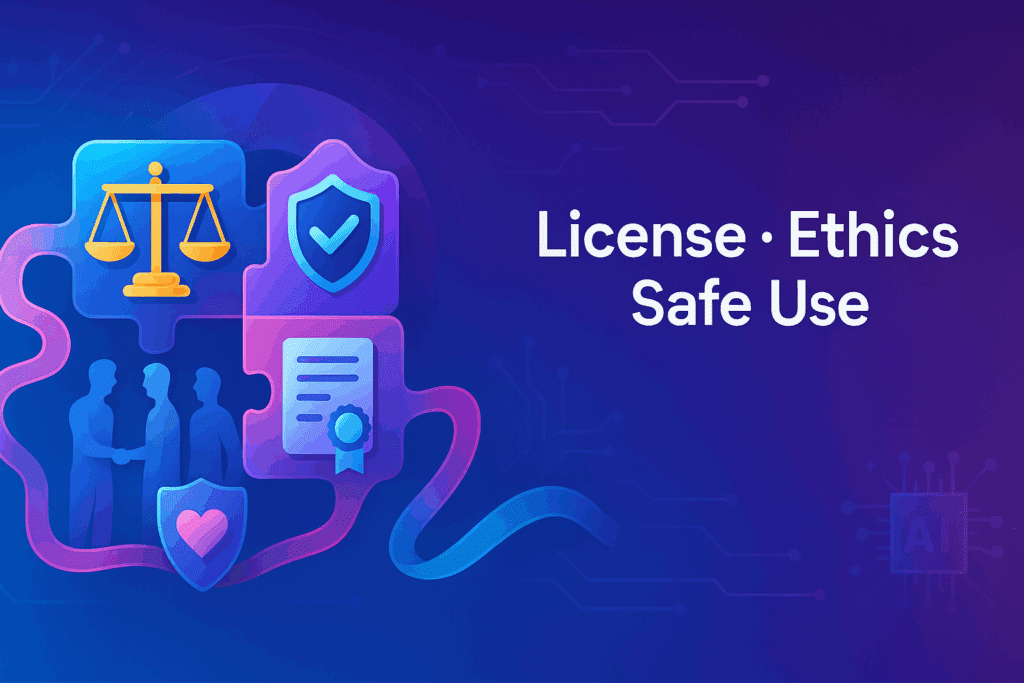
You follow the provider’s terms and you respect copyrights and consent.
Check the license for training data and outputs. Then confirm what “commercial use” means in your plan. Avoid logos and trademark shapes unless you own them. Get consent for faces. Finally, keep drafts and seeds so you can prove how you made an image in your workflow or policy docs. Any image to image AI generator benefits from this clear process.
How Do You Set up a Simple, Repeatable Workflow?
You create a small checklist and you stick to it.
Pick one model and note its defaults. Next, store a few prompt templates for portraits, products, and scenes. Then fix your Strength, CFG, and Steps baselines. Save seeds for each brand character. Export best outputs into named folders. With this system, your image to image AI generator becomes a fast, reliable content line.
How to Check if an Image is AI Generated?
You look for telltale visual and metadata signs.
When you ask how to check if an image is AI generated, start with faces, hands, text, and earrings. Look for warped pupils, extra fingers, or blended jewelry. Then inspect reflections and shadows for mismatches. Next, read file metadata for generator tags or missing camera data. If the file is a screenshot, scan edges for soft halos. Also, use known detectors, but treat scores as hints, not proof. In short, how to check if an image is AI generated means mixing visual checks, metadata, and context. Finally, note that some edits are mild; so document your steps for audits.
Quick Checklist — How to Check if An Image is AI Generated
- Check eyes, teeth, and hands first.
- Read EXIF or XMP fields.
- Zoom into text on signs.
- Compare lighting angles across objects.
- Search for a near-duplicate online.
How To Detect If An Image is AI Generated?
You combine visual cues, metadata, and source tracing.
If you wonder how to detect if an image is AI generated, review textures like skin pores and fabric weaves. Next, look for repeating tile artifacts in grass or bricks. Then check bokeh shape and lens noise; AI often lacks real sensor grain. After that, drag the image into a reverse image search to find earlier posts or variants. You can also keep a log. Therefore, how to detect if an image is AI generated becomes a repeatable process. However, remember that no single test is perfect, so use several.
Field Tips — How to Detect if an Image is AI Generated
- Inspect earrings, eyeglass arms, and hairlines.
- Look at borders for half-formed objects.
- Compare EXIF against claimed camera models.
- Ask for source files or seeds when possible.
- Keep notes of what you checked.
- Bring your source image, pick a style, and start. With the right process and an image to image ai generator, you will move faster and keep control.
Conclusion
Use an image to image AI generator with a clear goal and a fixed baseline (Strength 0.55, CFG 10, Steps 20); change one control at a time and save seeds for consistency, add references or ControlNet only when you need precise pose or layout, check licenses and consent while keeping prompt logs, use simple checks to know how to check if an image is AI generated and how to detect if an image is AI generated when credibility matters, then benchmark tools with the same source and prompt, keep what works, and scale with a short, repeatable checklist.
FAQs
What is the main benefit of image to image AI generator?
The main benefit is speed with control. An image to image ai generator keeps the frame you like, yet it lets you restyle fast. You can make product colorways, new outfits, or fresh lighting in minutes. You also reduce the number of failed generations.
When should I use a low Strength?
Use a low Strength when you need to keep layout. It helps with brand shots, logos on clothing, or product angles. Start low for small fixes and raise it slowly. This approach prevents wild changes while it keeps detail.
What prompt style works best?
Short, clear prompts work best. Lead with subject, style, lens, and light: “portrait photo, clean studio, 85mm, soft light, neutral color.” Then add one or two style words. Avoid long chains of adjectives. You can always add more after a first pass.
How do I keep a character consistent?
Save and reuse seeds. Keep a small portrait library for the same face at similar angles. Then fix Strength and CFG across runs. If you still drift, add a pose map or face reference. This keeps features stable across scenes.
Can I use results in ads or packaging?
Often yes, but it depends on the tool license and your use case. Read your provider’s terms and your brand policy. Avoid trademark shapes unless you own rights. When in doubt, get legal review before you ship assets.
How do I improve sharpness without artifacts?
Upscale after you pick the best frame. Do not over-crank Steps. If edges look crunchy, lower CFG and try a softer prompt. You can also add a light grain pass in post to hide minor banding or smooth areas.
What about detection and authenticity?
The web now asks both how to check if an image is AI generated and how to detect if an image is AI generated. Use visual inspection, metadata checks, and context. Save seeds, prompts, and settings for internal authenticity logs. This record helps teams answer future questions with confidence.
