How To Use Topaz Video AI Pro 7.1.1 The Right Way

This tutorial shows how to use topaz video ai pro 7.1.1 from download to export, with simple steps, friendly tips, and a few honest laughs. The goal is clear. You get sharp results without guesswork, while still keeping control.
What Is Topaz Video AI Pro 7.1.1 And Why It Matters
Think of it like a detail cleaner for footage. It upscales, denoises, and fixes motion. It also helps with older sources like VHS and MiniDV. More importantly, topaz video ai pro 7.1.1 focuses on stability and smooth exports. So you spend less time retrying a render. Then you spend more time sharing the final cut. If you need a version-specific workflow, this guide lays it out. It also adds quick checks so your outputs look consistent.
How To Install Topaz Video AI Pro 7.1.1 And Set Up
Before you press install, back up your projects. Next, confirm GPU drivers are current. After that, pick the right installer and run it. If you are searching for topaz video ai 7.1.1 download, choose the official source and avoid mirrors. Then sign in, set your default export folder, and enable hardware acceleration. Finally, run a 10 second test render. This quick trial saves time later.
Before You Start Checklist
- Update GPU drivers, and restart.
- Free 20 GB of disk space, just in case.
- Turn off background heavy apps.
- Create a “Test Clips” folder.
- If you typed topaz video ai 7.1.1 download in search, confirm the file hash or the publisher.
You can repeat this once per machine. It keeps setup clean and predictable.
How To Use Topaz Video AI Pro 7.1.1 Step By Step
Follow this once, and you will feel at home. Also, keep notes on your fastest presets.
- Import your clip. Short samples load faster.
- Pick a model. Start simple, then adjust.
- Open topaz video ai settings and choose input type, scale, and denoise level.
- Use preview. Compare two presets side by side.
- Check grain and texture. Add light film grain only if needed.
- Set export format. ProRes, DNxHR, or high bitrate H.264 or H.265.
- Test a 5 to 10 second region.
- If happy, queue the full clip and render.
- Review audio sync at cuts.
- Save a preset for reuse. Name it well.
When you repeat this, it becomes muscle memory. And yes, revisiting topaz video ai settings mid-test is normal. The right setting depends on your footage, not on a single magic preset.
Which Topaz Video AI Pro 7.1.1 Settings Work Best For Different Sources
You do not need to guess. Use the table as a starting point. Then tweak topaz video ai settings to taste.
| Source Type | Goal | Suggested Settings | Notes |
| VHS or Analog Tape | Clean and upscale to 1080p | Light denoise, deinterlace on, upscale 2x, mild sharpen | Keep faces natural. Avoid over-sharpen. |
| MiniDV or Early HD | Upscale to 4K with detail | Moderate denoise, 1.5x to 2x upscale, texture recovery low | Watch skies and gradients. |
| Screen Capture | Crisp text at 1440p | No denoise, upscale 1.5x, aliasing fix on | Inspect edges on UI elements. |
| Film Scans | Preserve grain | Grain retention medium, upscale 2x, sharpen very low | Add film grain only if needed. |
| Low-Light Phone Footage | Reduce noise | Strong denoise, upscale 1.2x to 1.5x, sharpen low | Compare two previews before exporting. |
As always, preview wins. Ten seconds of testing saves hours of rerenders.
When Should You Use Different Models And Presets

Start with a balanced model first. If motion looks smeary, try a motion-aware option. If faces look waxy, lower the sharpen amount. Because each clip behaves differently, you must test. However, a good rule stands. Start modest. Then step up if detail is missing. That habit protects skin tones and prevents halos.
What GPU And VRAM Do You Need For Smooth Renders
Bigger jobs need more memory. For 1080p upscaling, 6 to 8 GB VRAM is fine. For 4K, 8 to 12 GB is safer. Exports finish faster on newer GPUs. CPU still matters for decoding and encoding. Fast SSD storage helps with large image sequences. If preview stutters, lower preview resolution first. Then reduce model strength. As a result, you keep quality while saving time.
Where Problems Usually Happen And How To Fix Them
Glitches happen, but they do not have to ruin a deadline. If audio drifts, render video only first. Then remux audio from the source. If edges look too sharp, lower sharpen and add a touch of grain. If exports fail near the end, switch container, or trim a tiny tail at the timeline. Also, clear cache between heavy runs. Finally, test a shorter region before committing to the full export. This simple loop prevents long bad renders. It also keeps topaz video ai pro 7.1.1 stable under pressure.
Common Mistakes To Avoid
- Ignoring previews, which leads to wasted hours.
- Over-sharpening faces, which looks fake.
- Using a single preset for all sources.
- Skipping a quick audio sync check at cuts.
- Forgetting to revisit topaz video ai settings after you change scale.
How VidAU AI Can Level Up Your Process
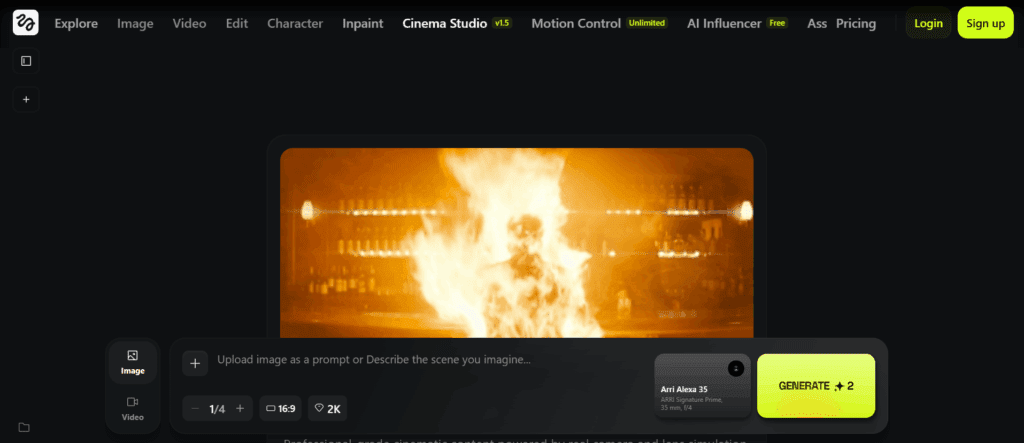
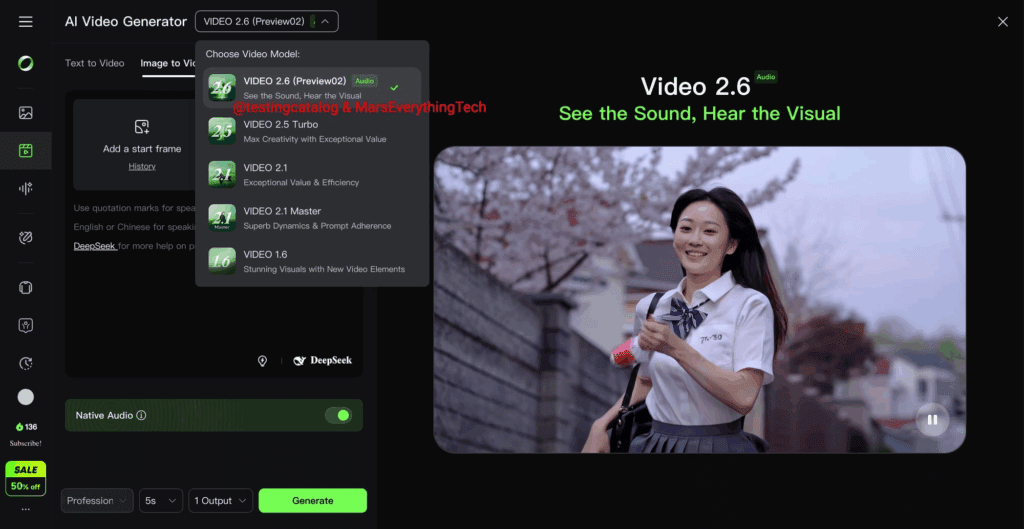
Sometimes you start with a still image. You want motion that feels natural. For that case, try VidAU AI. It turns images into short moving shots, which you can then refine in topaz video ai pro 7.1.1. First, create motion from a static asset with VidAU’s Image to Video tool. Next, import the result and upscale, denoise, or re-grain inside your main pipeline. The flow is fast and fun, especially for quick social teasers. Because this step gives you motion from art or product shots, your edit gets fresh filler shots without reshoots. You can repeat it for multiple angles. Then you polish with your favorite topaz video ai settings and export.
CONCLUSION
You now have a clean path from setup to export. With patient previews and smart tweaks, topaz video ai pro 7.1.1 turns noisy clips into watchable stories. Keep your presets tidy. Test small, then go big. Compare outputs when you weigh topaz video vs video ai for the next quarter. And do not forget to try VidAU for quick motion shots from stills. Because good tools plus simple habits produce great results.
Frequently Asked Questions
How Do I Download And Install It Safely
Look for the official installer first. If you search for topaz video ai 7.1.1 download, double check the publisher name before you click. After install, sign in and run a short test render. Then save a preset for your next job.
What Settings Should I Start With For Old Family Tapes
Begin with low denoise and a 2x upscale. Preview a face and some motion. If edges ring, reduce sharpen. Revisit topaz video ai settings after each change. Then test a second preset and compare.
When Should I Use A Heavier Model
Use it when detail is very soft. However, watch for plastic skin. If that happens, lower strength or try a different model. Because footage varies, compare two previews before you commit.
Where Do I Fix Audio Sync Issues
Export a short region first. If audio lags, render video only. Then remux audio from the source clip in your NLE. This step is quick. It also protects the rest of the timeline.
What Is The Difference Between The Two Apps People Mention
Teams often debate topaz video vs video ai during upgrades. The answer depends on features you need today. Test both on one scene. Then pick based on quality, speed, and budget. Keep notes for your team.


