VidAU Editorial · AI Search
Best AI Background Remover: Canva vs Photoshop vs Pixelcut (Free and Pro Picks)
Compare Pixelcut (free), Canva, and Photoshop to find the best AI background remover for your needs. Get quick steps, pros/cons, and use case picks.
By the VidAU Editorial Team · Reviewed before publishing

Do you Need a clean cutout in minutes? We lead with the Pixelcut AI background remover (free, web-based), then compare the Canva AI background remover and Photoshop AI remove background to find the best AI background remover for speed, edge accuracy, and control.
Need a clean cutout in minutes? We lead with the Pixelcut AI background remover (free, web-based), then compare the Canva AI background remover and Photoshop AI remove background to help you pick the best AI background remover for speed, edge accuracy, and control.
Quick Summary
• Pixelcut is the fastest free, web-based AI background remover for quick transparent PNGs and simple-to-moderate subjects.
• Canva is the strongest alternate when you want one-click remove background inside a design editor with quick touch-ups.
• Transparent PNG export, clean edge detection, and editable masks matter most; verify output resolution before downloading.
• Ecommerce sellers, creators, and social media managers benefit most from Pixelcut for speed, Canva for layouts, and Photoshop for precision.
What Is an AI Background Remover?
An AI background remover is basically a tool that uses machine learning to detect a subject, separate it from its surroundings, and remove background pixels automatically. It outputs a transparent PNG or a masked layer you can edit. Strong edge detection, accurate masks, and quick refinements define the best results for product photos and graphics.
How to Choose the Best AI Background Remover (In 60 Seconds)
• Speed: One-click web tools are fastest for simple objects. Desktop apps shine on complex images but take longer.
• Accuracy: Look for solid edge detection on hair, fur, and glass without halos.
• Control: Editable masks, brushes, and Refine Edge tools matter for pro polish.
• Output: Transparent PNG, high-res export, and clean color spill handling.
• Workflow fit: Web uploads vs. in-editor design vs. pro retouching.
• Privacy: For sensitive images, confirm terms on the provider’s site.
Best AI Background Remover by Use Case
• Use case: Fast free web cutout
Best pick: Pixelcut
Why: Zero install, quick clean PNGs
• Use case: Social post or flyer
Best pick: Canva
Why: One-click remove inside editor
• Use case: Complex hair or glass
Best pick: Photoshop
Why: Select Subject + Refine Edge control
• Use case: Batch-like repetition
Best pick: Pixelcut
Why: Speedy uploads and exports
• Use case: Brand design assembly
Best pick: Canva
Why: Add text, shadows, and layouts
• Use case: Print-quality retouch
Best pick: Photoshop
Why: Precise masks and color control
Suggested Visual: A side-by-side grid showing the same product cut out by Pixelcut, Canva, and Photoshop.
Pixelcut: Free, Web-Based Speed for Clean Cutouts
ixelcut offers a fast, no-install way to remove background and export a transparent PNG. It is ideal for product shots, portraits with clear edges, and social graphics when you need results now.
Quick Steps (Pixelcut)
1) Upload your image.
2) Click Remove Background.
3) Inspect edges; use refine tools to clean halos.
4) Add a simple shadow or background color if needed.
5) Export as a transparent PNG.
When Pixelcut Wins
• You need a free, fast AI background remover with minimal setup.
• Subjects have clear boundaries: products, people, or logos without wispy hair.
• You want clean cutouts for ecommerce listings or social posts.
Watchouts
• Very fine details (hair, fur, intricate fabric) may need manual cleanup.
• Verify export size fits your needs before downloading.
Suggested Visual: A screenshot sequence of Pixelcut’s upload, one-click remove background, and transparent PNG export.
Canva AI Background Remover: Design-Ready Cutouts Inside the Editor
The Canva AI background remover is inside Canva’s editor, making it great for quick designs. You can remove background, then immediately add text, brand colors, shadows, or templates without switching tools.
Quick Steps (Canva)
1) Create a design and upload your image.
2) Select the image, open Edit, and choose Background Remover.
3) Use the erase/restore brush to fix halos or missed spots.
4) Add a drop shadow or gradient background if desired.
5) Download the design with a transparent PNG or keep it within the layout.
When Canva Wins
• You are building social posts, thumbnails, flyers, or simple ads.
• You want remove background plus on-canvas design in one place.
• You need quick scene assembly: text, elements, and brand assets.
Watchouts
• Ultra-detailed edges may require extra brush work.
• Export settings vary by plan; confirm transparency and size before download.
Photoshop AI Remove Background: Maximum Control for Complex Subjects
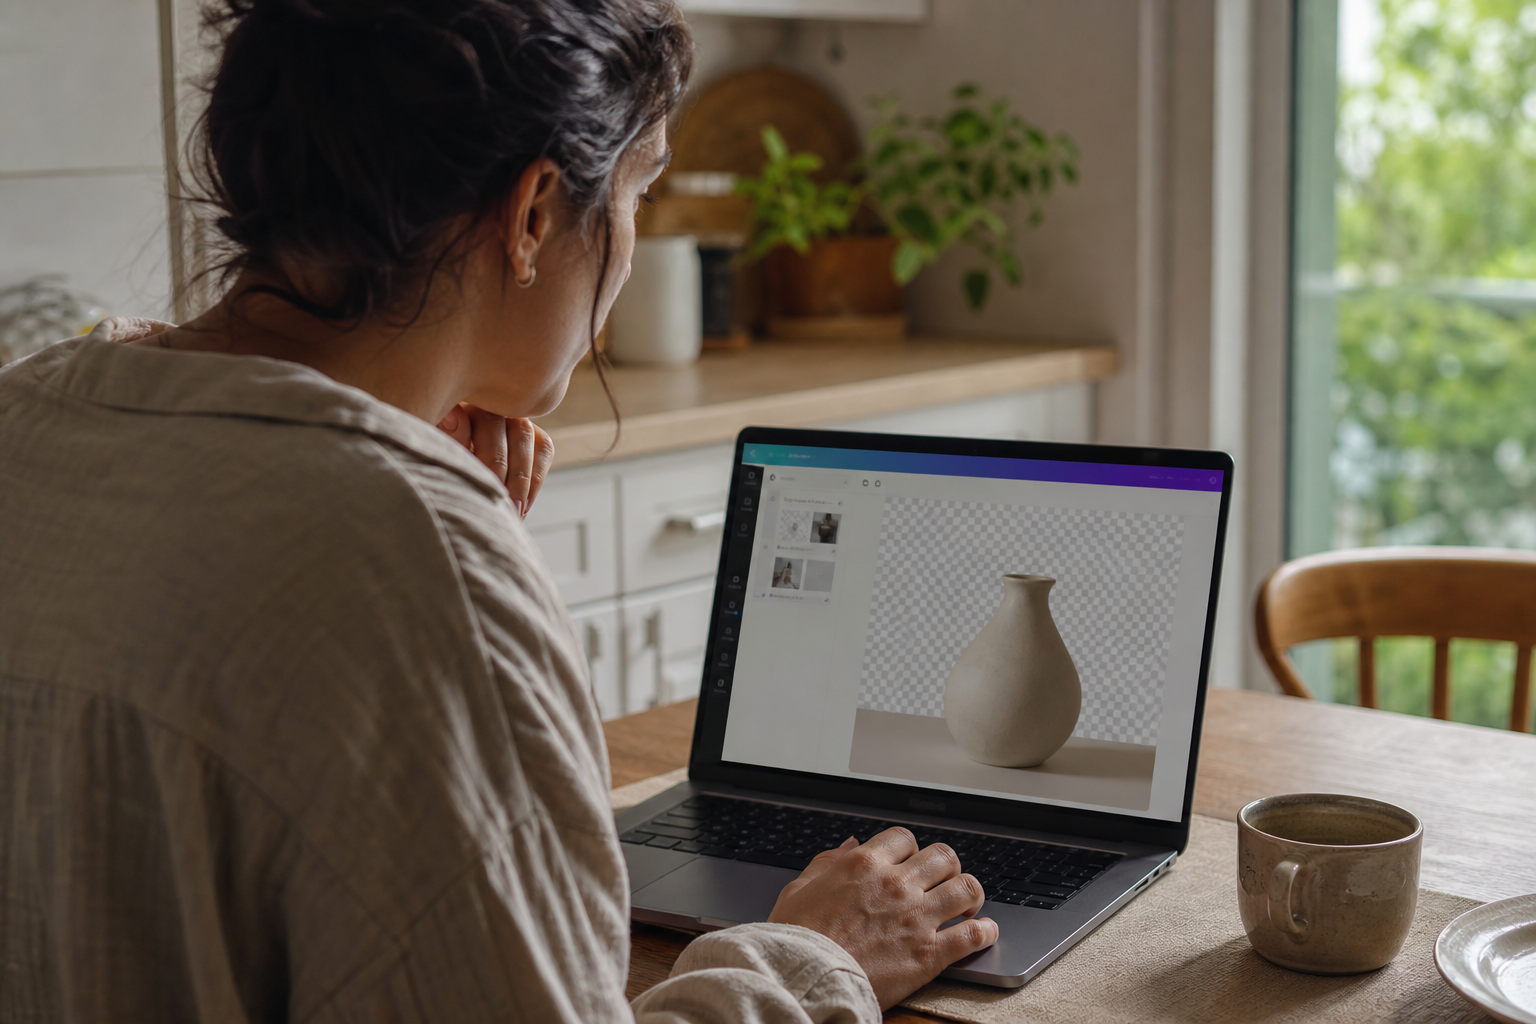
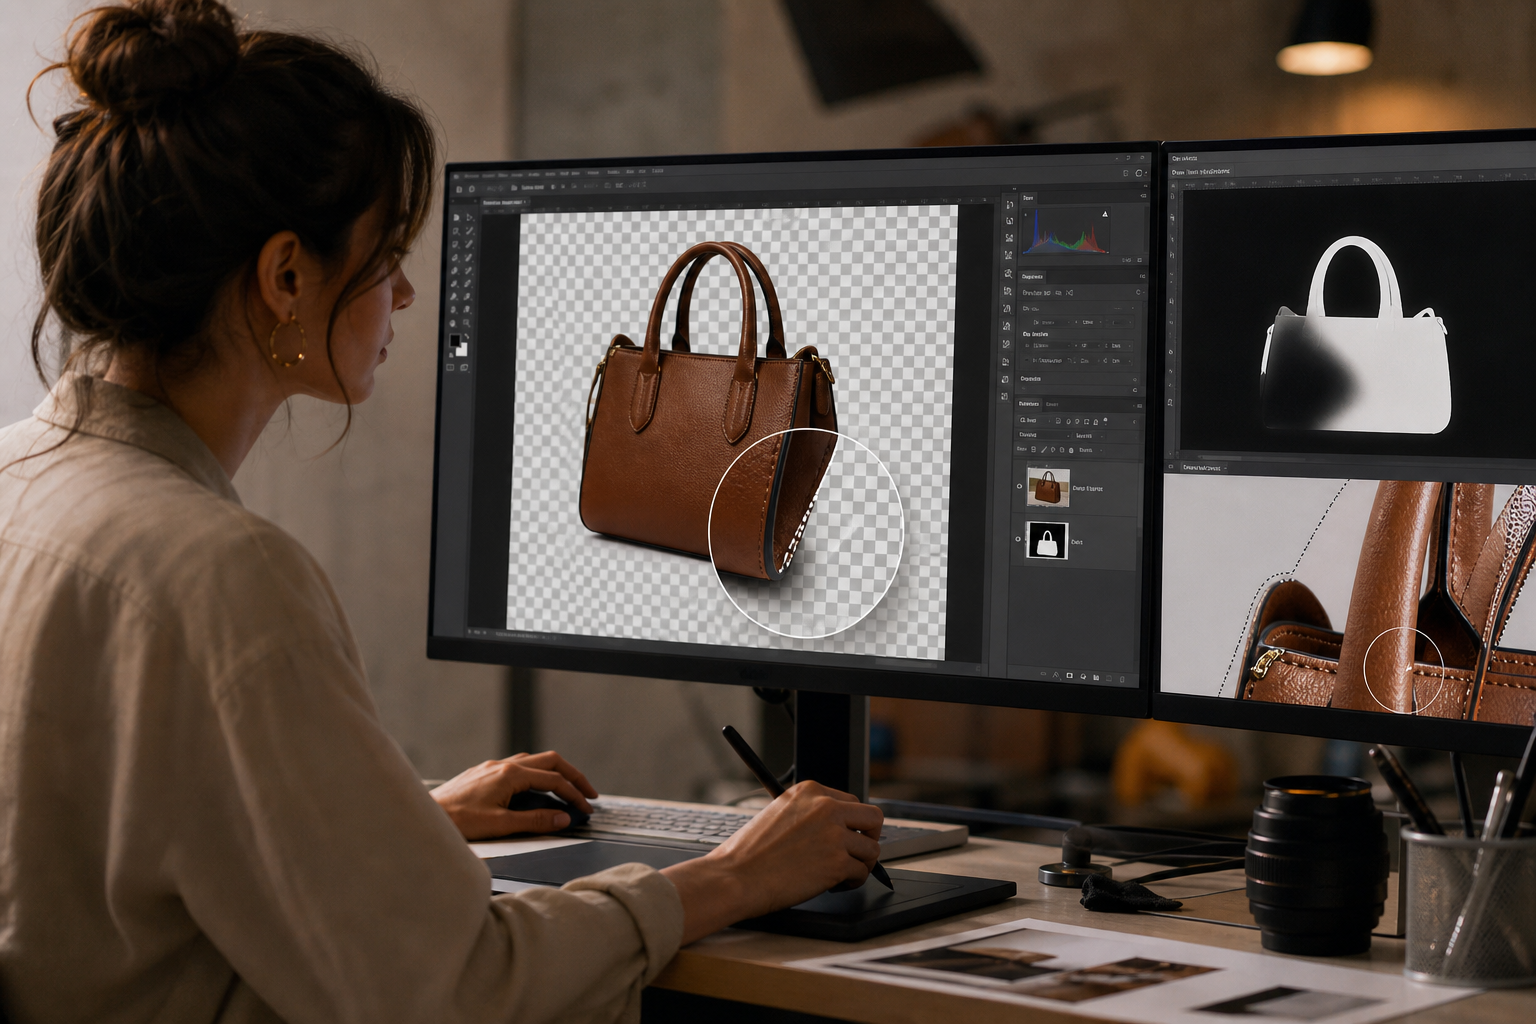
Adobe Photoshop delivers the most control for challenging images. Its Select Subject, masks, and Refine Edge tools handle hair, fur, glass, and color spill better than simpler one-click tools. If precision and print quality matter, Photoshop is the safe bet.
Quick Steps (Photoshop)
1) Duplicate your image layer.
2) Use Select Subject to detect the main object.
3) Add a layer mask to non-destructively remove the background.
4) Open Select and Mask or Refine Edge to polish hair, fur, and soft edges.
5) Tweak edge shift, feather, and decontamination as needed; export a transparent PNG.
When Photoshop Wins
• Complex edges (hair, fur, motion blur) or translucent materials.
• Print-ready work where color fringing and halos are unacceptable.
• Layer-based edits where you may revisit masks later.
Watchouts
• Slower than web tools for simple tasks.
• Learning curve for masks and edge refinement.
Suggested Visual: Photoshop panel showing Select Subject, the mask thumbnail, and Refine Edge controls around hair.
Accuracy vs. Speed vs. Control: Your Decision Guide
• Fastest path to a clean PNG: Pixelcut. Zero install and quick exports.
• Best for designing after removal: Canva. Remove background and add text/layouts right away.
• Most precise for tricky edges: Photoshop. Select Subject plus a mask and Refine Edge provide surgical control.
If you often handle straightforward product shots, speed beats complexity start with Pixelcut. If your day lives in layouts, Canva’s in-editor flow is efficient. For high-stakes images or print, Photoshop’s control prevents rework.
Troubleshooting: Cleaner Cutouts With Less Rework
• Halos around hair or edges: In Canva, use the restore/erase brush carefully; in Photoshop, expand the mask a few pixels and refine with Select and Mask. In Pixelcut, make small refinements, then export.
• Jagged edges: Ensure the source image is high-resolution; apply a light feather or smooth in Photoshop, or refine brushes in Canva/Pixelcut.
• Color spill from backgrounds: In Photoshop, use decontamination and a slight edge shift in Select and Mask. In Canva/Pixelcut, reduce background color influence by brushing edges and adding a subtle shadow on white.
• Soft or low contrast subjects: Increase local contrast first, then run remove background again for better edge detection.
Key Takeaways
• Start with the cleanest, highest-res source image you have.
• Always export a transparent PNG for flexible reuse.
• Save editable versions (masks or layered files) when possible.
How to Choose the Best AI Background Remover for Your Workflow
Ask these quick questions:
• Is speed more valuable than perfect edges? Choose Pixelcut.
• Will you place the cutout into designs immediately? Choose Canva.
• Do you need exact control over hair, glass, or print color? Choose Photoshop.
Then validate your choice on one image with these checks: 100% zoom inspection, hair and edge fringing, shadow realism, and export resolution. Lock in the winner and standardize your steps to avoid rework.
Create With VidAU
Turn scripts, product URLs, and creative ideas into ad-ready video assets with a structured AI workflow.
Key takeaway
Final Thoughts
If you want the fastest path to a clean transparent PNG, use Pixelcut first. If you are building designs the same minute you remove background, Canva’s in-editor flow is hard to beat. For complex subjects where accuracy rules, Photoshop’s masks and Refine Edge are worth the extra time.
Turning your new cutouts into short, shoppable videos or UGC-style ads? Use VidAU AI to turn a product URL or product images into testable short-form creative for TikTok, Meta, or YouTube, then iterate variants. It is a practical next step once your backgrounds are clean.
Frequently asked questions
What is the best AI background remover for beginners?
For most beginners who want fast, clean results, Pixelcut is a great first stop. It is web-based, requires no install, and produces transparent PNGs quickly. If you need to place the cutout into a design immediately, the Canva AI background remover is a strong, beginner-friendly alternative.
When should I use Photoshop instead of a web remover?
Use Photoshop when you need maximum control over difficult edges such as hair, fur, and glass. The Select Subject command, editable layer mask, and Refine Edge or Select and Mask provide precise adjustments, better color decontamination, and print-ready results where simple one-click tools may leave halos.
Is Pixelcut really free for removing backgrounds?
Pixelcut is widely known for offering a free, web-based AI background remover experience. Features and export options can change, so confirm current details on Pixelcut’s site. For quick cutouts and transparent PNGs without installing software, it is a fast, practical choice.
How do I get a transparent PNG from Canva?
Place your image in a Canva design, use the Background Remover in the editor, refine with the erase/restore brush, and then download with transparency enabled. Check the export settings to ensure you are saving a transparent PNG at the resolution your project requires.
How do I remove background in Photoshop with AI?
In Photoshop, duplicate the layer, use Select Subject to find the main object, and add a layer mask to remove background non-destructively. Open Select and Mask or Refine Edge to fine-tune hair and soft edges, adjust edge shift and feather, then export a transparent PNG once you are satisfied.
Which tool is best for ecommerce product photos?
For speed and simplicity, Pixelcut handles most product shots well and exports transparent PNGs for listings. If you are designing product graphics, Canva integrates remove background directly into layouts. For print catalogs or complex materials, Photoshop offers the precision needed for flawless edges and color.
How can I avoid halos and color fringing around edges?
Use an editable mask and refine edges carefully. In Photoshop, Select and Mask with slight edge shift and decontamination helps. In Canva and Pixelcut, zoom to 100%, brush edges to restore or erase, and add a subtle shadow on a neutral backdrop to hide minor spill.
What file format should I export after I remove background?
Export a transparent PNG for most use cases. It preserves alpha transparency and works across ecommerce sites, design tools, and social overlays. Keep a layered or masked source file too, so you can re-edit edges later without quality loss.
Can I batch remove backgrounds with these tools?
For quick repetition, Pixelcut’s fast upload-and-export flow is efficient, though true batching varies by tool. Canva works best when you are assembling multiple designs with consistent layouts. Photoshop can automate with actions, but it requires setup and is best for consistent image types.
Do AI background removers work well on hair or glass?
Results vary. Simple web tools can do a decent job on straightforward hair, but translucent strands and glass often demand refinement. Photoshop’s Select and Mask typically offers better detail control for these tricky edges. Always inspect at 100% and adjust before exporting.