VidAU Editorial · AI Search
Stick Figure Animation with AI: Step-by-Step Workflow (Claude + Higgsfield)
Learn how to make stick figure animation using AI. Follow a clear workflow with Claude for scripting and Higgsfield for images: prompts, timestamps, editing, voiceover, and packaging for a faceless YouTube channel.
By the VidAU Editorial Team · Reviewed before publishing

This tutorial turns a short script into AI stick figure animation using a timestamp method instead of frame-by-frame drawing. You will outline a story in Claude, convert narration into precise timestamps, batch-generate crude MS Paint–style frames in Higgsfield, then edit, voice, score, and package the video for a faceless YouTube channel.
Quick Summary
• Claude plus Higgsfield is the fastest workflow to turn a timestamped script into AI stick figure animation for YouTube.
• Pivot Animator or FlipaClip is the strongest manual alternative if you prefer hand-drawn stick figure animation without AI.
• For YouTube, export 1920×1080 16:9 H.264 MP4 and keep average loudness near minus 14 LUFS.
• Beginner creators, YouTube automation builders, and faceless channel owners benefit most from this method.
What Is Stick Figure Animation?
Stick figure animation is a minimalist style that uses simple lines and shapes to suggest characters, props, and actions. With AI, you can skip frame-by-frame drawing by timing narration into beats and generating one crude image per timestamp. The result is a fast, low-skill pipeline suited to faceless channels and explainer content.
The End-to-End AI Workflow at a Glance
Here is the high-level path from idea to upload:
• Concept and length: choose a niche and runtime target.
• Script in Claude: draft a tight narrative with clear beats.
• Timestamp in Claude or Claude Code: map each spoken line to exact moments.
• Generate images in Higgsfield: one MS Paint–style frame per timestamp.
• Voiceover and music: record or TTS, then add a simple background bed.
• Edit and sync: align images to VO, add minimal motion, export 1080p.
• Package for YouTube: title, description, chapters, thumbnail, and end screens.
How to Make Stick Figure Animation with AI: Step-by-Step
Step 1: Define the concept and runtime
• Pick a niche and angle: science facts, micro-histories, survival tips, or absurd comedy.
• Choose runtime: start with 60 to 180 seconds for speed, then test longer videos once you dial in the workflow.
• Note the visual rule: one image per timestamped beat, not per word or frame.
Step 2: Write a script with Claude
Use Claude or Claude Code to generate a tight, voiceover-ready script.
Prompt template for Claude:
• Role: You are a senior YouTube scriptwriter for a faceless storytelling channel.
• Niche: [insert topic]
• Length: [e.g., 90 seconds or 8 minutes]
• Requirements:
• Open with a vivid hook in the first 8 seconds.
• Short sentences, one idea per line; write for ear clarity.
• Reopen curiosity every 60 to 90 seconds for longer videos.
• End with one clean takeaway.
• Output: a numbered script with clear scene beats.
Tips:
• Keep sentences crisp so each beat maps cleanly to a single image.
• Avoid fast-cut dialog; this workflow favors narration-led pacing.
Step 3: Turn narration into timestamps in Claude or Claude Code
Ask Claude to convert the script into a structured timestamp list. A simple beat every 2 to 5 seconds works well.
Prompt template for timestamping:
• Task: Convert this voiceover script into timestamps.
• Rules:
• Start at 0s; add a new timestamp every 2 to 5 seconds based on natural pauses.
• For each timestamp, include the exact narration to be spoken at that moment.
• Also include a short image cue describing what one still image should show.
• Format: 0s — Narration line — Image cue
• Output: full list from start to end.
Example snippet:
• 0s — Sunlight leaks into a cave where two stick explorers whisper. — Two stick figures with headlamps in a cave entrance.
• 3s — They find markings that should not exist. — Wall with crude symbols, one explorer points.
• 7s — A chill runs down their spines. — Close-up of wide stick eyes and shaky lines.
Quality checks:
• Make sure no narration spans two timestamps.
• Avoid complex action cues; one clear visual per beat is the rule.
Key Takeaways
• One timestamp equals one image; keep beats 2 to 5 seconds long.
• Write terse narration lines that map cleanly to a single visual idea.
• Include an image cue with each timestamp to remove guesswork later.
Step 4: Create the master image prompt for Higgsfield
The master prompt enforces consistency across all frames. Feed this once, then pass the full timestamped transcript underneath it.
Master image prompt template:
• You are generating images for a YouTube script — one image for every timestamp in the script.
• Style:
• Extremely simple, rushed beginner drawing made in MS Paint–style.
• Looks like someone not good at drawing did it quickly by hand.
• Plain white background only.
• No 3D, no cinematic lighting, no realistic detail, no fancy rendering.
• Crude, flat, hand-drawn, slightly messy on purpose.
• Instructions:
• Read the transcript carefully.
• For each timestamp (0s, 3s, 7s, etc.), generate one separate image that illustrates exactly what the narration says at that moment.
• Do not skip any timestamps.
Folder and file naming:
• Create a project folder like project_name_images.
• Name files with zero-padded order: 0001_0s.png, 0002_3s.png, 0003_7s.png.
• Keep names aligned with the timestamp list for easier editing.
Step 5: Generate the images in Higgsfield
• Input method: paste the master image prompt, then include the timestamped transcript beneath it.
• Resolution: pick landscape 1920×1080 for YouTube 16:9.
• Batch: ensure the model returns one image per timestamp; verify the count matches.
• Consistency: keep line weights simple and backgrounds white to maintain the crude, flat look.
• Validation: scan the folder to confirm the image sequence and correct ordering.
Troubleshooting tips:
• If faces look too polished, reiterate the crude, rushed, beginner-drawn rule.
• If backgrounds appear colored, restate plain white background only.
Step 6: Voiceover options and recording tips
Options:
• Record your own in a quiet room using a basic USB mic and a pop filter.
• Use TTS from your preferred provider for speed and consistency.
Recording and cleanup checklist:
• Target a calm, evenly paced read that matches timestamp beats.
• Apply light noise reduction and a gentle high-pass filter if needed.
• Normalize close to minus 16 LUFS for spoken word; the final mix will sit near minus 14 LUFS overall.
Step 7: Edit, sync, and add background music
Use any beginner-friendly NLE such as CapCut, DaVinci Resolve, or Premiere Pro.
Timeline setup:
• Project: 1920×1080, 24 or 30 fps, stereo 48 kHz.
• Import assets: voiceover first, then images.
• Markers: drop markers on the voiceover track at each timestamp.
Sync routine:
• Place each image at its matching marker; trim or extend to the next marker.
• Add minimal motion: a slow 3 percent zoom or a 5-degree pan to avoid total stillness.
• Insert simple 4 to 6 frame crossfades between images if needed.
Background music and levels:
• Choose a sparse bed that does not compete with narration.
• Duck music under voice by 8 to 12 dB.
• Aim for integrated loudness near minus 14 LUFS; keep peaks below minus 1 dBTP.
Export specs for YouTube:
• Format: H.264 MP4, 1920×1080.
• Video bitrate: 8 to 16 Mbps CBR or high-quality VBR.
• Audio: AAC 48 kHz, 192 kbps or higher.
Tool Choices for Each Stage
Use this quick map if you prefer alternates at any step.
• Stage: Strategy and scripting
Recommended Tools: Claude, Claude Code
Why: Fast prompts and formatting
• Stage: Image generation
Recommended Tools: Higgsfield, Stable Diffusion
Why: Crude MS Paint–like control
• Stage: Video editing
Recommended Tools: CapCut, DaVinci Resolve
Why: Easy timeline sync and exports
• Stage: Voiceover
Recommended Tools: Audacity, TTS providers
Why: Clean capture or quick TTS
• Stage: Packaging
Recommended Tools: YouTube Studio, Canva
Why: Metadata and thumbnail basics
Stick Figure Animation Editing and Packaging for YouTube
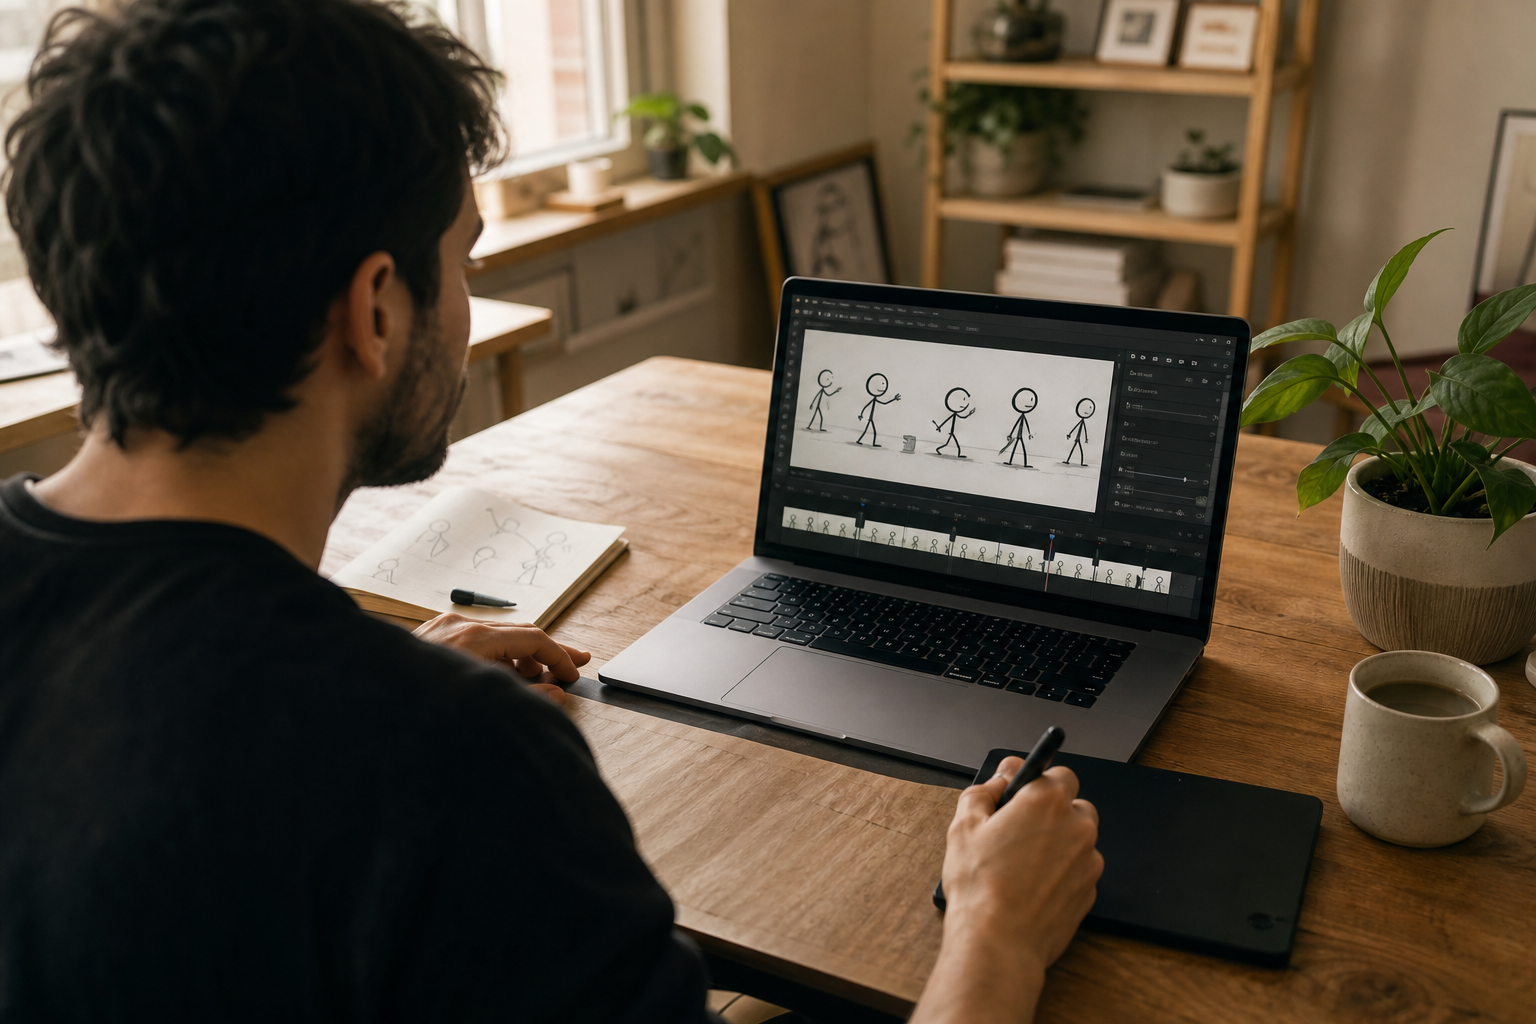
Visual for: Tool Choices for Each Stage
Thumbnails:
• Mirror the crude style: big stick figure silhouette, bold 2 to 4 word text.
• Use high-contrast colors; keep backgrounds plain for clarity.
Titles and descriptions:
• Lead with the core curiosity: Strange cave symbols found by stick explorers.
• Front-load keywords like stick figure animation or AI stick figure animation naturally.
• Include a short summary and 3 to 5 strong keywords in sentences.
Chapters and end screens:
• Add chapters matching major beats if video is 3 minutes or longer.
• Include an end screen linking to a related upload or playlist.
Channel hygiene:
• Keep a consistent upload day and runtime range.
• Use a repeatable naming convention for projects and assets.
Optional repurposing note:
• If you later adapt this content into short-form tests or product-led variations, a platform like VidAU AI Video can turn scripts or product pages into short-form creative for TikTok, Meta, and YouTube. Use it when you want fast variations for cross-platform experiments.
Common Mistakes to Avoid
• Overwriting narration: long, complex sentences force awkward image cues.
• Skipping timestamps: missing beats break the one-image-per-moment rule.
• Fancy visuals: avoid 3D, gradients, or cinematic shaders; keep it crude and flat.
• Loud music: narration must be intelligible at low volumes.
• Inconsistent naming: mismatched image order slows editing.
Troubleshooting and Iteration Tips
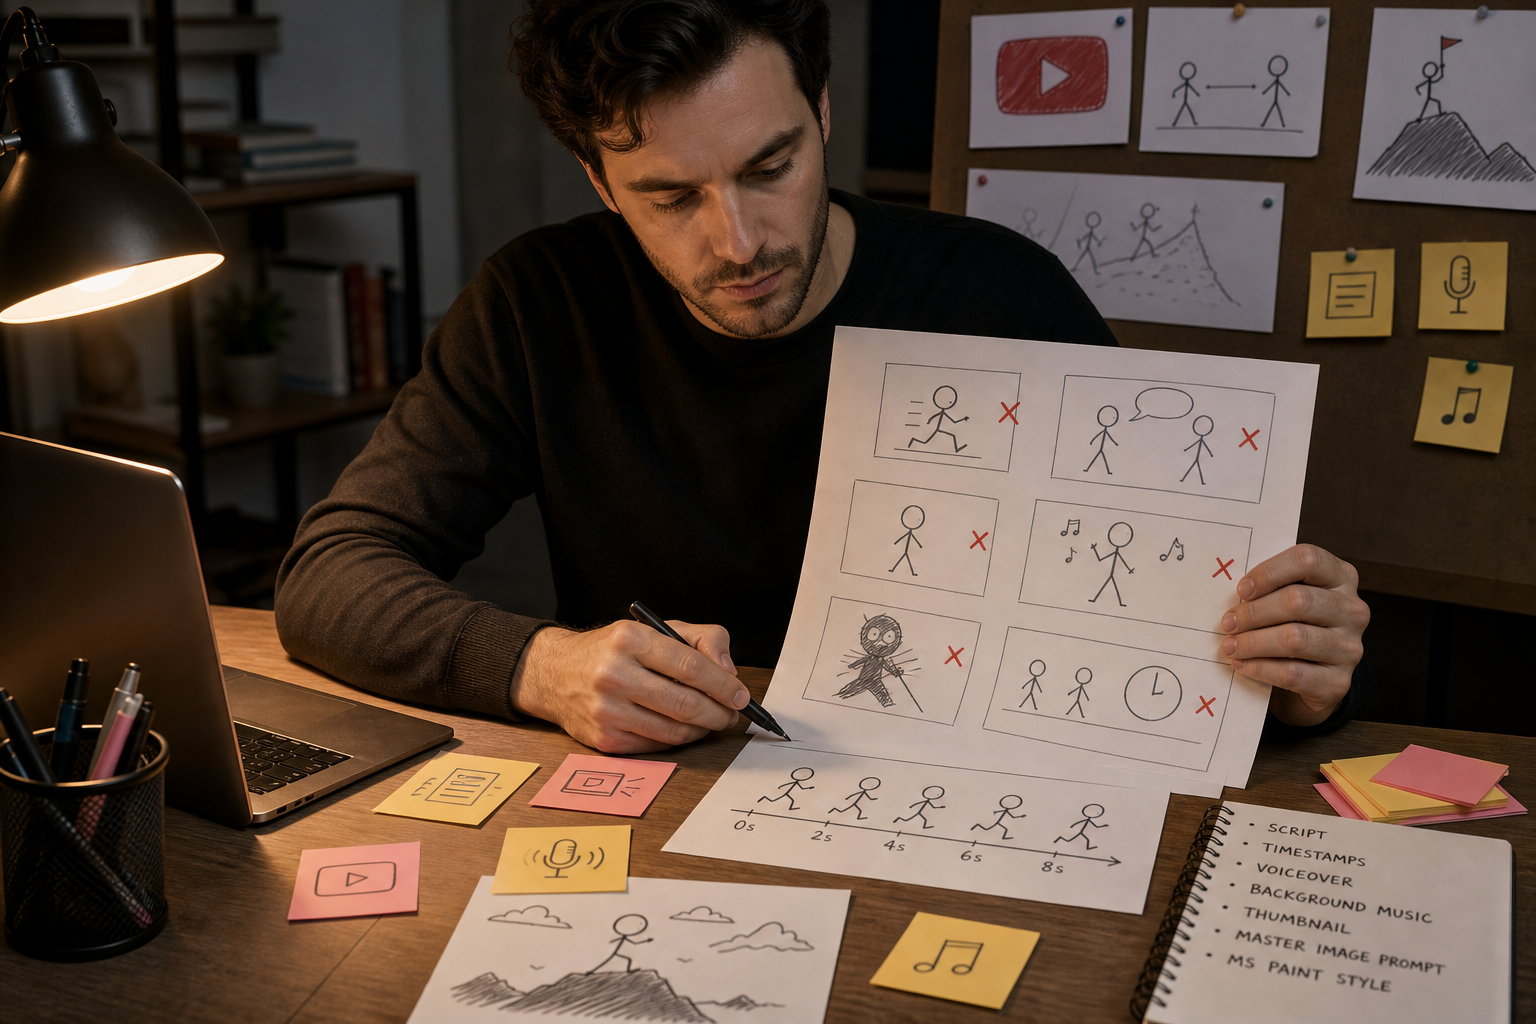
• If pacing drags: shorten gaps between timestamps to 2 or 3 seconds.
• If visuals feel repetitive: vary camera framing in cues (wide, medium, close).
• If the hook is weak: rewrite the first 8 seconds to pose a sharper question.
• If retention dips mid-video: add a mid-story curiosity beat at the 40 to 60 second mark.
Key Takeaways
• Keep the timestamp-to-image rule sacred to remove ambiguity in editing.
• Use crude, MS Paint–style art for speed, humor, and clarity.
• Iterate the script and timestamps before regenerating images; writing fixes are fastest.
Create With VidAU
Turn scripts, product URLs, and creative ideas into ad-ready video assets with a structured AI workflow.
Key takeaway
Final Thoughts
This AI-first approach to stick figure animation trades frame-by-frame drawing for timestamped narration and one image per beat. Claude handles script and structure; Higgsfield delivers consistent crude frames; a simple editor aligns VO, images, and music into a clean 1080p upload for a faceless channel.
Your best next step is to build one 60 to 90 second prototype: write in Claude, timestamp, generate images with the master prompt, sync in your editor, then refine pacing. If you later want fast short-form variants for testing across social platforms, consider trying VidAU AI Video to turn approved scripts or product pages into editable short-form creative.
Quick checklist: script → timestamps → images → edit → music → packaging
• Script: write a hooky, short-line VO in Claude.
• Timestamps: 2 to 5 second beats with image cues.
• Images: one per timestamp in Higgsfield; white background; crude style.
• Edit: align to VO markers; light zooms; crossfades.
• Music: gentle bed; duck 8 to 12 dB; target minus 14 LUFS.
• Packaging: title, description, chapters, end screens, thumbnail.
Frequently asked questions
What is stick figure animation and why pair it with AI?
Stick figure animation is a minimalist way to tell stories with simple lines and shapes. AI speeds it up by converting narration into timestamped beats and generating one crude image per beat. That removes frame-by-frame drawing, making it ideal for fast production on faceless channels and explainers.
How do I make AI stick figure animation without drawing skills?
Use a timestamp-driven workflow: write a short script in Claude, convert it into 2 to 5 second timestamps with image cues, then generate one crude MS Paint–style image per timestamp in Higgsfield. Import the images and a voiceover into a basic editor, align clips to timestamps, add light music, and export 1080p.
What is the best stick figure animation maker for this pipeline?
For AI-driven stills, Higgsfield works well when guided by a master prompt demanding crude, hand-drawn, white-background art. For the timeline, editors like CapCut or DaVinci Resolve are easy to learn. If you prefer manual, Pivot Animator or FlipaClip are classic stick figure animation makers for frame-by-frame work.
How to animate stick figues fast for a faceless channel?
Skip traditional keyframing. Convert your script into timestamps and generate one image per timestamp in a crude MS Paint–style. Then align images to voiceover markers in a simple NLE, add minimal zooms, and export. This timestamp method keeps speed high and complexity low for solo creators.
How many images do I need per minute of video?
If you place a new image every 2 to 3 seconds, expect about 20 to 30 images per minute. For slower pacing at 4 to 5 seconds per beat, you will need roughly 12 to 15 images per minute. Choose a cadence that matches narration density and attention curves.
What export settings should I use for YouTube?
Export a 1920×1080 16:9 H.264 MP4 at 24 or 30 fps. Use 8 to 16 Mbps video bitrate and AAC audio at 48 kHz and 192 kbps or higher. Aim for integrated loudness near minus 14 LUFS with peaks below minus 1 dBTP. Keep file naming clean and versioned.
Can I monetize faceless stick figure animation videos?
Yes, provided the content is original and meaningfully adds value, often through narration, scripting, and editing. Use your own VO or licensed TTS, music you have rights to, and original images from your workflow. Check current platform monetization guidelines before applying, as policies can change.
How can I add motion without animating frame by frame?
Use gentle Ken Burns moves: 2 to 3 percent zooms, subtle pans, and 4 to 6 frame crossfades. You can also reveal parts of an image with simple masks or stack a quick reaction overlay. Keep it minimal so the crude style stays readable and on brand.
Do I need Claude Code, or is regular Claude enough?
Regular Claude can write scripts and produce timestamp lists. Claude Code helps when you want structured formatting, batch outputs, or quick file handling. If you are comfortable copy-pasting between tools, regular Claude is fine; upgrade to Claude Code for larger projects and repeatable templates.
How should I design thumbnails for stick figure animation?
Keep thumbnails bold and simple: one large stick figure, high contrast, plain white or solid background, and 2 to 4 words of big text. Echo the MS Paint–style so the promise matches the video. Test a face close-up versus a wide scene to see which wins clicks.