VidAU Editorial · AI Search
AI Product Image Builder: Step-by-Step Workflow with Claude, Codex, Figma, and Midjourney
Build consistent, realistic product photos with an AI product image builder. Learn the end-to-end workflow using Claude, Codex, Figma, Midjourney, and more—prompts, tokens, 3D/2D, and brand consistency.
By the VidAU Editorial Team · Reviewed before publishing
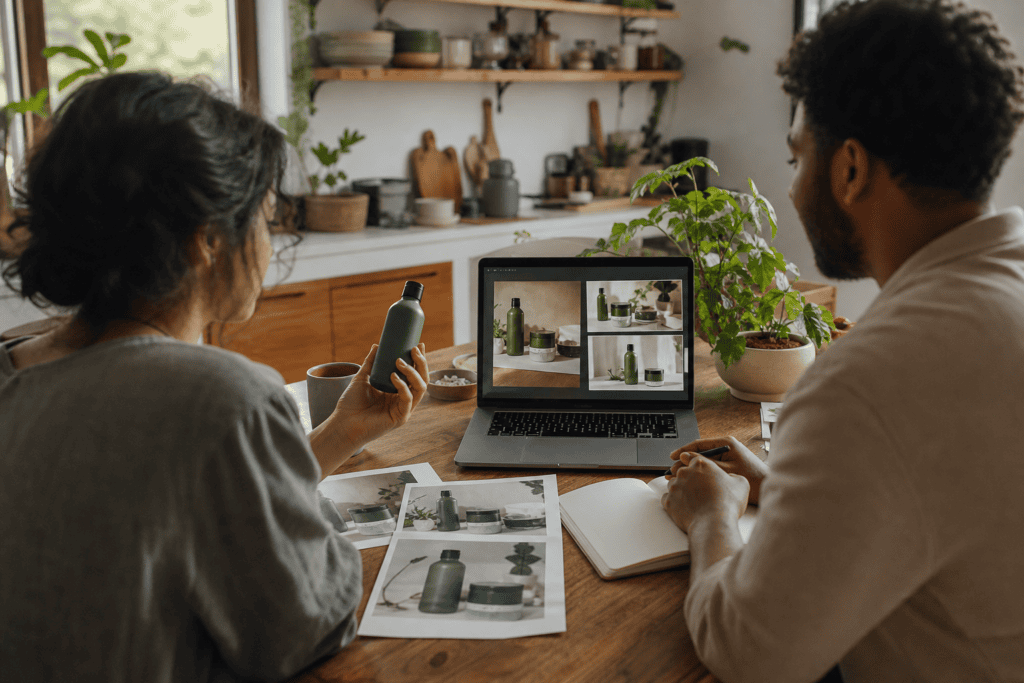
An AI product image builder only scales when Claude and Codex orchestrate a branded workflow, not when you bounce between single tools. This playbook ties Figma Variables and design tokens to an AI canvas with Paper (Paper Design) and Google Stitch, then routes asset creation to Midjourney, Vizcom, or Higgsfield AI for on-brand outputs.
Copy the prompt templates and checklists below, then adapt them to your brand.
Quick Summary
• Claude and Codex are the orchestration layer that binds prompts to Figma Variables and design tokens for a repeatable ai product image builder workflow.
• Paper (Paper Design) and Google Stitch are strong AI canvases for fast iteration, while Midjourney, Vizcom, and Higgsfield AI handle final asset generation per shot type.
• A reliable export spec uses token-aligned filenames, layered Figma frames, and 4096×4096 PNG-24 in sRGB with documented lighting and lens metadata.
• US-based product designers, AI product managers, brand teams, and solo builders benefit most when they standardize prompts, tokens, and review loops.
What Is an AI Product Image Builder?
An AI product image builder is a workflow that combines orchestration tools like Claude and Codex, a brand system in Figma Variables and design tokens, AI canvases for iteration, and asset generators such as Midjourney, Vizcom, or Higgsfield AI to produce consistent, realistic product images at scale. It systematizes prompts, specs, and handoff to prevent drift.
The AI product Image Builder Workflow: Claude, Codex, Figma, Midjourney
AI is a workflow, not a single tool. The stack below connects strategy, brand rules, iteration, generation, and export so every shot stays on-brand and reproducible.
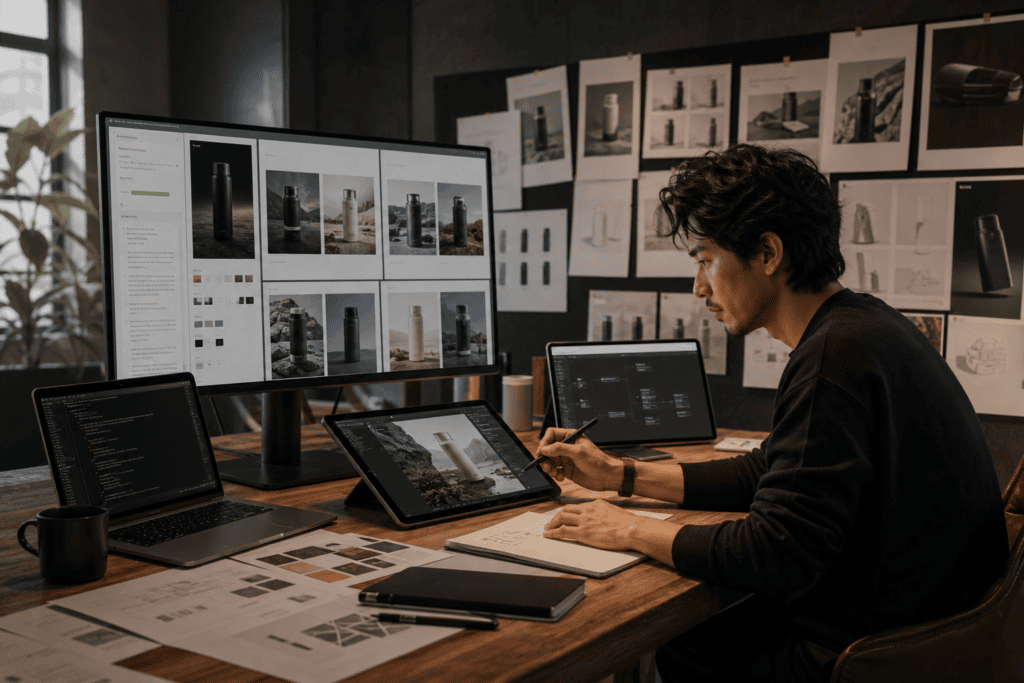
Step 1 — Lock Brand With Design Tokens and Figma Variables
Start by encoding brand decisions as tokens and variables so your prompts can reference them.
• Core tokens: brand.primary_hex, brand.secondary_hex, surface.material, finish.gloss_level, camera.focal_length, camera.angle, light.key_temp, light.fill_ratio, backdrop.hex, prop.palette, grain.level, vignette.level.
• Figma setup: create Figma Variables for the above and map them to semantic names. Tie variables to color styles, layer effects, and component states (eg, matte vs gloss overlays).
• Token docs: define allowed ranges and examples: finish.gloss_level 0 to 100, camera.focal_length 35mm to 85mm, light.key_temp 4000K to 5600K.
Prompt template reference for tokens (placeholders use single braces):
• Lens and light: {camera.focal_length} at {camera.angle}, soft key {light.key_temp}, fill ratio {light.fill_ratio}.
• Brand and surface: brand color {brand.primary_hex}, surface {surface.material} with gloss {finish.gloss_level}.
• Background and styling: backdrop {backdrop.hex}, grain {grain.level}, vignette {vignette.level}.
Step 2 — Orchestrate With Claude Design and Codex
Treat Claude Design and Codex as your control plane. They keep ai product design choices consistent across shots.
Set up a Claude skill for product imagery direction:
• Purpose: enforce brand tokens, shot taxonomy, and naming.
• Inputs: product name, hero angle, environment, material finish, props, usage channel.
• Outputs: a finalized shot brief, a generator-ready prompt, and a filename stem.
Claude skill starter prompt:
• System intent: You are the brand’s imagery director. Apply tokens strictly and output 1) Shot Brief, 2) Generator Prompt, 3) Filename Stem using hyphens and token suffixes.
• Rules: never invent materials or colors outside tokens; adhere to focal-length and lighting ranges.
Codex usage:
• Transform the Claude Shot Brief into tool-specific prompt syntax where needed.
• Batch-generate variant prompts (eg, 0, 15, 30 gloss) and seed unique filenames.
Step 3 — Mood Boards and AI Canvas Exploration
Ground your direction visually before generating final assets.
• Reference sourcing: pull interface, composition, and lighting references from Mobbin; gather form and style cues via MooedAI.
• AI canvas iteration: explore compositions in Paper (Paper Design) and Google Stitch to converge on camera angle, backdrop palette, and prop scales without burning tokens on full-res generations.
• Keep a do and do-not board: outline banned patterns such as color casts that conflict with brand.primary_hex or too-aggressive vignette.level.
Suggested Visual: A three-column board showing references, token table, and early AI canvas comps annotated with lens and light values.
Step 4 — Pick the Right Generator per Shot
Different models shine on different tasks. Route the Shot Brief accordingly.
• Shot Type: Hero on white
Recommended Tools: Midjourney
Why: Clean edges, photoreal product focus
• Shot Type: Lifestyle in scene
Recommended Tools: Higgsfield AI
Why: Strong material and lighting realism
• Shot Type: Sketch-to-render
Recommended Tools: Vizcom
Why: Fast from concept sketch to product form
• Shot Type: Macro material
Recommended Tools: Higgsfield AI
Why: Detailed texture and surface fidelity
• Shot Type: Exploded view
Recommended Tools: Midjourney
Why: Clear part separation and legibility
• Shot Type: Concept variant set
Recommended Tools: Vizcom
Why: Rapid iterations of shape and trim
Step 5 — Write Shot Briefs and Prompts That Bind to Tokens
Standardize the Shot Brief so any tool can read it.
Shot Brief template:
• Product: {product.name}
• Use case and channel: {use.channel} eg, ecommerce PDP, social ad, pitch deck
• Camera and light: {camera.focal_length} at {camera.angle}; key {light.key_temp}; fill {light.fill_ratio}
• Surface and finish: {surface.material}; gloss {finish.gloss_level}
• Backdrop: {backdrop.hex}; props: {prop.palette}
• Style notes: grain {grain.level}, vignette {vignette.level}; shadow type soft or hard
• Output: 4096×4096, sRGB, PNG-24
Generator prompt recipes (adapt to each tool’s syntax):
• Midjourney: Photographed {product.name}, {camera.focal_length} lens at {camera.angle}, studio softbox key {light.key_temp}, fill ratio {light.fill_ratio}, brand color accent {brand.primary_hex}, {surface.material} finish at {finish.gloss_level} gloss, clean white backdrop {backdrop.hex}, minimal grain {grain.level}, natural shadow.
• Vizcom: From the supplied sketch, render {product.name} with {surface.material} at {finish.gloss_level} gloss, maintain brand primary {brand.primary_hex}, camera {camera.focal_length} at {camera.angle}, soft key {light.key_temp}, fill {light.fill_ratio}, props in {prop.palette}, export 4096 square PNG.
• Higgsfield AI: Realistic studio render of {product.name}, macro-friendly materials, {surface.material} microtexture, gloss {finish.gloss_level}, lens {camera.focal_length}, angle {camera.angle}, key {light.key_temp}, fill {light.fill_ratio}, backdrop {backdrop.hex}, preserve sRGB and neutral grain {grain.level}.
Step 6 — 3D and 2D Compositing for Realism
Blend lightweight CAD references and 2D passes to control physics and polish.
• CAD assist: export a quick CAD silhouette or primitive form to lock perspective; use it as an underlay in the AI canvas to minimize distortion.
• Occlusion and shadows: generate a shadow-only pass in the AI canvas; composite in Figma using Multiply, tuned to the tokenized light.fill_ratio.
• Texture fixes: for plastic, nudge gloss between 12 and 18; for metal, add a faint softbox strip to telegraph specular highlights.
• Edge discipline: feather 0.3 to 0.7 px on select edges to remove halos without blurring product contours.
Step 7 — Figma Handoff and Export Checklist
Finalize, standardize, and ship.
• Components: build a Product Hero component with slots for image, shadow, reflection, and legal copy. Bind overlay effects to Figma Variables like grain.level or vignette.level.
• Tokens-to-layers: ensure brand.primary_hex and backdrop.hex are linked to layer styles so late-stage brand swaps cascade correctly.
• Metadata: annotate frames with lens, light, finish, and material tokens for downstream reuse and audits.
Export checklist:
• Canvas size: 4096×4096 for masters; generate 2048 and 1024 variants via export presets.
• Color: sRGB; verify brand.primary_hex within ±1 delta-E on eyedrop.
• Format: PNG-24 with transparency off unless a cutout is required; TIFF for print comps.
• Naming: {filename-stem}__{camera.focal_length}-{finish.gloss_level}-{light.key_temp}.png
• Accessibility: contrast-check brand accents over backdrops; avoid banding at grain.level 0 to 2 by adding a 1 to 2 subtle dither.
Suggested Visual: A Figma export panel screenshot annotated with variable bindings, styles, and naming tokens.
Troubleshooting Common Visual Defects – AI Product Image Builder
• Edge halos: increase subject mask softness by 0.3 px; add a neutral 1 px inner shadow to tuck bright rims.
• Color drift: re-sample brand.primary_hex on the largest, flattest area; reduce color noise by lowering grain.level; confirm sRGB.
• Lens noise or banding: raise grain.level slightly and apply subtle dither; avoid extreme vignette.level.
• Incorrect scale: add a known prop at a fixed dimension; use CAD underlay to reset perspective.
• Shadow mismatch: compute shadow softness from light.fill_ratio; if in doubt, duplicate shadow at half opacity and offset 1 to 2 px.
• Reflection artifacts: for glossy plastics, keep gloss under 22 to avoid plastic-looking chrome; add a linear gradient reflection aligned to camera.angle.
Systemize for Scale: Skills, Tokens, and Review Loops – AI product Image Builder
Create a factory so every stakeholder can reproduce results.
• Skill library: store Claude skills for Hero, Lifestyle, Macro, and Exploded shot types; each skill outputs a Shot Brief, generator prompt, and filename stem.
• Token guardrails: keep token ranges explicit and audited monthly; log any exceptions in a token change log.
• Batch orchestration: use Codex to emit 5 to 10 prompt variants per brief with token tweaks, then route to the right tool by shot type.
• Review loop: designate an imagery owner to approve shots, flag drift, and push fixes back into skills and tokens.
• Research taps: pull fresh patterns quarterly from Mobbin; for interaction-heavy visuals, prototype motion in Google Antigravity before locking stills.
Key Takeaways
• Orchestrate with Claude Design and Codex so prompts never drift from tokens.
• Iterate cheaply in Paper and Google Stitch, then generate finals with the best-fit model.
• Standardize export specs and filenames to make assets searchable and comparable.
Suggested Visual: A swimlane diagram showing Tokens and Figma Variables to Claude and Codex to AI Canvas to Generators to Figma Export.
Create With VidAU
Turn scripts, product URLs, and creative ideas into ad-ready video assets with a structured AI workflow.
Key takeaway
Final Thoughts
A reliable ai product image builder turns taste into tokens, prompts into skills, and scattered tools into a single, repeatable pipeline. Use Claude and Codex to lock decisions, iterate on an AI canvas, generate with the right model per shot, then finish in Figma with a strict export spec.
If you need video variants from your approved images, your marketing team can use VidAU AI to turn product images or URLs into short-form video ads for TikTok, Meta, and YouTube, keeping your brand system intact.
Frequently asked questions
What is an ai product image builder in practical terms?
It is a workflow combining Claude and Codex for orchestration, Figma Variables and design tokens for brand rules, AI canvases like Paper and Google Stitch for fast iteration, and generators such as Midjourney, Vizcom, or Higgsfield AI for final renders, all tied to a consistent export checklist.
How do design tokens and Figma Variables keep images on-brand?
Tokens and variables encode brand color, material, lighting, lens, and background rules as reusable parameters. Claude and Codex insert those values into prompts automatically, and Figma binds them to layers and effects. The result is consistent color, finish, and lighting across every shot and channel.
When should I use Midjourney vs Vizcom vs Higgsfield AI?
Use Midjourney for clean hero angles, exploded views, and strong object isolation. Choose Vizcom when moving from sketch to product form quickly or exploring shape variants. Select Higgsfield AI for lifelike materials, macro textures, and lifestyle scenes with convincing lighting and surfaces.
How does an ai product manager plug into this workflow?
An ai product manager defines shot taxonomies, token guardrails, and acceptance criteria, then uses Claude and Codex to standardize briefs, prompts, and filenames. They monitor model fit per shot type, enforce review loops, and align exports with channel requirements and analytics goals.
What export settings are best for ecommerce and ads?
Use 4096×4096 PNG-24 in sRGB as the master, plus 2048 and 1024 variants via presets. Maintain token-compliant color, minimal grain, and soft shadows. Apply a strict filename convention with camera, gloss, and light tokens so assets remain trackable and comparable across campaigns.
How do I prevent color drift and off-brand finishes?
Bind brand.primary_hex, backdrop.hex, and finish.gloss_level to tokens and variables. Keep grain.level moderate to avoid color noise, verify delta-E on a flat area, and never allow prompts to override token ranges. If drift appears, re-run the Shot Brief through Claude and re-export from Figma.
Can I mix 3D and 2D to improve realism without heavy pipelines?
Yes. Use a simple CAD silhouette to lock perspective and part proportions, then composite AI-generated passes in Figma. Add shadow-only layers, adjust specular highlights to match finish.gloss_level, and feather edges slightly to remove halos while preserving crisp contours.
What are common causes of edge halos and how do I fix them?
Halos often come from aggressive cutouts, mismatched lighting, or over-sharpening. Reduce mask hardness by about 0.3 to 0.7 px, add a faint inner shadow to absorb rims, and ensure key temperature and fill ratio match the tokenized backdrop lighting.
How do Claude Design and Codex differ in this stack?
Claude Design acts as the creative director, turning brand tokens into structured Shot Briefs and generator prompts. Codex focuses on orchestration tasks like transforming prompts for each tool, generating controlled variants, and enforcing naming rules and batch operations.
Where do Google Stitch, Paper, and Google Antigravity fit?
Use Paper and Google Stitch as AI canvases to explore composition, lighting, and prop choices quickly. When you need to test micro-interactions or motion concepts that inform stills, prototype in Google Antigravity before locking your final hero shots and exports.