VidAU Editorial · AI Search
Piclumen AI: How to Use the Image Generator (Prompts, Settings, Quick Edits)
Learn how to use Piclumen AI’s image generator: step-by-step setup, prompt templates, style settings (including high quality modes like AI Gen Max), and quick background edits for social-ready images.
By the VidAU Editorial Team · Reviewed before publishing
Get from prompt to social-ready in minutes with the Piclumen AI image generator: write effective prompts, choose the right settings (including AI Gen Max if available), and perform quick edits like background removal or swaps familiar from Pic Tech. This tutorial shows the exact clicks for product photography, portraits, and social media graphics.
Get from prompt to social-ready in minutes with the Piclumen AI image generator: write effective prompts, choose the right settings (including AI Gen Max if available), and perform quick edits like background removal or swaps familiar from Pic Tech. This tutorial shows the exact clicks for product photography, portraits, and social media graphics.
Quick Summary
• Piclumen AI image generator: start with a clear prompt, a fitting style preset, and the right aspect ratio to produce social-ready images fast.
• High-quality mode: use AI Gen Max if available; otherwise rely on upscaling and light sharpening to boost detail.
• Format must-haves: export 1:1 (1080×1080), 4:5 (1080×1350), or 16:9 (1920×1080) in PNG/JPG for Instagram, TikTok, or YouTube.
• Best fit: US creators, marketers, small businesses, and designers needing quick product photography, portraits, and social media graphics.
What Is Piclumen AI?
Piclumen AI is an AI-powered image generator that turns short text prompts into finished visuals. It typically includes style presets, aspect ratio and resolution controls, optional high-quality modes like AI Gen Max, and quick-edit tools such as background removal, cropping, and basic color/exposure tweaks to finalize images for social media, ads, and brand content.
How to Use Piclumen AI: Quick Start Setup
Follow these steps to go from prompt to your first image in minutes:
1) Sign in and create a new project
• Name it by goal (e.g., Product Launch, Portraits, Social Graphics) to keep assets organized.
2) Pick a style preset
• Choose a preset that matches your intent: photorealistic for products/portraits, illustration for social graphics, cinematic for moody brand shots.
3) Set aspect ratio and resolution
• Choose 1:1 for square feeds, 4:5 for Instagram portrait posts, or 16:9 for YouTube/TikTok landscape.
• Start with a moderate resolution for speed; you can upscale after generation.
4) Enable AI Gen Max (if available)
• Use it for product close-ups and portraits where fine texture matters.
• Expect longer render times; disable when you need quick drafts.
5) Enter a clear prompt and generate
• Keep it short but specific (subject, background, lighting, style). Add a negative prompt (if available) to avoid artifacts.
6) Review, upscale, and save
• If the result is close, use upscaling for extra detail. If it misses the mark, adjust the prompt or preset and re-generate.
Suggested Visual: A screenshot showing preset selection, aspect ratio, and the Generate button in Piclumen AI.
Quick Settings-by-Use-Case
• Use Case: Product photography
Recommended Settings: Photorealistic, 1:1 or 4:5, AI Gen Max on
Why: Detail and marketplace fit
• Use Case: Portraits
Recommended Settings: Photorealistic, 4:5, soft lighting
Why: Natural skin and framing
• Use Case: Social graphics
Recommended Settings: Illustration, 1:1 or 16:9, bold palette
Why: Readability and thumb-stopping
• Use Case: Background swap
Recommended Settings: Photorealistic, 1:1, neutral lighting
Why: Clean subject cutouts
Piclumen AI Prompts That Work Fast
Use these plug-and-play templates. Replace bracketed text with your details.
• Studio product photo of [product], on [background: white/cream/gradient], lit by [softbox/3-point lighting], [three-quarter/front/top-down] angle, ultra-clean reflections, sharp focus, photorealistic.
• Negative prompt (if available): text, watermark, blur, overexposed, distorted.
Portraits
• Natural light portrait of [subject: age/gender/role], in [location/background], [mood: confident/warm], 50mm look, shallow depth of field, soft skin tones, photorealistic.
• Negative prompt: harsh shadows, extra limbs, artifacts, text, watermark.
Social media graphics
• Bold flat illustration of [topic/offer], in [brand colors], minimal shapes, high contrast, centered subject, clean background, space for text at top, modern design.
• Negative prompt: busy textures, low contrast, cluttered layout.
Iteration tips
• Generate 2 to 4 variations, pick the best, and refine only one variable per pass (lighting, background, or angle) to converge quickly.
• If the subject looks off, simplify the prompt and add a reference detail (e.g., color/material/brand style) instead of more adjectives.
Key Takeaways
• Be specific about subject, background, lighting, and style.
• Use negative prompts (if available) to avoid common artifacts.
• Iterate with small changes to reach quality faster.
Suggested Visual: A prompt panel with variables highlighted and resulting image variations side-by-side.
Tuning Settings for Quality and Speed in Piclumen AI
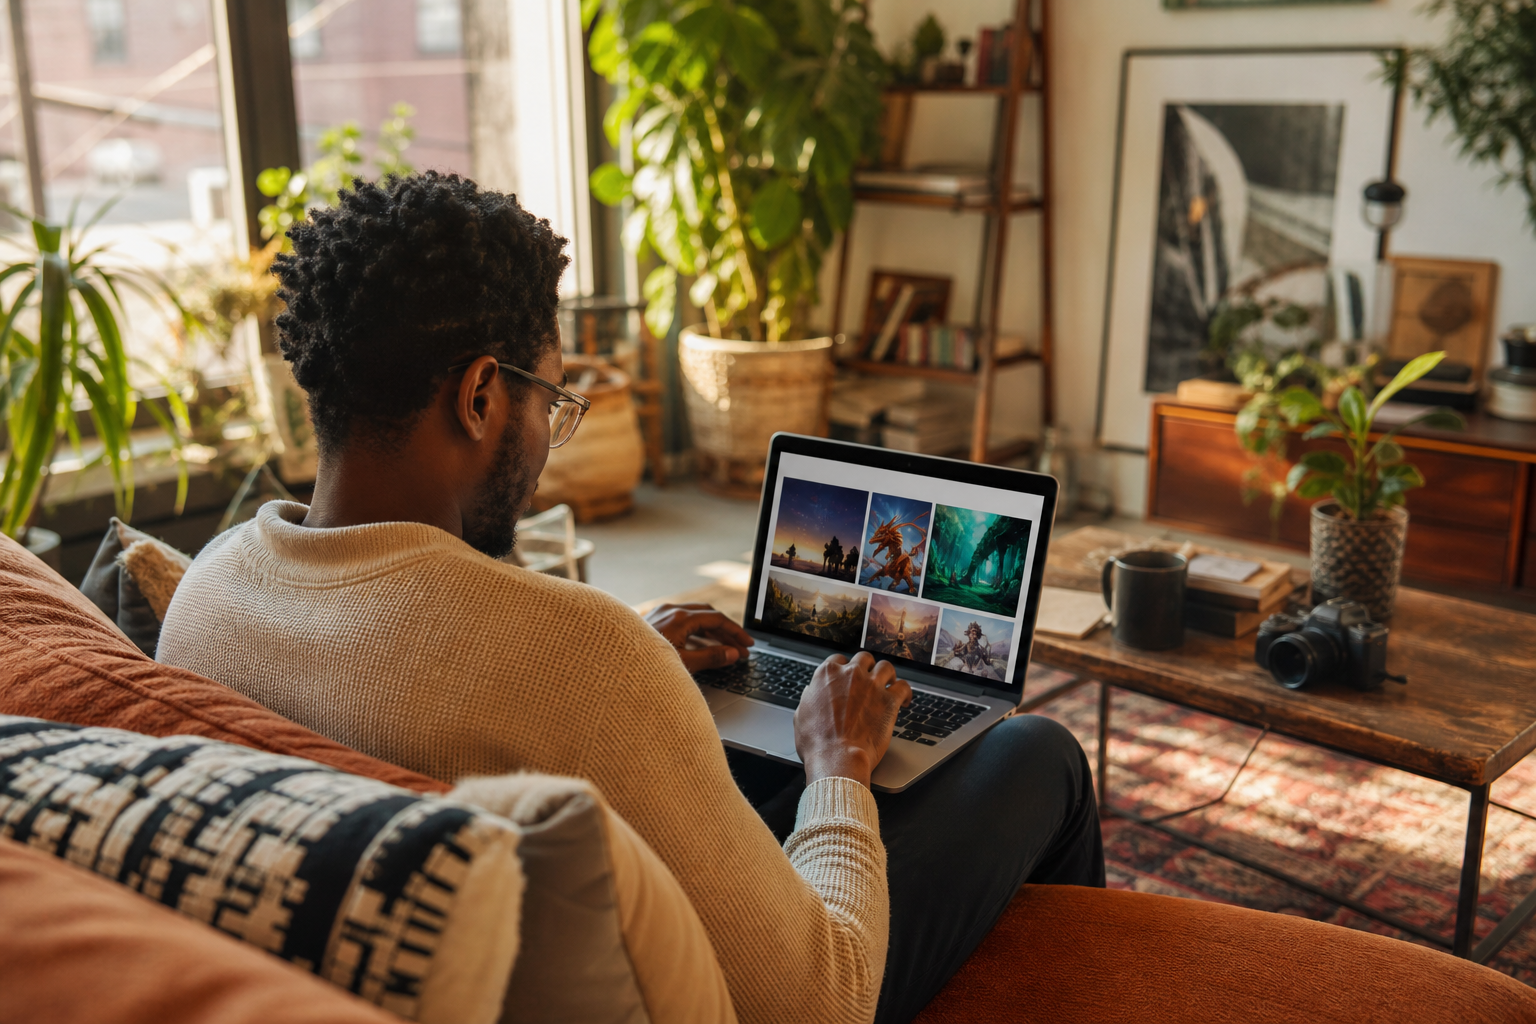
• Style presets: Photorealistic works best for products and portraits; illustration for branded social posts; cinematic for dramatic ads.
• Aspect ratio: 1:1 for square feeds, 4:5 for tall feed posts, 16:9 for banners and thumbnails.
• Resolution: Start modest for speed; upscale after you like the composition.
• AI Gen Max (if available): Turn on for detailed shots; turn off for rapid drafts.
• Guidance/strength (if available): Lower values allow creative deviation; higher values follow the prompt more literally.
• Seed (if available): Lock the seed when you want consistent variations from one baseline.
When to upscale
• After you confirm composition and lighting, upscale to add clarity. If artifacts appear, back off and re-generate at a slightly higher base resolution before upscaling.
Quick Edits: Background Removal, Crops, Color Tweaks, and Export
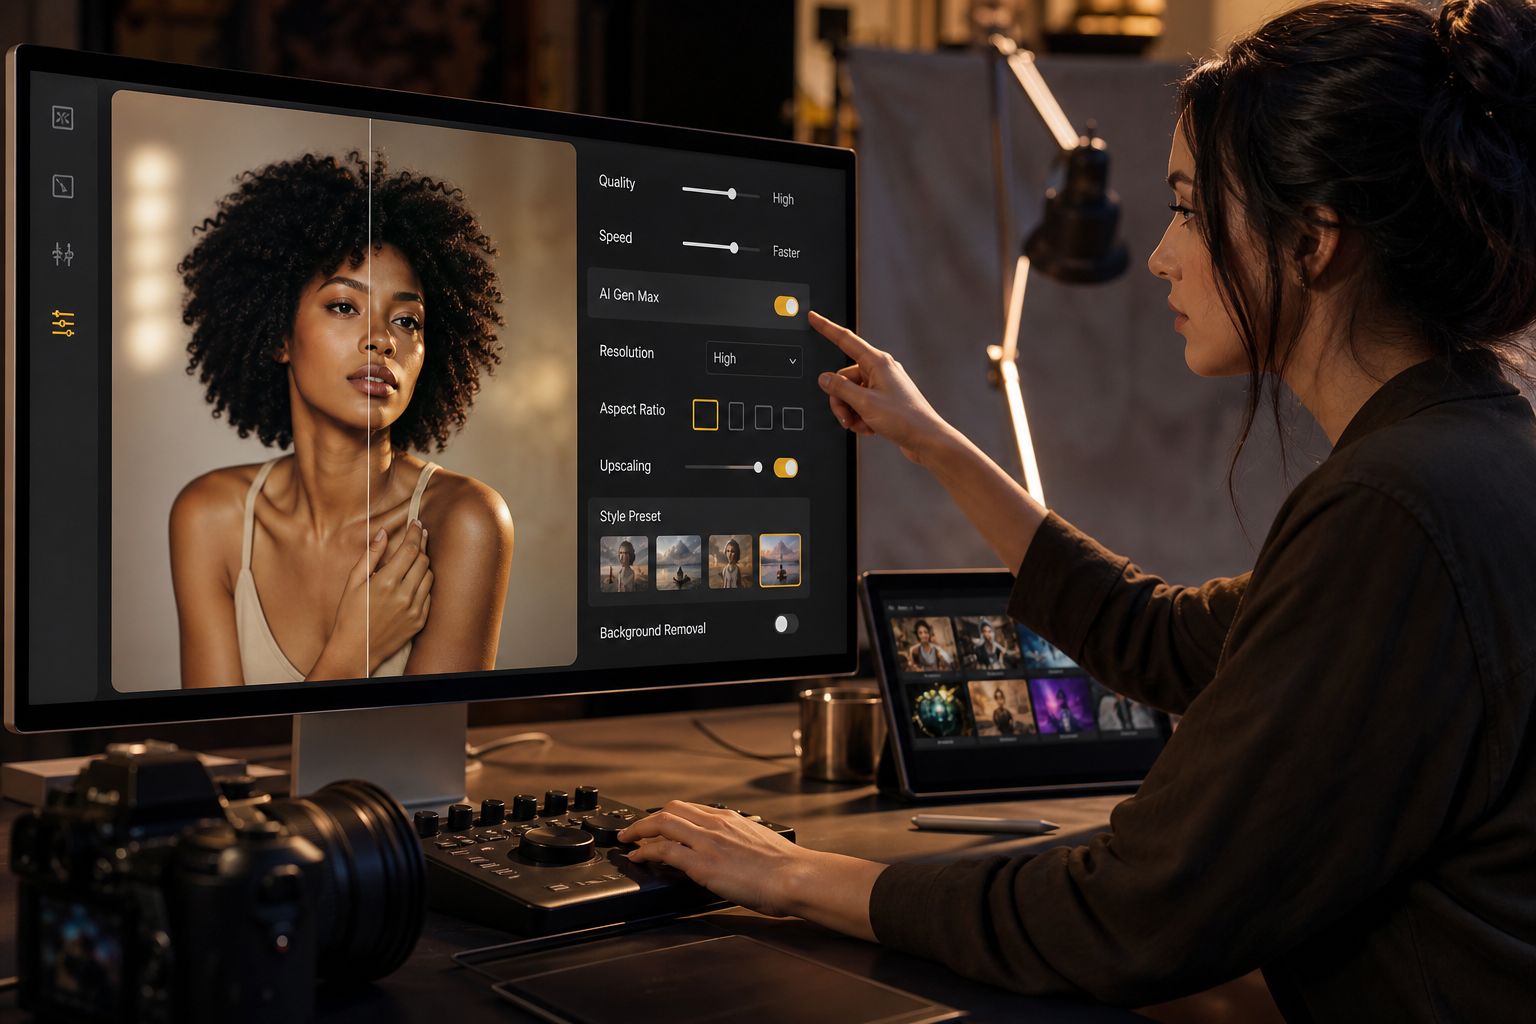
Background removal and swaps
• Use background removal (if available) to isolate the subject. This mirrors green-screen workflows familiar from Pic Tech, but automated.
• Swap in a solid color, studio sweep, gradient, or a light scene. Keep shadows subtle for realism.
Cropping for platforms
• 1:1 (1080×1080): Instagram grid, Facebook feed.
• 4:5 (1080×1350): Instagram portrait posts, Pinterest.
• 16:9 (1920×1080): YouTube thumbnails, website hero images.
Light color/exposure fixes
• Adjust white balance to match brand tones.
• Nudge exposure and contrast for punch; avoid clipping highlights.
• Add gentle clarity or structure; skip heavy sharpening that causes halos.
Export
• PNG for crisp graphics and products; JPG for smaller file sizes in social feeds.
• Name files by use case (e.g., prod-summer-candle-1080×1350-v2.png) for easy tracking.
Pro tip for multi-format campaigns
• Once your product image is final, consider turning it into a short video variant for ads or social proof. Platforms like VidAU AI can convert product images into shoppable short videos or UGC-style clips for TikTok, Meta, and YouTube, useful when you need quick motion-based creatives alongside stills.
Suggested Visual: Before/after of background removal with a clean studio background applied, plus a crop overlay for 1:1 and 4:5.
Create With VidAU
Turn scripts, product URLs, and creative ideas into ad-ready video assets with a structured AI workflow.
Key takeaway
Final Thoughts
With a clear prompt, the right style preset, and a smart choice of aspect ratio, you can produce polished images in Piclumen AI quickly. Use AI Gen Max (if available) for detail-critical shots, then finish with background cleanup, a platform-ready crop, and a clean export.
If you also need motion assets, turn finalized product images into short video creatives using VidAU AI to test shoppable clips on TikTok, Meta, or YouTube alongside your stills.
Frequently asked questions
What is Piclumen AI and how does its image generator work?
Piclumen AI is an AI image generator that converts text prompts into images using style presets, aspect ratio and resolution controls, and optional quality modes like AI Gen Max. You enter a prompt, choose settings, generate, then apply quick edits such as background removal, cropping, and simple color tweaks before exporting PNG or JPG files.
How do I write effective prompts for the Piclumen AI image generator?
State the subject, background, lighting, style, and framing in short phrases. Example: Studio product photo of [product], on white, softbox lighting, three-quarter angle, photorealistic, sharp focus. If available, add a negative prompt like no text, no watermark, no blur to avoid common artifacts.
What does AI Gen Max do, and when should I use it?
AI Gen Max is typically a high-quality mode that prioritizes fine detail and cleaner textures, though it may take longer to render. Enable it for product close-ups and portraits where skin, fabric, or packaging detail matters. Disable it when rapidly exploring concepts or creating quick social graphics.
Can Piclumen AI remove or change backgrounds?
If background removal is available, you can isolate the subject with one click and replace the background with a solid color, gradient, or scene. This mirrors familiar Pic Tech-style workflows but automated. Maintain soft shadows and consistent lighting to keep the composite realistic.
Which aspect ratios and sizes work best for Instagram, TikTok, and YouTube?
Use 1:1 (1080×1080) or 4:5 (1080×1350) for Instagram feed posts. For YouTube thumbnails or website banners, use 16:9 (1920×1080). TikTok favors vertical, but for still images, square or 4:5 crops often repurpose well across platforms. Export PNG for crisp edges or JPG for lighter files.
How do I get realistic product photography with Piclumen AI?
Choose a photorealistic preset, set 1:1 or 4:5, and write a prompt with clean studio cues: white or light gradient background, softbox or three-point lighting, and a specific camera angle. If available, enable AI Gen Max for packaging detail and finish with gentle exposure and contrast adjustments.
How do I upscale images in Piclumen AI without losing quality?
Upscale only after you approve composition and lighting. If your result looks oversharpened or artifacted, re-generate at a slightly higher base resolution and then apply a modest upscale. Avoid heavy global sharpening; use light clarity adjustments for a cleaner look.
Why are my Piclumen AI results blurry or inconsistent?
Blurry outputs often come from vague prompts or low base resolution. Be specific about subject, background, and lighting, then lock seed (if available) for consistency. Increase base resolution modestly, or turn on AI Gen Max for detail-critical shots. Use negative prompts to reduce artifacts like text or watermarks.