VidAU Editorial · AI Search
AI Upscale Images: Best Tools and Steps to Get Print-Ready, Ultra‑Sharp Results
Learn how to AI upscale images for ultra-sharp, print-ready results. See the latest tool comparisons (Krea, Adobe Firefly, Gigapixel, Crystal AI, Nano Banana Pro, Magnific) and follow a step-by-step workflow to get large, high-quality images.
By the VidAU Editorial Team · Reviewed before publishing
If you need to AI upscale images to billboard scale without mushy textures or haloed edges, start with a clear, tool-by-tool plan. We compare Krea’s AI Image Upscaler, Adobe Firefly Upscaler, Gigapixel, Crystal AI Upscaler, Nano Banana Pro, and Magnific, then walk you through the exact workflow to export print‑ready, ultra‑sharp files.
Creators, designers, marketers, and photographers often need to enlarge small or AI-generated images into huge, print-ready assets. The challenge: keep micro‑texture, clean edges, and accurate color while avoiding halos, plastic skin, and crunchy noise. Here is a concise comparison of today’s leading upscalers plus a workflow you can trust for posters, trade‑show graphics, and even billboards.
Quick Summary
• Gigapixel is the most consistent first choice for 4–8x enlargements with natural texture and controlled edges.
• Krea’s AI Image Upscaler is the strongest alternate, with Magnific favored when you want more creative detail synthesis.
• For print, target roughly 240–300 PPI for handheld prints, 150–240 PPI for posters, and 30–100 PPI for billboards; export TIFF or PNG with the correct color profile embedded.
• Designers, marketers, and photographers who need ultra‑large, press‑ready assets benefit most from this comparison and workflow.
What Is AI Upscale Images?
AI upscale images is the process of enlarging photos or artwork using machine‑learning models that infer additional detail while preserving lines, textures, and edges. Unlike simple resampling, AI upscaling can reconstruct plausible micro‑detail, reduce compression artifacts, and maintain clarity at 4–8x (or more) size increases suitable for large prints and displays.
Best Tools to AI Upscale Images: Head-to-Head Snapshot
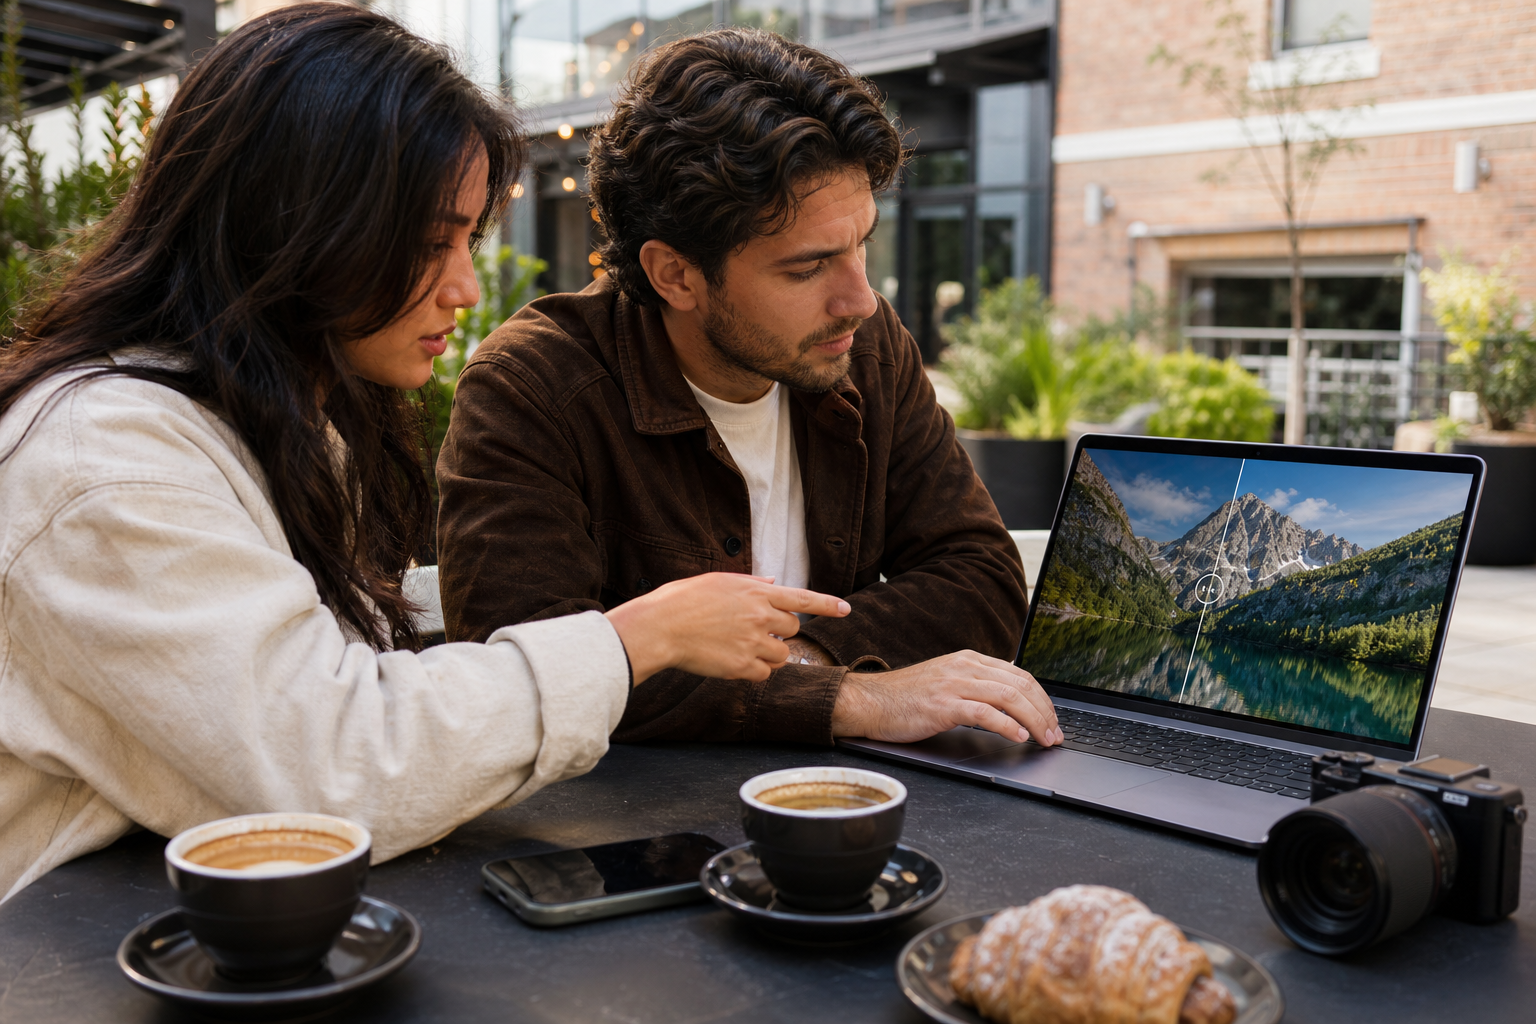
Across many side‑by‑side tests, these patterns commonly emerge. Some upscalers lean conservative (clean edges, restrained sharpening) while others synthesize stronger micro‑detail (great for AI art, riskier for faces or text). Use the quick table below as a first pass, then validate on your image type.
• Tool: Krea’s AI Image Upscaler
Best For: Clean 4–8x enlargements
Why: Balanced detail, low halos
• Tool: Adobe Firefly Upscaler
Best For: Text, logos, UI elements
Why: Conservative sharpening, stable lines
• Tool: Gigapixel
Best For: Photoreal faces, textures
Why: Natural detail, anti‑halo behavior
• Tool: Crystal AI Upscaler
Best For: AI art with crisp lines
Why: Strong line clarity, patterns
• Tool: Nano Banana Pro
Best For: Aggressive enlargements
Why: Bold detail synthesis, punchy look
• Tool: Magnific
Best For: Stylized enhancement
Why: Creative microdetail, careful tuning
Quick Chooser: Pick the Right Upscaler for Your Image
• Portraits and skin at 4–8x: Start with Gigapixel; second choice Krea’s.
• Product photos with edges and labels: Krea’s or Adobe Firefly Upscaler.
• Logos, UI, graphic text: Adobe Firefly Upscaler; consider recreating text as vector.
• AI‑generated art needing extra micro‑detail: Magnific or Nano Banana Pro.
• Line art and technical drawings: Crystal AI Upscaler; keep sharpening mild.
• Low‑res JPEGs with compression: Gigapixel first; then light dehalo if needed.
Suggested Visual: Side‑by‑side 200% crops comparing edges, skin, and text across the six tools.
How to AI Upscale Images: Step‑by‑Step Workflow
Follow this pipeline to hit billboard‑scale outputs without artifacts.
1) Prepare the source
• Start with the cleanest version available (PNG, TIFF, or the original render).
• Remove obvious compression blocks using a gentle denoise or deJPEG pass.
• Fix major defects pre‑upscale (dust spots, banding, clipped blacks/whites).
• Convert to a working color space you control (usually sRGB; keep Adobe RGB if your print pipeline supports it).
2) Define the print target before you upscale
• Establish final physical size and realistic PPI based on viewing distance:
• Handheld prints: 240–300 PPI.
• Posters viewed across a room: 150–240 PPI.
• Billboards and large outdoor: 30–100 PPI.
• Pixel math example: 24×36 in poster at 200 PPI = 4800×7200 px. A 10×20 ft board at 60 PPI ≈ 7200×14400 px. Plan your upscale factor accordingly.
3) First upscale pass (usually 2–4x)
• Use your chosen upscaler’s most natural model preset first.
• Keep detail/enhancement sliders conservative. Prioritize edges and texture without ringing.
• Inspect at 100% and 200%. Check eyelashes, text edges, hairlines, and diagonal lines.
4) Optional second pass to reach target size
• If you need more than 4x total, do a second, lighter pass instead of one extreme jump.
• Alternative: First upscale to a bit above target, then resample down 5–10% in a photo editor to dampen minor artifacts.
5) Gentle detail enhancement only if needed
• Apply a low‑radius, low‑amount sharpening or clarity adjustment. Avoid global, strong sharpening.
• For portraits, use edge‑aware or frequency‑based tools to avoid plastic skin.
• Add a touch of fine film‑grain to unify texture and mask banding.
6) Artifact cleanup
• Halos or ringing around edges: Reduce detail strength; try a different model; apply a dehalo filter.
• Waxy skin: Lower enhancement; blend in some original texture using frequency separation.
• Over‑crisp noise: Apply selective denoise on flat areas only.
• Broken or fuzzy text: Replace with vector or re‑typeset cleanly in your layout.
7) Color management and soft‑proofing
• Keep sRGB unless your print vendor specifies otherwise; convert to CMYK only with their ICC profile.
• Soft‑proof in your editor with the printer’s profile to preview gamut shifts.
• Nudge saturated colors or deep shadows to avoid clipping after conversion.
8) Export for print
• Preferred formats: TIFF (lossless, supports 16‑bit, layers if needed) or PNG (lossless, 8‑bit).
• Embed the correct ICC profile. Flatten unless your vendor accepts layered files.
• Bleed: Follow vendor specs. Typical small‑format bleed is 0.125 in; large‑format can require 0.25–0.5 in or more.
• Name files with size, PPI, and color space to reduce handoff errors.
Pro move for ad teams: If your end goal is short‑form ads built from these upscaled stills, you can bring the finalized images into VidAU AI Video to turn product URLs or product images into ad‑ready videos for TikTok, Meta, or YouTube.
Suggested Visual: A flow diagram from source prep → first pass → second pass → cleanup → export.
Common Artifacts And How To Fix Them When You AI Upscale Images

• Edge halos and ringing: Choose a more conservative model (e.g., Krea’s or Gigapixel), lower detail strength, and apply a targeted dehalo. A slight downscale (5–10%) after overshooting can also help.
• Plastic skin or waxy texture: Reduce enhancement; blend in mid‑frequency texture; add subtle grain; avoid global clarity on skin.
• Over‑sharpened noise: Use selective denoise on skies, walls, and gradients; keep grain fine and uniform.
• Repeated patterns or AI “invented” detail: Switch tools; reduce creative/detail sliders; mask problem areas and composite from a cleaner pass.
• Text and logo artifacts: Re‑typeset or swap to vector; use Adobe Firefly Upscaler or Crystal AI Upscaler for cleaner lines if you must upscale raster text.
• Color banding in gradients: Work in 16‑bit where possible; add micro‑grain; avoid aggressive saturation boosts.
Print‑Ready Checks: Dimensions, PPI, Color, and File Delivery
Before you send to press, run this checklist:
• Size and PPI: Confirm final inches/feet and effective PPI at scale meet viewing‑distance targets.
• Visual QC: Inspect at 100% for edges, hairlines, and type. At 50% for overall texture. At print size on screen for composition.
• Color: Soft‑proof with the printer’s ICC; embed profile; convert to CMYK only when required.
• File format: TIFF or PNG, flattened unless the vendor accepts layers; ensure lossless compression.
• Bleed and safety: Add required bleed; keep key elements inside safe margins.
• Test strip: For critical work, print a 10–20% scale crop at target PPI to validate.
Suggested Visual: A simple print spec checklist showing size, PPI, bleed, and profile fields.
Case Examples: From 1024 px to Poster and Billboard
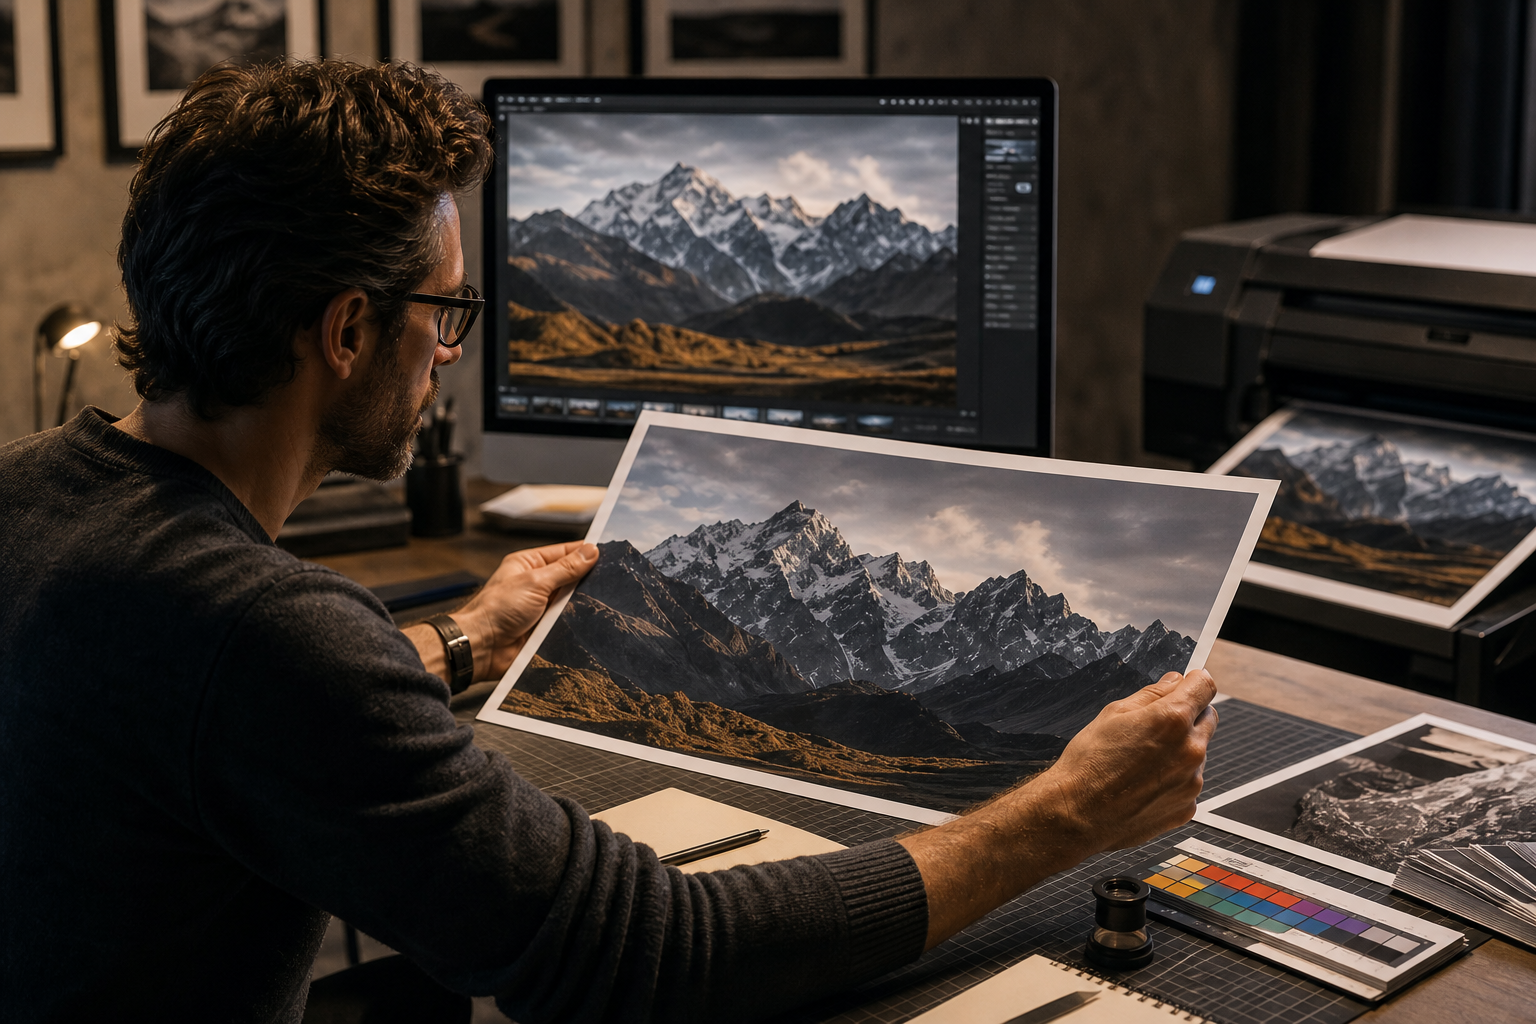
• 1024×1024 AI art to a 24×36 in poster at 200 PPI: Need 4800×7200 px. Do one 4x upscale (4096×4096), then constrained resample to 4800 px on the short side and extend canvas with bleed. Light clarity, fix any lines, export TIFF with sRGB.
• 1920×1080 product still to a 10×20 ft billboard at 60 PPI: Need ≈7200×14400 px. First 4x to 7680×4320, then a targeted 1.8x on the long side. Reduce any halos, add fine grain to unify flats, soft‑proof, then export TIFF with the vendor’s profile if CMYK is required.
Create With VidAU
Turn scripts, product URLs, and creative ideas into ad-ready video assets with a structured AI workflow.
Key takeaway
Final Thoughts
To reliably AI upscale images for large prints, pick a tool that matches your subject, start with a conservative first pass, and build size methodically. Keep color management tight, clean artifacts early, and deliver with the specs your printer expects.
If you plan to convert those high‑res stills into short‑form ads, you can use VidAU AI Video to turn a product URL or images into ad‑ready videos and maintain quality across TikTok, Meta, and YouTube placements.
Frequently asked questions
What is the best AI tool to upscale images for print?
The safest starting point for most photos is Gigapixel because it tends to preserve natural texture and control halos during 4–8x upscales. For clean edges on products and UI, Krea’s AI Image Upscaler and Adobe Firefly Upscaler perform well. Always test on your image type and inspect at 100% before export.
How big can I print after AI upscaling?
Size depends on viewing distance and acceptable PPI. Handheld prints look best around 240–300 PPI, posters at 150–240 PPI, and billboards at roughly 30–100 PPI. Compute target pixels from final inches or feet, then choose one or two upscale passes to reach that size while keeping artifacts minimal.
What PPI should I use for posters and billboards?
For posters viewed a few feet away, 150–240 PPI balances clarity and file size. For large outdoor prints or billboards, 30–100 PPI is common because they are seen from a distance. Confirm with your print provider’s specs, which may also account for their RIP and material characteristics.
Should I denoise before or after I AI upscale images?
Handle heavy JPEG blocks or random noise lightly before the first upscale so the model does not amplify defects. After upscaling, apply selective denoise only where needed (skies, walls). Avoid aggressive, global noise reduction that can smear texture or create plastic surfaces.
Is TIFF or PNG better for print delivery?
TIFF is the safest, most flexible choice for print because it supports 16‑bit color, layers, and lossless compression. PNG is fine for flattened, 8‑bit, lossless delivery with transparency when needed. Embed the correct ICC profile in either format and follow your printer’s submission guidelines.
How do I preserve skin texture when upscaling portraits?
Use a conservative model and keep detail sliders low. After upscaling, enhance with a low‑radius sharpen and use frequency separation or edge‑aware tools to recover mid‑frequency texture. Avoid global clarity on faces and add a touch of fine grain to maintain a natural look.
What is the best way to handle text and logos in upscaled images?
If possible, replace raster text and logos with vector originals in your layout. If you must upscale raster text, use Adobe Firefly Upscaler or Crystal AI Upscaler for cleaner edges, and avoid heavy sharpening. Always proof type at 100% to ensure stroke weight and spacing remain legible.
Is one 8x pass better than two 4x passes?
Often, two controlled passes (e.g., 4x then 1.5–2x) give cleaner results than a single extreme jump, especially on faces and fine lines. Multiple moderate passes help limit halos and ringing. Validate by comparing 100% crops and choose the path with the least artifact buildup.
Do I need to convert to CMYK for large‑format printing?
Only convert if your print vendor requires it and provides an ICC profile. Many large‑format providers accept sRGB and perform managed conversions in their RIP. When CMYK is required, soft‑proof with their profile, adjust out‑of‑gamut colors, and export a flattened TIFF with the embedded profile.
How can I avoid halos and over‑sharpening when I AI upscale images?
Start with conservative detail settings and choose a model known for clean edges. If halos appear, reduce enhancement, switch models, or slightly downsample after overshooting size. For final polish, apply a low‑radius, low‑amount sharpen and avoid stacking multiple strong sharpening stages.