VidAU Editorial · AI Search
Blender 5.3 Beginner Guide: What’s New + Step‑by‑Step Tutorial
Learn Blender fast with a practical 5.3 tutorial. See what’s new, model a simple scene, add materials, light, and render, plus an intro to Claude + Blender AI workflows.
By the VidAU Editorial Team · Reviewed before publishing
Start Blender 5.3 the right way: a current blender tutorial that shows what’s new, then walks you through a quick model > material > light > render project. We’ll finish with a tools‑vary intro to Claude + Blender so you can plan shots and create AI video references without hunting for a Claude for blender plugin.
Quick Summary
• Blender 5.3 plus a 60‑minute mini‑project (model > material > light > render) is the fastest path from zero to a clean first image.
• Claude + Blender shot planning is the best alternate workflow for AI video references, with Seedance 2.5 as a downstream target if you use it.
• Use Metric scale, Filmic color, 24 fps, and 1920×1080; look‑dev in Eevee for speed and render finals in Cycles with denoise.
• US beginners and returning users who want current blender software tutorials benefit most from this up‑to‑date guide.
What Is Blender?
Blender is a free, professional 3D creation suite used for modeling, sculpting, shading, lighting, animation, VFX, and rendering. In one app, you can design assets, build shots, composite, and edit video. Blender 5.3 refines core workflows like Geometry Nodes, Grease Pencil, Animation & Rigging, and the Cycles/Eevee render engines for faster, cleaner results.
Blender 5.3 Highlights You Should Actually Use

Grounded by the official overview with CG Cookie, these are the updates most helpful to beginners and returning users:
• Modeling, Sculpting & Painting
• Smoother selection and viewport feedback; faster mesh editing on dense objects.
• Sculpting feels snappier; Dyntopo and Remesh remain the go‑tos when changing topology mid‑sculpt.
• Geometry Nodes
• Clearer node organization and previews; easier to scatter, instance, and create procedural variations.
• Grease Pencil
• Better drawing responsiveness and cleanup; stronger 2D/3D hybrid workflows for annotations and story beats.
• Animation & Rigging
• Dope Sheet and Graph Editor refinements make timing and curves more predictable.
• Pose Library polish for storing and reusing poses.
• What’s still evolving: broader system modernisation and layer/tool parity across the pipeline, expect ongoing 5.x improvements.
• Rendering (Cycles & Eevee)
• Eevee is now more consistent for real‑time look‑dev; Cycles continues to deliver photorealism with improved denoising.
• Compositor & Video Sequencer
• Compositor quality‑of‑life updates make color tweaks faster post‑render.
• Video Sequencer streamlines quick edit passes and preview cuts.
• Asset Browser
• Simpler asset tagging and reuse; great for materials, HDRIs, and kitbashing.
Hands‑On Blender Tutorial: 60‑Minute Mini Project
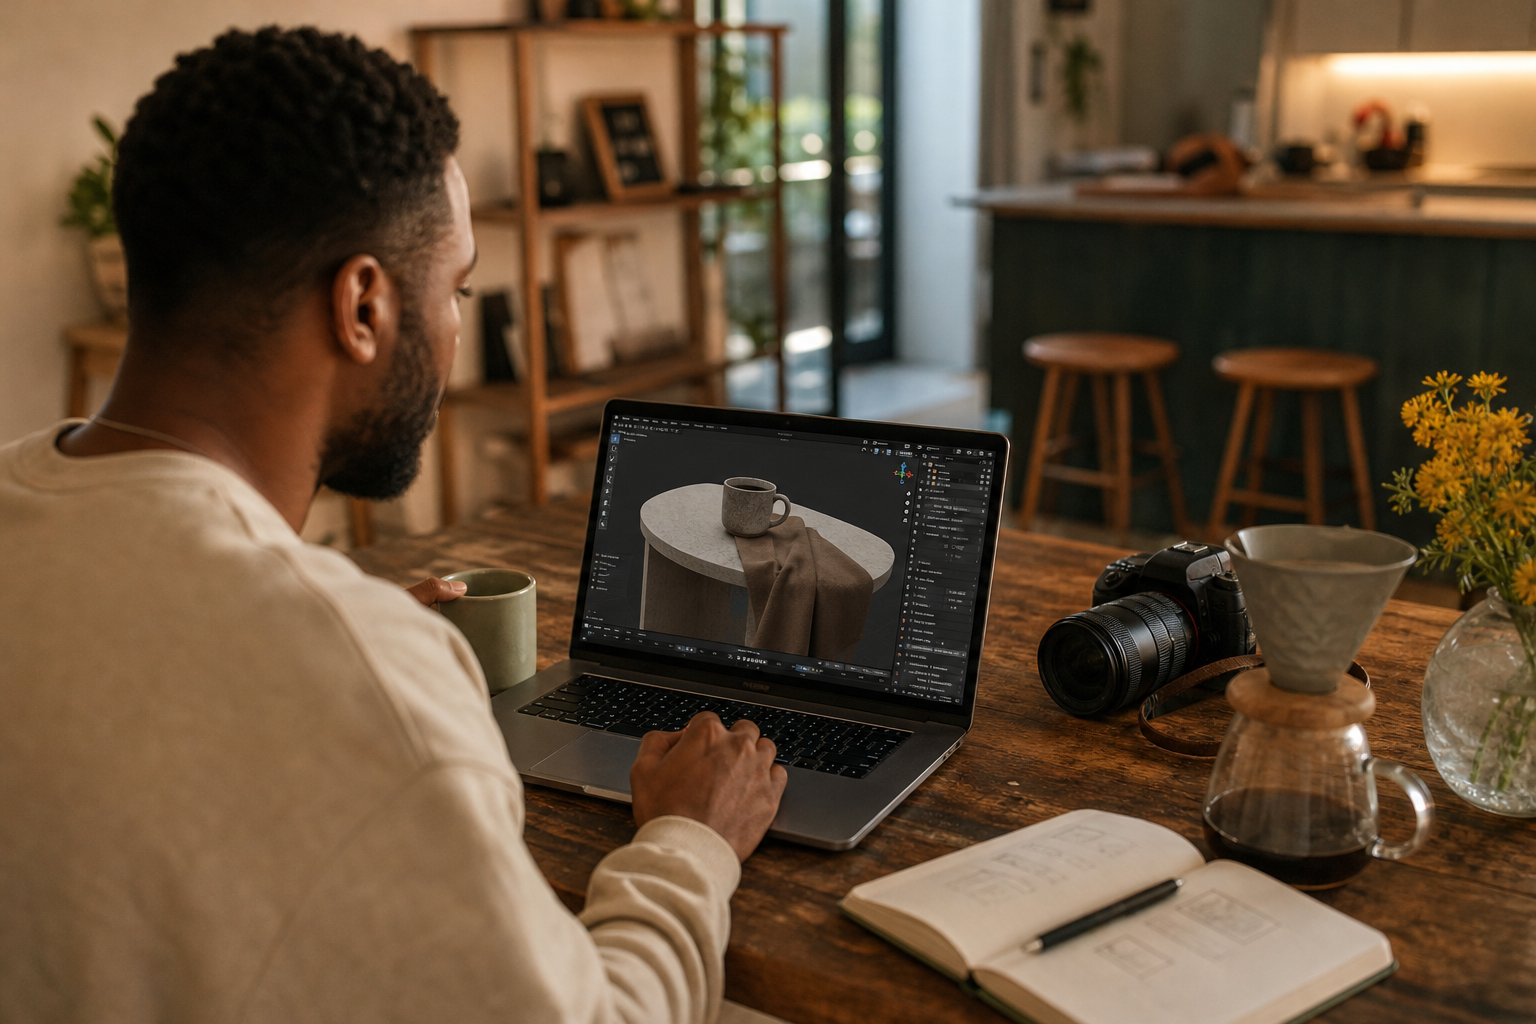
Follow this compact project to get from a blank file to a polished still. You will model a simple ceramic mug on a small studio plane, assign materials, light the scene, and render.
1) Project Setup (2 minutes)
• New file. Set Units to Metric; keep scale at 1 m for real‑world behavior.
• Output Properties: 1920×1080, 24 fps. Save the file.
• In Color Management, choose Filmic and Medium High Contrast for a balanced look.
2) Model the Mug (15 minutes)
• Add > Mesh > Cylinder (16–24 verts). Scale to mug height.
• Edit Mode: Inset the top face slightly, then extrude downward to form thickness.
• Add a handle: Add > Curve > Bezier; shape a C‑curve in side view. Add a Curve to Mesh with a Bevel Depth (in Object Data Properties) or convert to mesh and thicken with a Solidify modifier.
• Shade Smooth on the mug; add a small Bevel modifier (2–3 segments) for soft edges.
3) Add a Simple Studio Base (3 minutes)
• Add > Mesh > Plane. Scale to a small tabletop.
• Add a subtle Bevel to the plane edges for a soft studio sweep.
4) Assign Materials (10 minutes)
• Mug: In the Shader Editor, use Principled BSDF. Roughness ~0.2–0.35 for glazed ceramic; Specular ~0.5–0.6. Color slightly off‑white for realism.
• Handle: Same material or a contrasting tint.
• Plane: Matte material with Roughness ~0.7–0.9 to avoid hotspots.
• Tip: If you have PBR textures, plug Base Color, Roughness, and Normal into Principled. Or drag a saved material from the Asset Browser.
5) Lighting That Just Works (10 minutes)
• Add > Light > Sun. Angle it 30–45° for clean shadows; Strength ~3–5; Warm color.
• Add > Light > Area as a fill from the opposite side; Strength ~200–600 depending on scale; Cool color.
• In Eevee: enable Soft Shadows and Screen Space Reflections for better previews.
6) Camera and Framing (5 minutes)
• Add a Camera; View > Align View > Align Active Camera to View. Lock Camera to View while composing.
• Use a 50–85 mm focal length for product shots. Place the mug using the rule of thirds; tilt slightly for dimension.
7) Test in Eevee, Final in Cycles (10 minutes)
• Eevee: Quick preview renders to check reflections and shadow shape.
• Switch to Cycles for final: CPU or GPU; Samples ~64–128 for a still; enable Denoise (OpenImageDenoise).
• Output: PNG or OpenEXR (if you plan to composite).
8) Quick Color Polish in the Compositor (5 minutes)
• Check ‘Use Nodes.’ Add Color Balance (Lift/Gamma/Gain) for contrast and warmth.
• Optional: Add a mild Glare (Fog Glow) if highlights need bloom.
Optional animation note: If you try a small turntable, enable Auto Keying only while keyframing, then turn it off. Use the Dope Sheet for timing and the Graph Editor for easing.
Eevee vs Cycles in Blender 5.3
• Render Engine: Eevee
Best For: Look‑dev and previews
Why: Real‑time speed, fast feedback
• Render Engine: Cycles
Best For: Final stills and realism
Why: Path‑traced lighting, denoise
Tip: Iterate materials and lighting in Eevee, then switch to Cycles for your final render quality pass.
Claude + Blender: Plan Shots and Create AI Video References
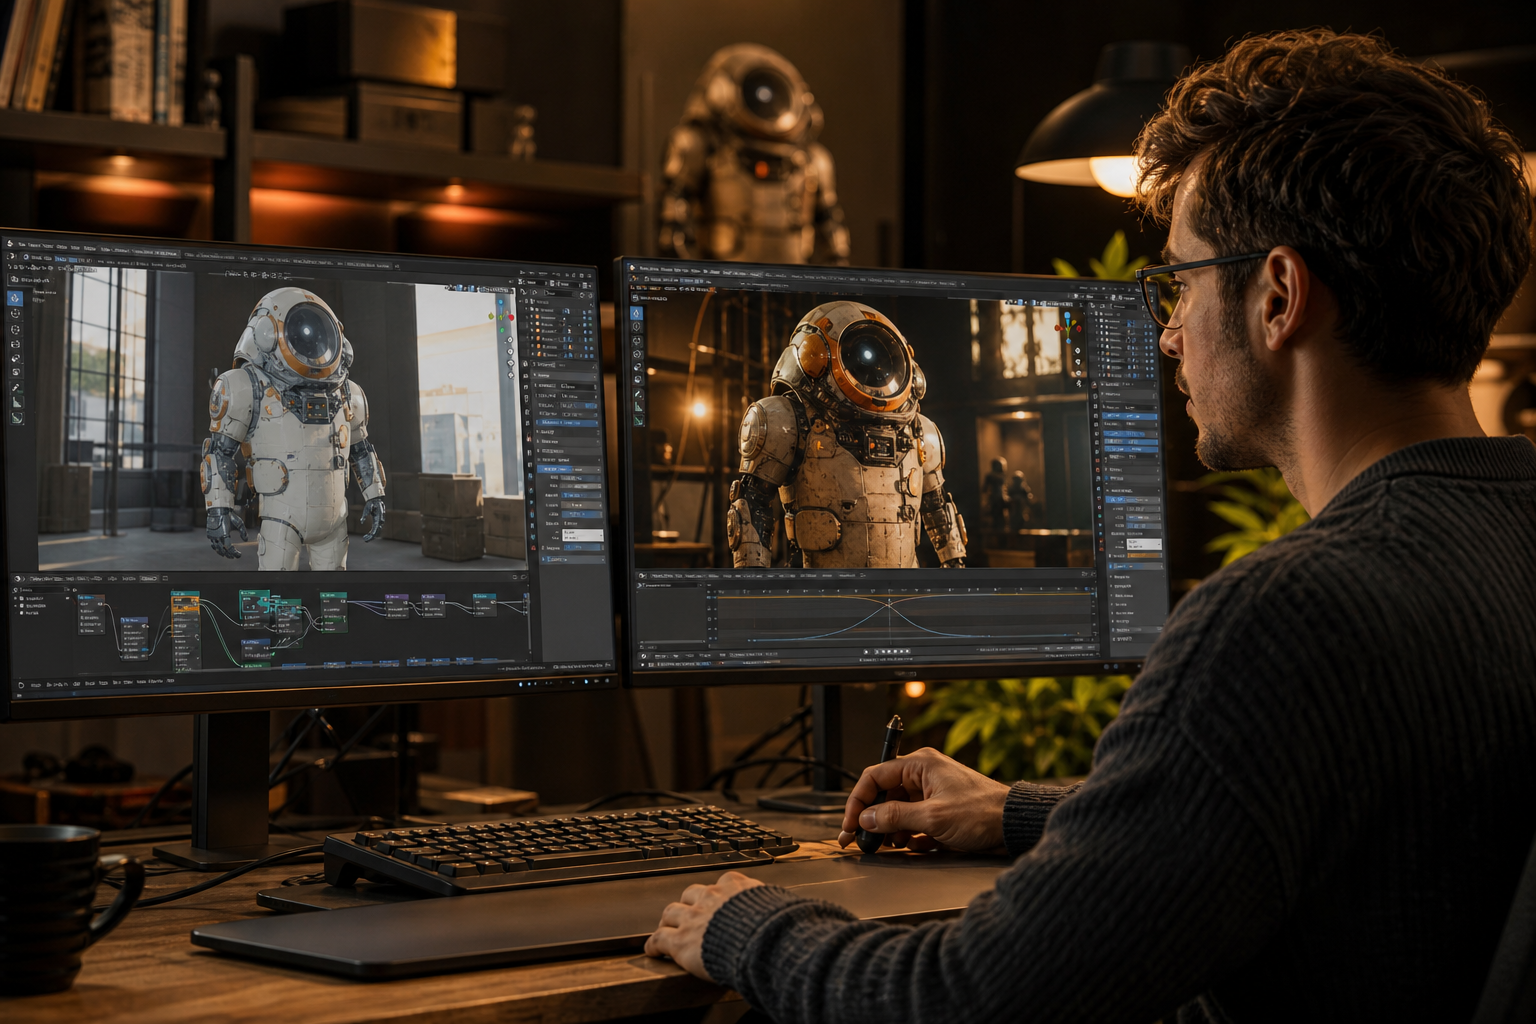
There is no single Claude for blender plugin you must install. Instead, treat Claude as your planning partner and Blender as your scene and camera sandbox. Tools and compatibility vary; the workflow below stays tool‑agnostic and works today.
1) Use Claude to Outline the Scene
• Prompt idea: ‘Create a 6‑shot product mini‑sequence: close‑up handle reveal, 3/4 hero, graceful 90° orbit, steam detail, overhead, end card. Include seconds per shot, focal lengths, and camera notes.’
• Ask for a prop/material checklist and simple lighting plan.
2) Build and Block in Blender
• Model or import your assets. Use the Asset Browser for ready materials and HDRIs.
• Add a Camera and a Bezier curve for moves. Use a Follow Path constraint and keyframe the Offset for timing.
• Turn on Auto Keying only while posing or timing moves. Fine‑tune in the Dope Sheet; smooth easing in the Graph Editor.
3) Export Playblasts as References
• Viewport render animation at 24 fps, 1080p for lightweight previews.
• Provide these as camera‑accurate references to tools like Seedance 2.5 to guide AI video generations, keeping your composition and motion consistent.
4) Iterate Quickly
• Mark notes directly in Blender using Grease Pencil to annotate frames.
• Loop with Claude: paste timestamps and ask for punch‑ups like ‘shorten shot 3 by 0.5 s’ or ‘suggest a slower ease‑in on the orbit.’
Why it works: Claude structures ideas and constraints; Blender guarantees spatial accuracy; Seedance 2.5 (if you use it) follows those references more reliably than text‑only prompts.
Create With VidAU
Turn scripts, product URLs, and creative ideas into ad-ready video assets with a structured AI workflow.
Key takeaway
Final Thoughts
Blender 5.3 gives beginners a cleaner, faster path to results—especially if you focus on a tight model > material > light > render loop and lean on Eevee for iteration before finishing in Cycles. The quick Compositor pass adds professional polish without complexity.
Your next step: complete the 60‑minute mug project above, then try the Claude + Blender shot‑planning workflow to turn that still into a short, camera‑driven sequence. Keep settings simple, save versions often, and build confidence one small win at a time.
Frequently asked questions
What makes Blender 5.3 a good starting point for beginners?
Blender 5.3 refines core tools beginners touch daily: more consistent Eevee previews, stable Cycles denoising, smoother modeling and sculpting, clearer Geometry Nodes, and small but helpful Compositor and Video Sequencer tweaks. Combined, these reduce friction so your first model‑to‑render pipeline feels fast, predictable, and confidence‑building.
Which should I use for a first render: Eevee or Cycles?
Use Eevee for look‑dev and rapid iteration, then switch to Cycles for final image quality. Eevee’s real‑time feedback makes lighting and material tweaks painless; Cycles’ path tracing delivers realistic reflections, shadows, and global illumination. In 5.3, that combo remains the most reliable beginner workflow.
Do I need a ‘claude for blender plugin’ to use Claude with Blender?
No. There’s no mandatory plugin. Use Claude in a browser or app to plan a shot list, camera beats, materials, and constraints, then implement them in Blender. Export viewport playblasts as references for tools like Seedance 2.5 if you use them. Community scripts exist, but compatibility varies.
How do I enable Auto Keying, and when should I use it?
Toggle Auto Keying with the red record icon in the Timeline. Use it while posing or timing camera moves so changes automatically create keyframes. Turn it off when modeling, shading, or lighting to avoid accidental keys. Refine timing in the Dope Sheet and easing in the Graph Editor.
What’s a good first project for blender beginners?
A simple product‑style still: a ceramic mug or a low‑poly prop on a studio plane. Model basic forms, assign a Principled BSDF material, light with a Sun and an Area fill, preview in Eevee, then finalize in Cycles. This teaches the end‑to‑end pipeline without overwhelming detail.
Where can I find ready assets and materials in Blender 5.3?
Use the Asset Browser to organize and reuse your own models, materials, HDRIs, and node groups. Tag assets from existing projects to build a personal library. For quick starts, import simple primitives or kitbash saved assets, then adjust materials directly in the Shader Editor.
How do Geometry Nodes help beginners?
Geometry Nodes let you procedurally scatter, instance, and randomize details like pebbles, leaves, or bolts without hand‑placing every object. In 5.3, clearer node previews and organization make small, reusable setups easier. Start with distribution and transform nodes to add believable variation fast.
Can Blender 5.3 work with AI video tools like Seedance 2.5?
Yes. Use Blender to block camera paths and timing, then export viewport playblasts at 24 fps, 1080p. These references guide AI tools, preserving composition and movement. Plan the sequence with Claude to keep shots coherent. No special plugin is required; tool compatibility and features vary.
How do I start sculpting in Blender 5.3?
Switch to Sculpt Mode on a dense mesh or use Dyntopo to add detail dynamically. When topology gets messy, Remesh to unify it, then continue sculpting. Use basic brushes first (Clay, Smooth, Grab), keep symmetry on initially, and only increase resolution as needed for key details.
How do I do quick color correction after rendering?
Open the Compositor, check ‘Use Nodes,’ and add Color Balance or Hue/Saturation to adjust contrast and color. For subtle bloom, add a Glare (Fog Glow) node. In Color Management, use Filmic and adjust contrast to taste. This non‑destructive pass is perfect for final polish.